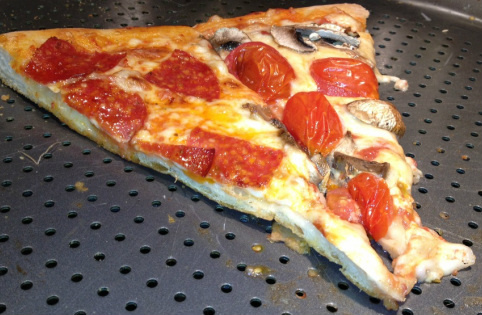
 Last Spring made a delicious Shaved Asparagus Pizza and I promised all of you that I would share the pizza dough recipe with you. Well, life happened, a move happened and...well, I'm sharing it with you now! Homemade pizza dough is nothing new to our kitchen. My husband has been our main "Pizza Dough Maker" for years. He seasoned his dough very well and the pizza always came out nicely. The only thing lacking was the crust - I mean, it was OK as a vehicle to deliver the delicious toppings to your mouth, but when the toppings were gone, I never really wanted to eat the crust. All that changed when I found this recipe from Annie's Eats. The crust is so amazing! There is never a time when a crust hits the garbage can - it's all devoured right along with all the other pizza yumminess! I've been making this recipe for about a year now and I've come a long way with my pizza making skills. Take a look at Annie's awesome pizza tips for some great pointers on how to get the best pizza ever! I've incorporated many of these tips into my own pizza making, however, currently I'm using a metal pizza pan instead of a stone. I've had stones for years and years but lately we keep breaking them! We can't figure out what we're doing wrong, so for now, a metal pizza pan it is! If you've never made your own pizza dough, I beg you to give it a try! It's really not that hard! Basic Pizza Dough 1/2 cup warm water (about 110° F) 1 envelope (2 1/4 tsp) instant yeast 1 1/4 cups water, room temperature 2 tbsp extra virgin olive oil 22 ounces (approximately 4 cups) bread flour, plus more for dusting 1 1/2 tsp kosher salt olive oil or nonstick cooking spray Place the warm water in a medium bowl, sprinkle the yeast over the warm water and let sit for about 5 minutes to allow the yeast to swell. Add the room temperature water and the olive oil. Set aside. Place the flour and kosher salt in the bowl of a stand mixer fitted with a paddle attachment. Mix briefly to combine. With the mixer on low speed, slowly add the water/yeast/olive oil mixture. Once all ingredients have come together, switch over to the dough hook and knead on medium speed until the dough is smooth and elastic, about 5 minutes. Form the dough into a ball and place in a deep, lightly oil bowl. Cover with plastic wrap and set in a warm place until the dough has doubled in size, about 1 1/2 to 2 hours. 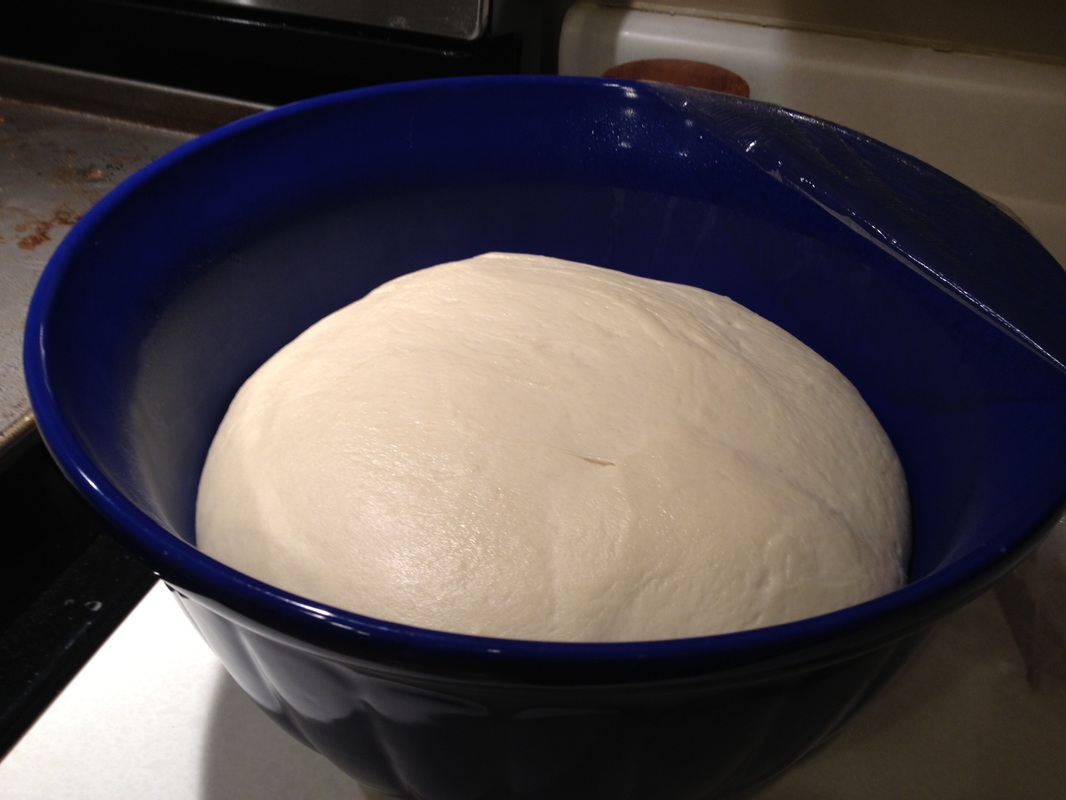 Punch down the dough and divide into 2 equal balls of dough. If you want to freeze the dough for future use, wrap in plastic wrap, then place in a freezer safe bag. When you are ready to use the frozen dough, defrost it in the refrigerator for 1 day prior to using it. On the day you are going to use it, let the dough come up to room temperature before shaping it.  If making a pizza, shape your dough to fit your pan, or pizza peel if using a stone. (I know you aren't really supposed to use a rolling pin when forming pizza dough, but I just haven't perfected my stretching technique yet!) You could also use the dough to make these crowd-pleasing pizza bites! 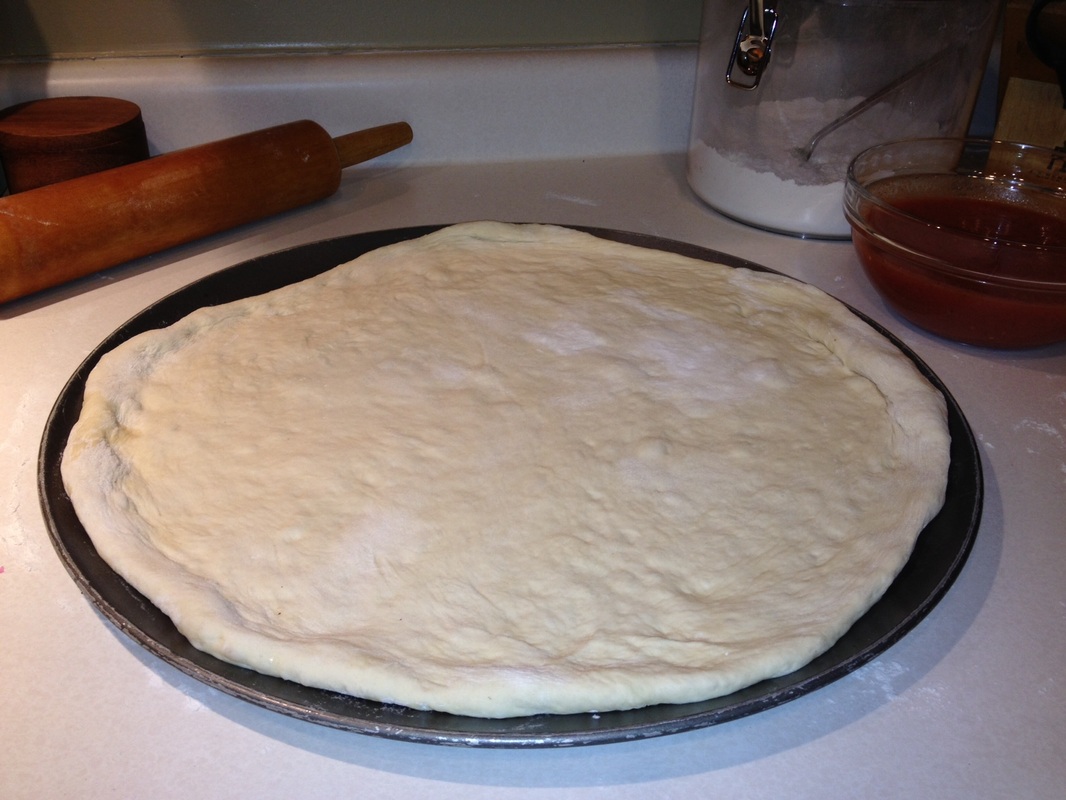 From here you can add your toppings and bake your pizza according to your own recipe. I like to cook mine at 450° F for about 10-12 minutes or until the crust is golden brown. Oh, see that sauce in the background? Best. Pizza. Sauce. Ever. Will share that soon!
Give it a try! Good luck! Source: Adapted from Annie's Eats
0 Comments
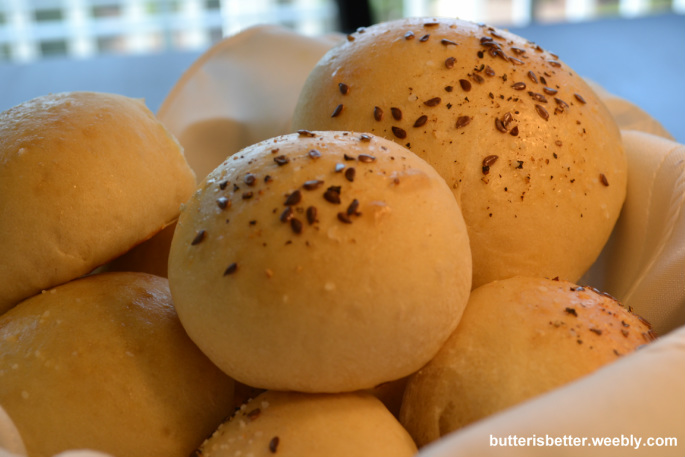 When I first started delving into the world of DIY-ing it in the kitchen I came across this recipe for hamburger buns. At first I thought it was strange to make your own hamburger buns when you can get a wide variety at the local grocery store for relatively cheap. But, since hubby bought me a brand new Kitchen-Aid Pro for Christmas I thought I'd give bread and rolls a try. After all, a family can't survive on cupcakes alone! So, I set out to expand my baking knowledge. I've made bread before, but nothing to write home about. These rolls changed all that! They are a family favorite and you can almost always find some in my freezer. In fact, I haven't bought a hamburger/sandwich bun in all of 2012! These are so light and tasty and perfect for both burgers and sandwiches. I've made these numerous times this year and sometimes I make 'slider buns' just by dividing the batch into 16 smaller rolls instead of 8 regular-sized ones. It's best to either eat these the same day you bake them or freeze them and eat them later. If you freeze them, just pop them in the microwave for about 15 seconds to give them a quick defrost. I encourage you to give these a try....you won't be sorry! Hint: This recipe doubles very nicely! 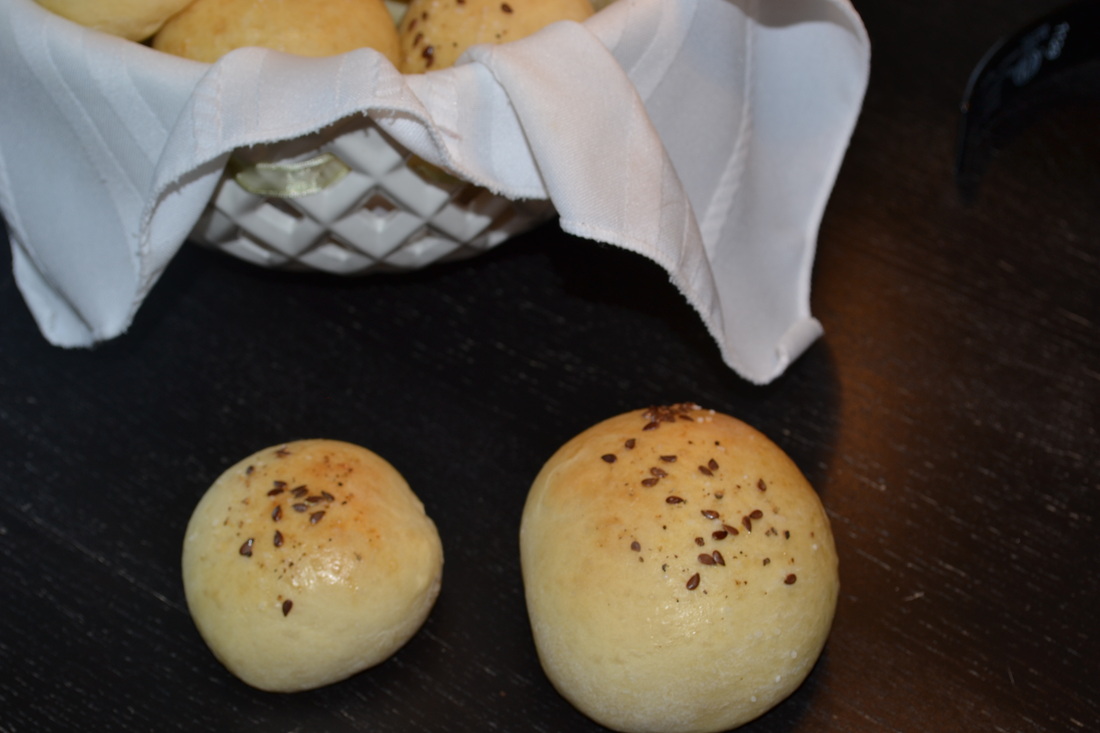 The black seeds you see on top are flax seeds! Light Brioche Buns
Makes 8 regular-sized buns or 16 slider-sized buns 3 tbsp warm milk (about 110 degrees F) 1 cup warm water (about 110 degrees F) 2 tsp instant yeast (not active-dry yeast) 2 tbsp honey **Edited 8/22/14 to be clean 1 1/2 tsp kosher salt 1 egg 3 1/3 cups white whole wheat flour **Edited 8/22/14 to be clean 2 1/2 tbsp unsalted butter, softened For the topping 1 large egg, beaten with 1 tbsp water Flax seeds, fresh ground pepper, kosher salt In the bowl of a mixer fitted with a paddle attachment, combine the milk, water, yeast, honey, salt and egg. Mix briefly to combine. Add the flour to the bowl and mix until incorporated. Mix in the softened butter. Once incorporated, switch over to a dough hook and knead on low speed for about 6-8 minutes until the dough forms a mass. If the dough sticks to the side of the bowl add a very tiny amount of flour, 1 tablespoon at a time, until the mass forms. Do not add too much flour or the buns will be tough. Transfer dough to a lightly oiled bowl. Cover with plastic wrap. Let rise in a warm place until doubled in size - about 1-2 hours. Line a baking sheet with a silicon baking mat. Divide the dough into 8 equal portions. For consistency I use a kitchen scale to ensure all 8 rolls are the same size. Place them on the baking sheet about 2-3 inches apart. Cover with plastic wrap sprayed with cooking spray. Allow to rise in a warm place until doubled in size - another 1-2 hours. Fill a metal baking pan halfway full with water. Set it on the lowest rack of the oven and preheat the oven to 400. At this point the rolls are usually spread into each other. Reform the rolls into their original size. Brush the tops with egg wash and sprinkle with flax seeds, fresh ground pepper and some kosher salt. Bake for 18-20 minutes until the tops are golden brown. Transfer to a baking rack to cool completely. 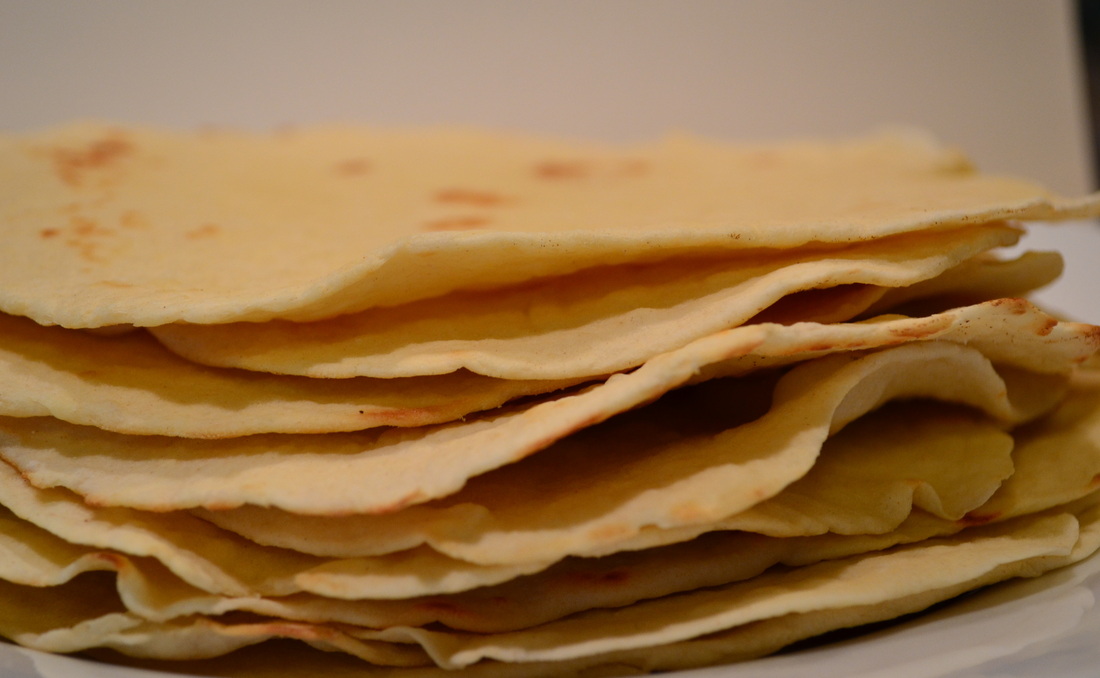
A few months ago I discovered the beautiful world of food blogs. I have become totally and completely hooked on reading about food, looking at wonderful pictures and learning new techniques. One blog in particular has really connected with me - Annie's Eats. Annie not only showcases healthy meals and delicious desserts, but she also 'teaches' you how to make many things at home that you would never even think you could do! I'm proud to say the list of things I've made myself in the past few months is growing and growing. Everything I've made has been easier than expected and tastier too! I never in a million years would have thought I could or would make my own flour tortillas. I don't own a tortilla press or any fancy equipment but the great thing about this recipe is you don't need any! Just a food processor, a rolling pin and a skillet and you'll be on your way to making your own flour tortillas too! Go ahead and make these today and tomorrow I'll have a yummy breakfast idea for you to use them in! 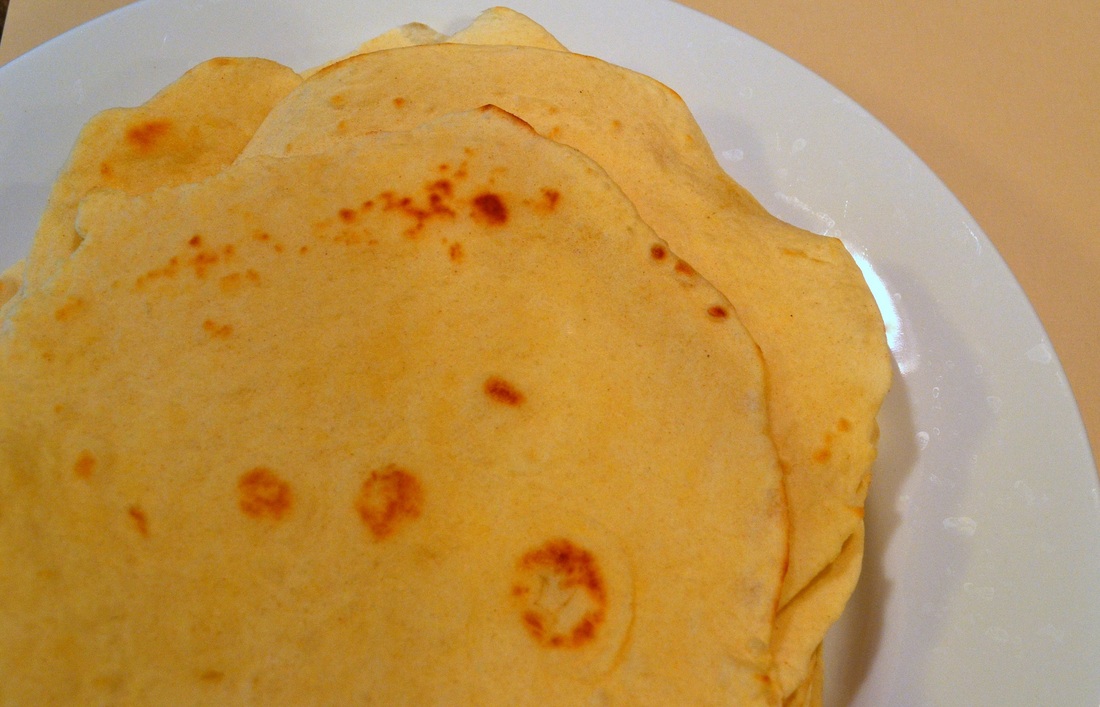
Flour Tortillas
Makes 16 tortillas 3 cups all-purpose flour 2 tsp baking powder 1 heaping tsp kosher salt 5 tbsp shortening (or unsalted butter, softened) 3/4-1 cup water Combine the flour, baking powder, salt and shortening in the bowl of a food processor fitted with the dough blade. Pulse mixture until it is crumbly, about 5 seconds. Scrape down the sides of a food processor bowl. (If you don't have a food processor, you can use a pastry cutter or two forks to do this step.) With the food processor running, slowly add the water in a steady stream until the dough forms a cohesive ball. Knead for 30 seconds more. If the bowl is too sticky, add a bit more flour. Transfer the dough to a lightly floured work surface and divide into 16 equal-sized balls (I use a kitchen scale for this.) Cover with a clean dishtowel and let rest for 10 minutes. Heat a large skillet over medium heat. Working with one dough ball at a time and keeping the rest covered, pat the ball into a disc. Dust with flour and roll into a very thin circle. Carefully transfer to the hot skillet and cook each side for about 20-30 seconds, until bubbles form and the bottom is lightly browned. Be careful not to overcook or the tortillas will be too hard. Repeat this process with the remaining dough balls, lowering the heat as needed to prevent burning. Store in an airtight container in the refrigerator for up to a week, or freeze. Source From Annie's Eat's, originally seen on Confections of a Foodie Bride via Pennies on a Platter |
AuthorPittsburgh area mom striving to provide clean, healthy, REAL food for her family! Categories
All
Archives
September 2014
|
 RSS Feed
