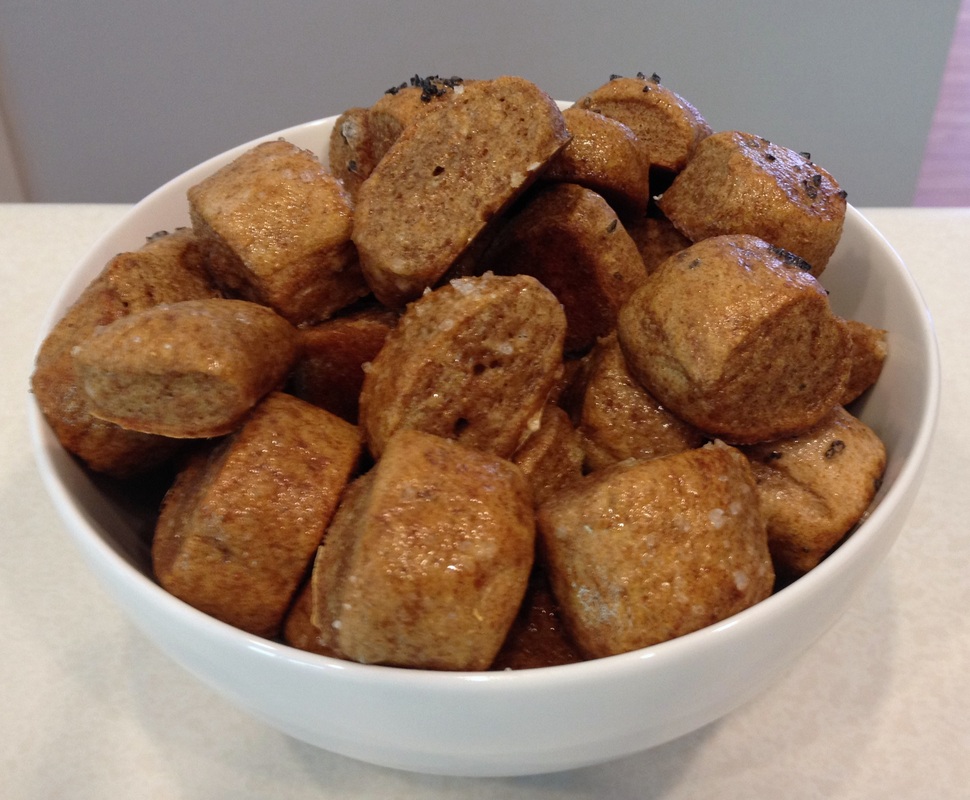
I didn't want to go the entire 10 days of the Pledge without sharing a new recipe with you! I thought this one would be perfect for any weekend entertaining or movie nights you may have planned. These Whole Wheat Pretzel Bites are the product of a slightly modified recipe from King Arthur Flour. For most of my baking I use KAF's White Whole Wheat Flour, but for these pretzel bites I really love using the darker, red Whole Wheat Flour. Feel free to use whatever you like or whatever you have on hand. When I typically make these we wind up 'sampling' quite a few before they make it to the freezer. For the ones that do make it to freezer bags, I've eaten them several different ways:
I have often heated up a few Pretzel Bites and added them to my lunch. Here I had them with a salad and some red pepper slices. On my 'To Try' list is finding a good, clean cheese dip to serve with these yummy nuggets! 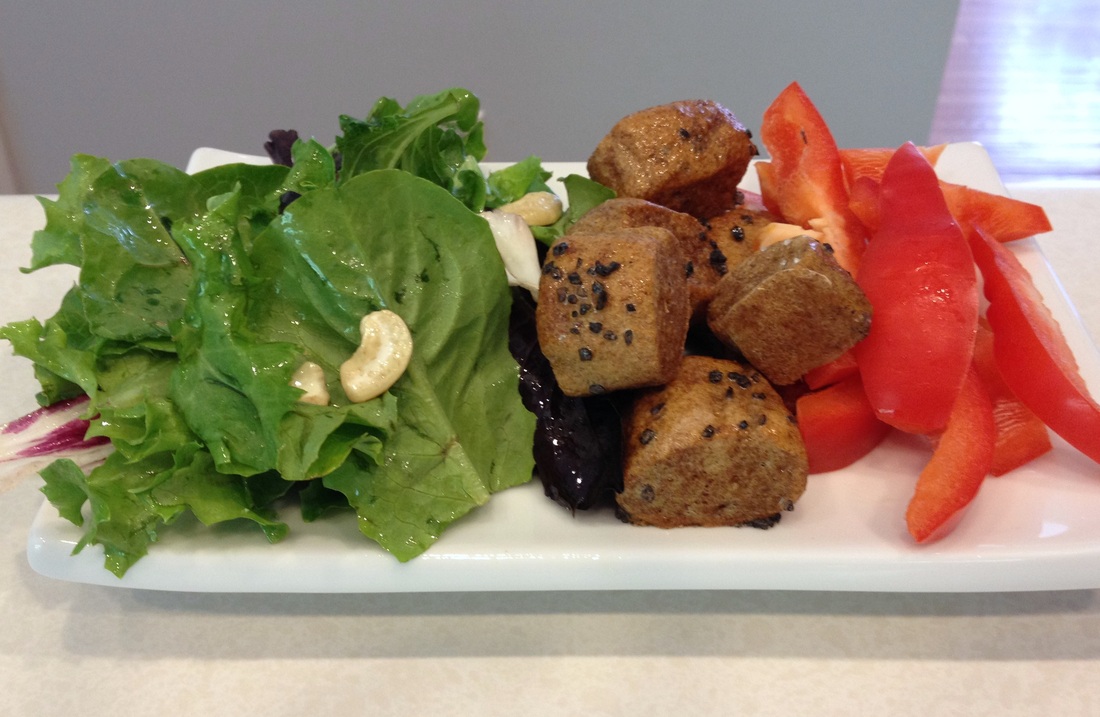
Whole Wheat Pretzel Bites Makes about 6 dozen Dough 10 1/2 ounces (about 2 1/2 cups) Whole Wheat Flour 1 teaspoon kosher salt 1 teaspoon honey 7/8 - 1 cup warm water* *Use the greater amount in the winter, the lesser amount in the summer and somewhere in the middle in the spring and fall. Topping 1 cup boiling water 2 tablespoons baking soda Coarse salt - I use kosher salt and some black salt from the bulk section of my grocery store 2 tablespoons unsalted butter, melted Place all dough ingredients in the bowl of a stand mixer and mix until combined. Switch the mixer to the dough hook and knead for 5 minutes. Place the dough in a large, lightly oiled bowl and cover with plastic wrap. Allow to sit at room temperature for about 30 minutes. While the dough is rising, combine the boiling water and baking soda and stir until the baking soda is dissolved. Pour into a 13x9 brownie pan and allow to cool to room temperature. Preheat the oven to 400° F. Line a baking sheet with a silicon making mat or parchment paper and set aside. Transfer the dough to a large cutting board and divide into 6 equal pieces. Roll the pieces into 12" to 15" ropes. Cut each rope into 12-15 equal-sized nuggets. Once all the bites are cut, place them in the baking soda solution and 'swish' the nuggets around so they are evenly covered. Allow to sit in the solution for 3-4 minutes. Remove the nuggets from the solution (draining slightly) and place on the prepared baking sheet. Sprinkle with salt. 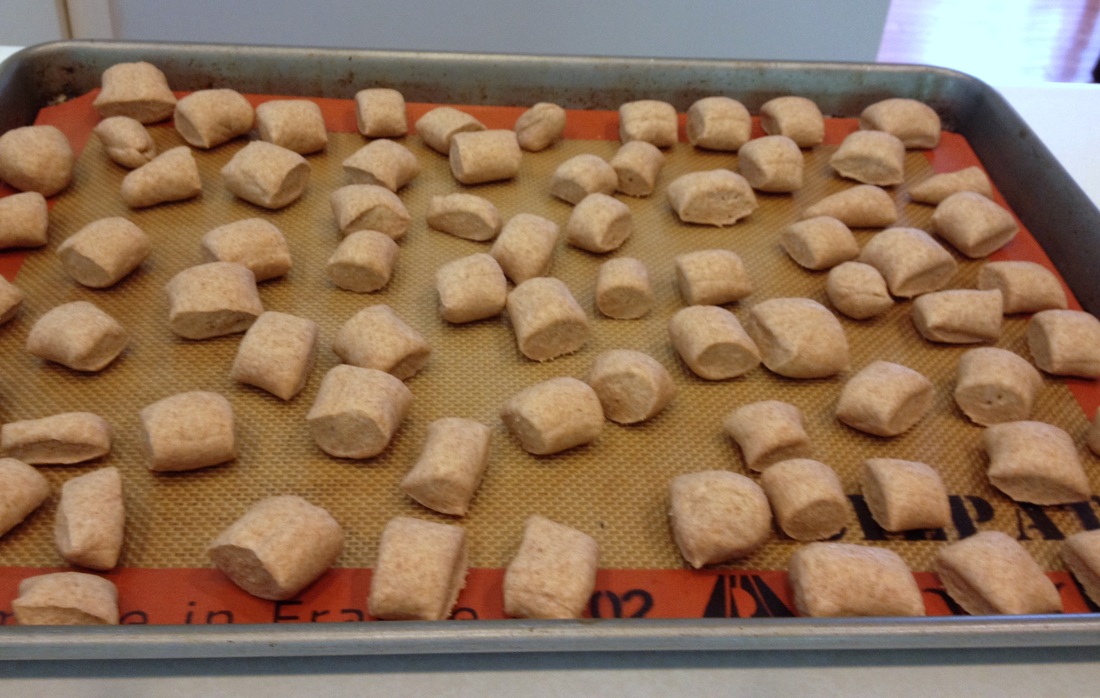
Bake for 12-15 minutes, until golden brown. Remove from the oven and brush with the melted butter. After a few minutes, transfer the pretzels to a cooling rack. Store in an airtight container for 2-3 days or in the freezer in freezer-safe bags. Reheat in the oven for a few minutes or enjoy thawed from the freezer at room temperature. Source:
Adapted from King Arthur's Flour
0 Comments
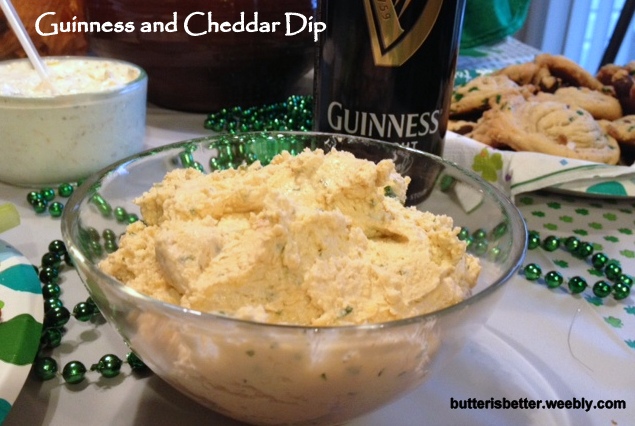
How was your St. Patty’s Day? Did you celebrate with green beer? Or Irish food? Or a local parade? How about all three?? I didn’t indulge in any green beer this year and (sadly) didn’t make it to Pittsburgh’s awesome St. Patty’s Day parade. I DID, however, attend a fun St. Patty’s Day party and enjoyed some good Irish food! My contribution to the party was this Guinness and Cheddar Dip. Come to think of it, I may have brought this exact same dip to last year’s party….hmmm…no one seemed to mind! I’ve actually made this dip several times over the past year and it’s always quite popular! I’ve tweaked the original recipe a little so that the Guinness flavor really stands out. I like to serve it with hearty crackers or some veggies. So, even though the celebrations are over for this year, please don’t wait until 2014 to give this recipe a try!! 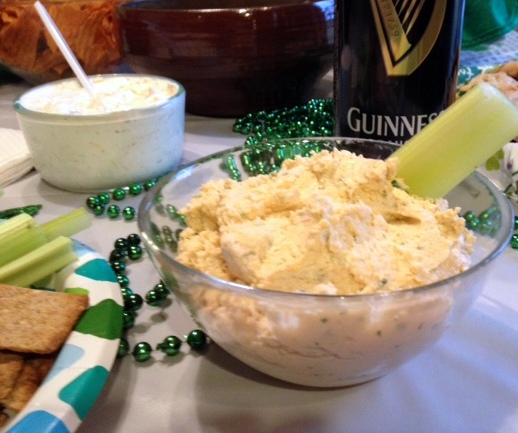
Guinness and Cheddar Dip 8 ounces cream cheese, at room temperature 2 1/2 cups sharp cheddar cheese, grated 1 teaspoon Dijon mustard 2 tablespoons half-and-half 1/4 cup Guinness 1 scallion, greens and whites, chopped 2 tablespoons parsley, chopped Salt and pepper to taste In the bowl of a food processor, combine cream cheese, cheddar cheese, mustard and half-and-half. Blend until smooth. With the food processor running, slowly pour the Guinness through the pour spout and blend until combined. Add the scallions and parsley and pulse a few more times to combine. Adjust flavor by adding salt and pepper to taste. Transfer to a bowl and cover. Chill at least one hour before serving. Serve with crackers, pretzels or veggies. 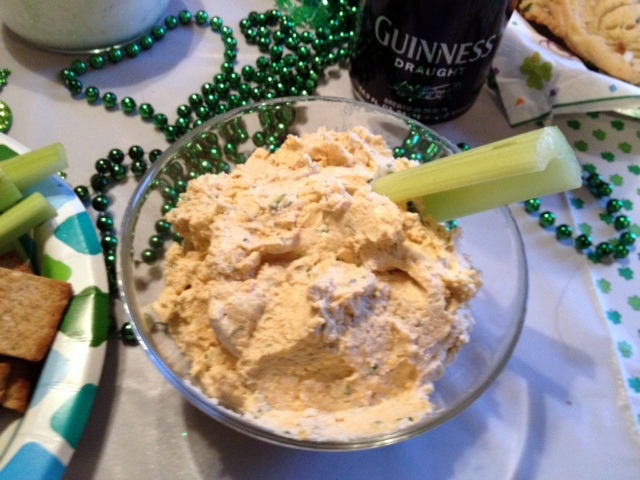
Source:
Adapted from The Curvy Carrot. Originally seen on Wisconsin Cheese Talk via The Parsley Thief 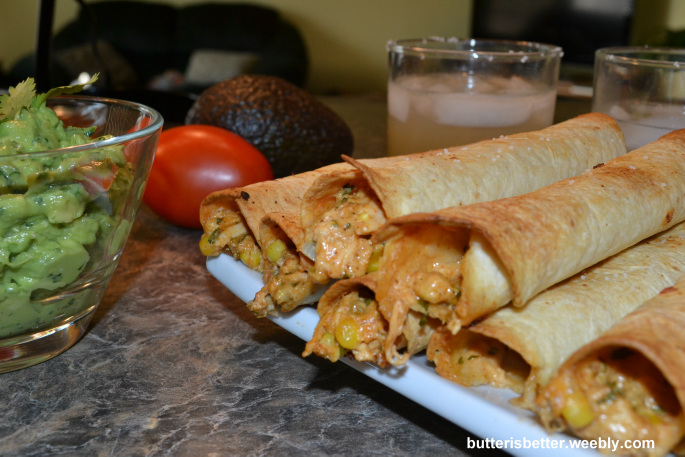 Finally! I'm finally sharing this crowd-pleasing recipe with you! I first made these taquitos a few months ago for a Super Bowl party because I wanted to try something fun and festive but I wanted to steer away from my all-too-common chip/dip combo. These taquitos were amazing! They were crispy and cheesy and a little bit spicy. This adaptation makes a double-batch (about 24-26). It takes a little bit of time to make the filling and roll each one, but it's totally worth it to have a freezer full of these little gems! I usually cook a few of them immediately for dinner and freeze a majority of them. They make for a fantastic last-minute snack for guests and even a quick dinner when you are parenting solo, as I have been this past week! 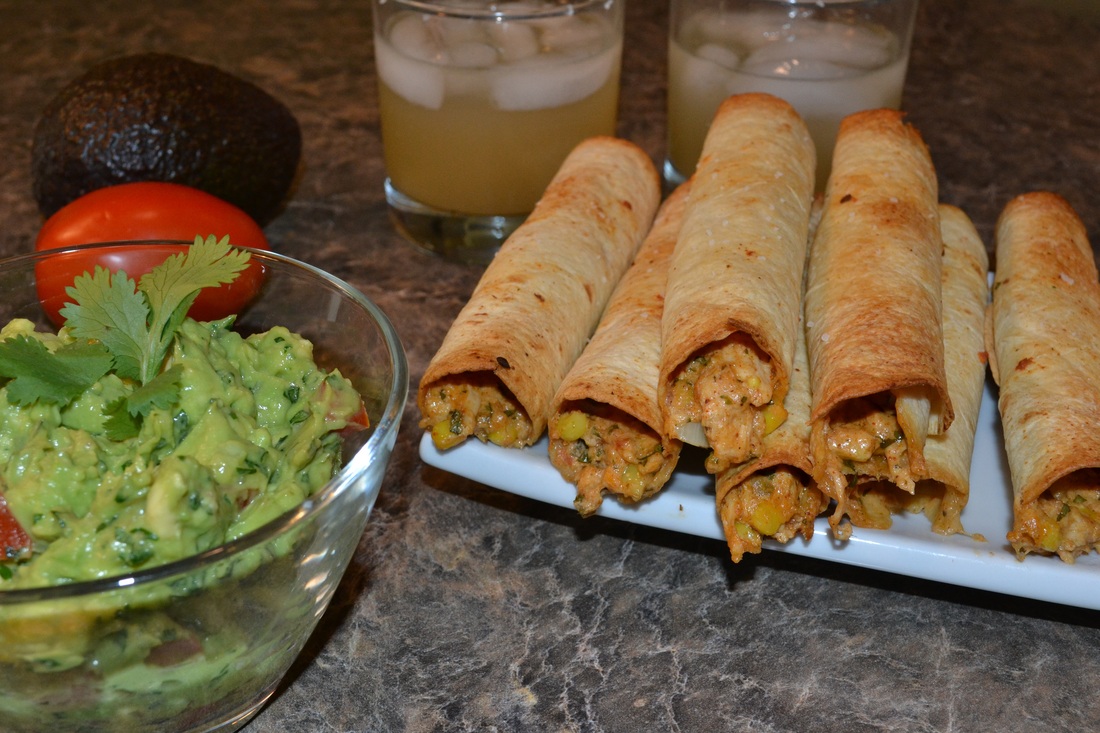 Creamy Chicken Taquitos
Makes 24-26 2 cups shredded, cooked chicken 8 ounces cream cheese, softened 1/2 cup salsa 2 tbsp freshly squeezed lime juice 2 tsp chili powder 1 tsp cumin 1 tsp onion powder 3 garlic cloves, minced 6 tbsp cilantro, chopped 1 cup frozen corn kernels, defrosted 1 cup cheddar cheese, shredded 1 cup pepper jack cheese, shredded 24-26 6-inch flour tortillas Cooking spray Kosher salt Preheat oven to 425 F. Line a baking sheet with a silicone baking mat or parchment paper. In a large bowl combine shredded chicken, cream cheese, salsa, lime juice, chili powder, cumin, onion powder, garlic, cilantro, corn and cheeses. Mix until well combined. Briefly heat the tortillas in the microwave so they roll easier (about 10 seconds per 10 tortillas). Place a tortilla on a work surface. Spoon about 2 tablespoons of filling onto the top 1/3 of the tortilla. Fold the top part of the tortilla over the filling and towards you. Continue to roll tightly until you have a taquito. Repeat with the remaining tortillas until you have used all of the filling. If you are baking immediately, place the taquito seam-side-down on the prepared baking sheet. Spray lightly with cooking spray and sprinkle with a bit of kosher salt. Baked about 15-20 minutes until crisp and golden brown. If you are freezing for later use, place the taquito seam-side-down on a freezer safe plate that is small enough to fit in your freezer. I use a quarter sheet jelly roll pan. Spray lightly with cooking spray and sprinkle with kosher salt. Freeze for about 30 minutes. Transfer to a freezer safe bag. When ready to eat, bake at 425 F for 15-20 minutes until crisp and golden brown. Serve with sour cream, salsa or guacamole. **Tip - when making Freezer Meals I always write down the name of the item, the date and any cooking instructions, ie, 425 F for 15-20 mins. 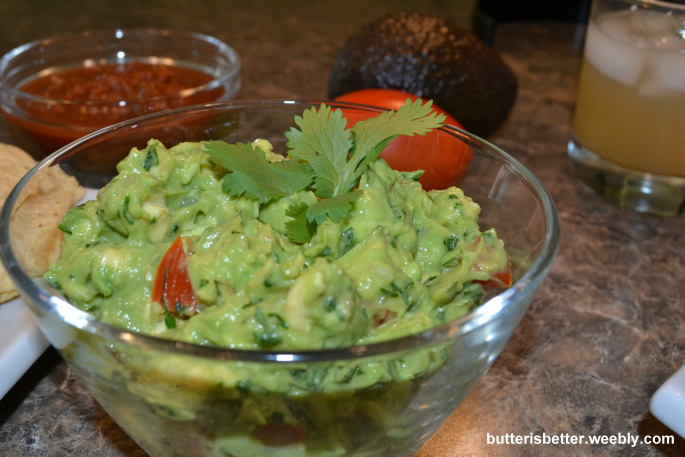 Happy Cinco de Mayo!! Don't worry, my calendar is correct - I realize that I'm 3 days late, but for very good reason! On Sunday, May 6 I participated in my very first marathon. I organized a relay team to run in the Pittsburgh Marathon. I ran the first leg, which was 5.5 miles. I completed it at a turtle's pace but I'm quite proud of my 1:01:43! This was a huge accomplishment for me because though I've always loved running, I've never been very good at it or confident of myself. Let me tell you, this field was intimidating! 25,000 REAL RUNNERS in one spot! My first thought was "Boy, I wish I'd trained more", but once we got started I realized what these events are all about - FUN! That was the biggest surprise to me. I expected the runners to be very serious and the spectators to be a handful of people crazy enough to get up way early on a Sunday to watch a bunch of people run (well, half crazy...us runners were the real crazies!). I was so wrong! There were thousands and thousands of spectators cheering us on every step of the way and the runners themselves were in full-on party mode! They were shouting and cheering and dancing...it was insanely amazing and I'm so happy that I finally got to run in a marathon. It's especially moving for me that my first experience was in a city that I love more than anywhere else in the world. Thank you Pittsburgh for letting me enjoy you on a whole different level!! I will run again! To that end, the night before the marathon was Cinco de Mayo. I spent the day eating rather bland, carby foods. I realized everyone else was throwing back some margaritas and eating yummy, Mexican goodness, but I knew that wasn't the right food for the night before the biggest race of my life. I decided to make up for it with a small Cinco de Mayo feast on Siete de Mayo! Today I'm going to share my guacamole recipe with you. I absolutely adore avocados. I've made them into guacamole countless times, topped salads with them, smashed them down into a paste for sandwiches and even made them into dessert. I have always sort of 'winged it' with guacamole, but I found this recipe a few years ago and it was just perfect for my taste. The original recipe calls for a serrano chili pepper, but I've omitted it because I want the flavor of the avocado to shine through. If you want your guacamole a little spicy, just add 1-3 chilies to the first step when you make the 'paste'. Also, I soak my onions for a few minutes to reduce their bite. If you prefer the bite of raw onions, you can omit the soaking step as well. Go ahead, make it your own! 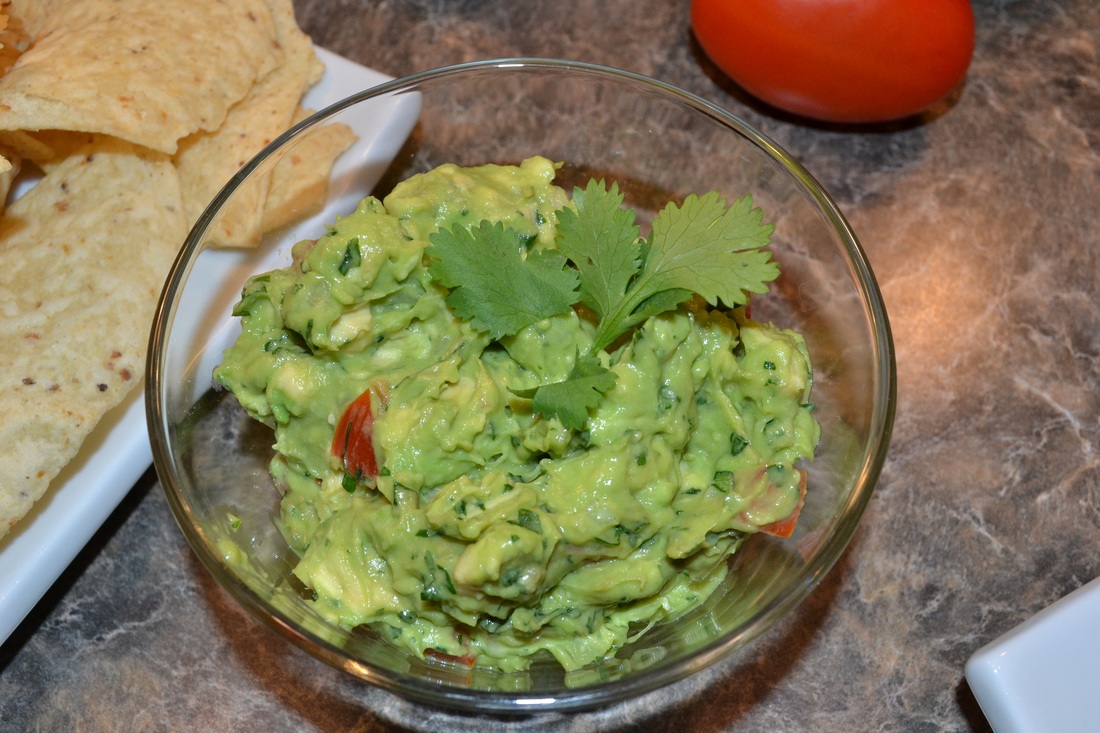 Guacamole
1/4 cup white onion, chopped 3/4 cup torn cilantro kosher salt, big pinch 3 avocados, diced 1 plum tomato, halved, insides discarded, then diced Soak onion in a small bowl with cold water for 10-15 minutes. Drain. Place onion, cilantro and kosher salt in a pile on a cutting board. Chop, then mash into a paste with the flat side of a large knife. Transfer to a medium-sized bowl. Add diced avocados and mash with a wooden spoon until well combined, but still chunky. Stir in the diced tomato. Adjust seasoning with additional kosher salt. Cover with plastic wrap placed directly down on top of the guacamole to reduce oxidation. Place in the refrigerator to allow flavors to meld until you are ready to eat it. Source Food Network Magazine - May 2010 |
AuthorPittsburgh area mom striving to provide clean, healthy, REAL food for her family! Categories
All
Archives
September 2014
|
 RSS Feed
