|
Wow! Where has the time gone??? I can't believe it's been over TWO WEEKS since finishing the 10 Day Pledge (aka - the last time I blogged.) My girls went back to school last week and....well...you know! Since finishing the Pledge my family has had good days and we've had really, really bad days. One thing is for sure, my husband and I agree that most food we've eaten in restaurants since finishing the Pledge was not good - not good at all. This caused us to be: 1) Frustrated because sometimes you want a night off from cooking 2) Angry because we spent good money on these meals 3) But mostly we feel PROUD because we've successfully changed our taste buds and curbed our cravings for junky, processed foods! It amazed me how my favorite dish from my favorite restaurant now tastes like Chef Boyardee to me :) One thing we splurged on over the past two weeks was a visit to Jeni's Splendid Ice Creams while in Columbus, Ohio. I'd heard about Jeni's from Food Network, but wondered if it was worth all the hype. Let me say this - IT WAS! Every. Single. Bite! Oh my! Now, I can't eat Jeni's on a regular basis (which is probably a good thing!) but I CAN make my own wholesome, clean ice cream at home anytime I want! This ice cream is a basic vanilla, but by using high quality ingredients the vanilla and honey flavors really shine through. I used Orange Blossom honey from a local farmer, but imagine the possibilities by changing up the honey flavor! I feel fairly confident that you could serve this to unknowing guests and they'd never guess it was 'clean'! 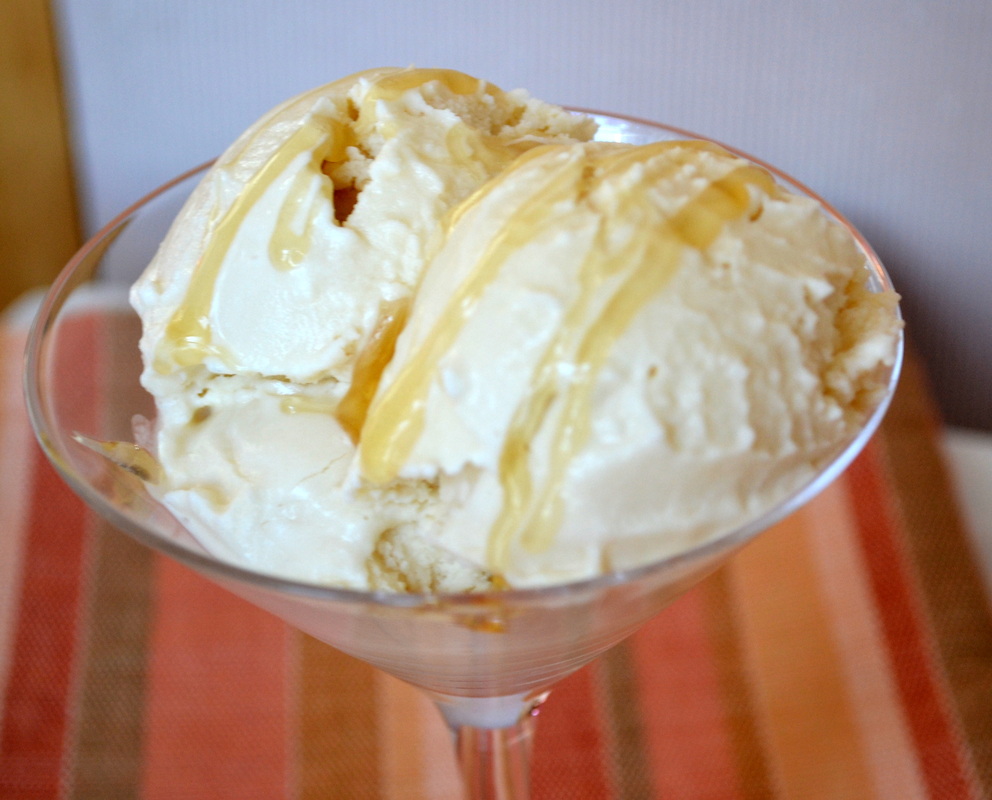
Honey Vanilla Ice Cream 2 1/2 cups heavy cream 1 1/2 cups whole milk, grass-fed organic if possible 1/2 cup good quality honey, local if possible 2 teaspoons vanilla extract (homemade or pure) In a medium saucepan combine cream, milk and honey over medium heat. Bring the mixture to just boiling, while stirring frequently (this prevents the mixture from burning). As soon as the mixture boils, turn off the heat and stir in the vanilla extract. Cover the saucepan and let sit at room temperature for 1 hour. After 1 hour, place the saucepan in the refrigerator until completely cool. **I usually make the mixture after dinner and place it in the refrigerator overnight. Once the mixture is completely cool, give it a quick whisk to break up any large lumps that may have formed. Don't worry about getting it completely smooth - the little chunks will taste great in the finished product! Pour the mixture into your ice cream maker and follow the manufacturer's directions. Once the mixture becomes soft-serve ice cream, transfer it to a freezer-safe container and place in the freezer. I've found that these long, shallow containers seem to provide the most even freezing and allow for easier scooping. After 1 hour in the freezer, take out the ice cream and give it a stir. Place it back in the freezer for another 4-6 hours before serving. If you add a bit of honey to your serving it hardens a little and tastes like a little bite of caramel! Yum! 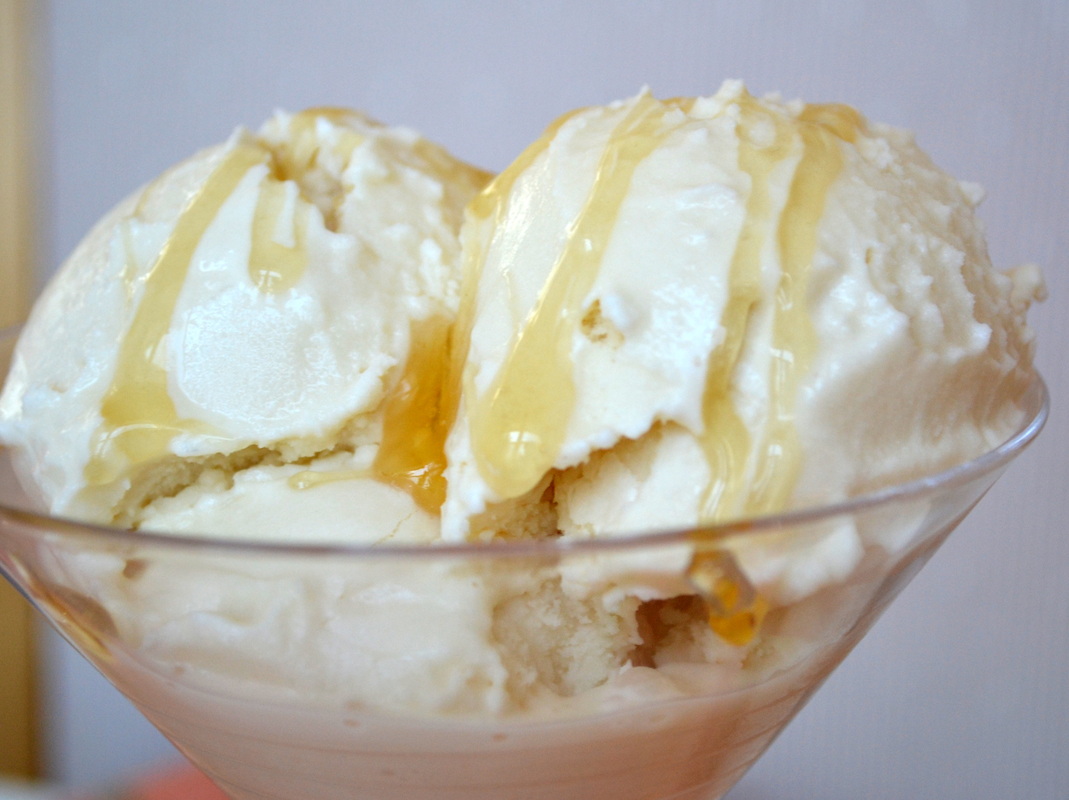
Source:
Adapted from Thank Heavens
0 Comments
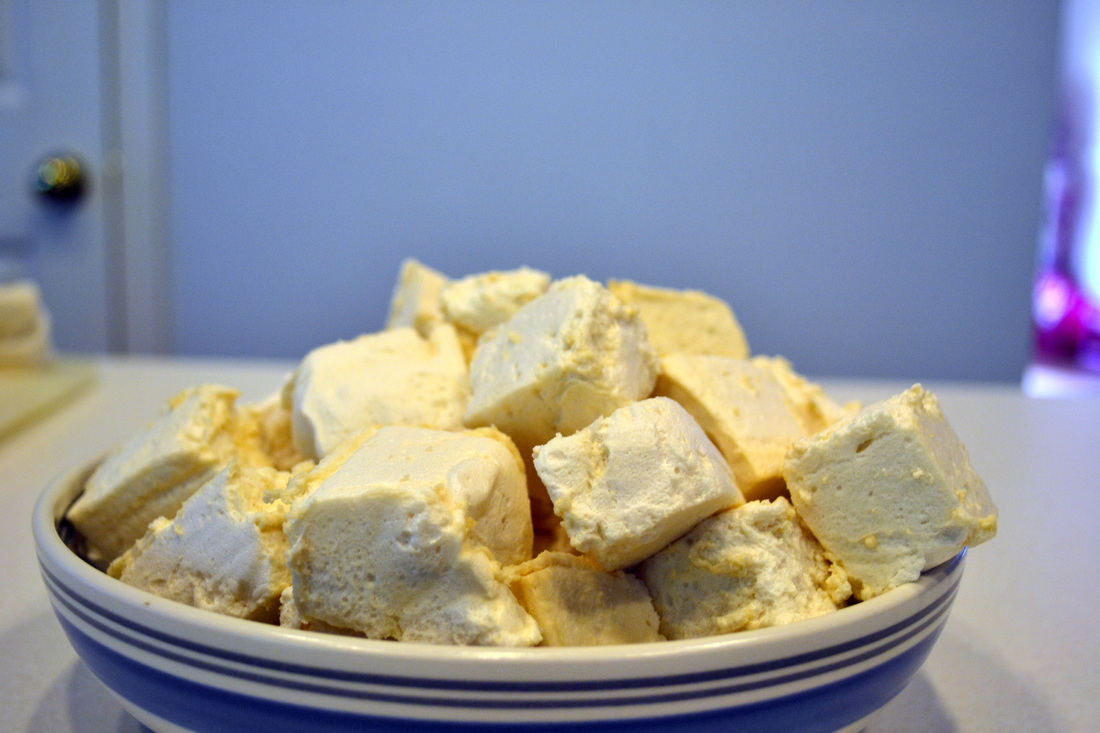
It seems like sugar has been all over the news lately. We are learning each day about more and more dangers associated with a high sugar diet. Personally, I have known I should cut back on my sugar intake for awhile, but I've never been able to commit to it (see all the cupcake recipes on the old blog) and for very good reason: sugar is addictive! Fortunately for me, my sugar 'addiction' has never manifested into any health issues, but too much sugar can lead to diabetes, obesity, food cravings, heart disease and behavior issues in children. In my opinion, one of the biggest issues with sugar today is that we aren't finding our sugar in our nightly after-dinner bowl of ice cream. No, today we're finding loads of it in our morning breakfast cereal, in that mid-morning granola bar or the soup/sandwich combo at lunch. Simply put, once you start reading the labels, you see that sugar is in nearly everything we eat. Trying to cut it out is so very, very hard. For that reason, I was super excited to find this brownie recipe that uses honey instead of white sugar! One of my passions is teaching my young daughters how to choose healthy foods or even crave them. My older daughter is definitely my bigger challenge. She loves sweets! And lucky for her, some sort of sweet is provided to her nearly every day. She has been offered (and usually accepted) cookies/lollipops/candy/mints at more places than I can even count - school (this is a big one!), the grocery store, restaurants, CCD, story time at the book store and even boutique shops! I don't want to be the parent who always says 'NO' but I want my girls to understand that those things should be thought of as a 'sometimes treat'. If I can't control what is going on 'out there' at least I can control what I am doing 'in here'. We recently went camping and s'mores were a requirement for my daughters. I found a more wholesome option for the chocolate and graham crackers we used to buy, but when it came down to finding better marshmallows, they just didn't exist. I did find vegan marshmallows, but they too had sugar listed as the first ingredient. What to do? Find a recipe without sugar and make them myself! This recipe uses honey to sweeten the marshmallows. Honey has been found to have more nutrients than white sugar so it is slightly healthier, but it raises the blood sugar and is quite dense in calories so it should still be consumed in moderation. I, personally, prefer honey over sugar because it is less processed and in a more natural state than sugar. These marshmallows were extremely well received by my two toughest critics - Jordan and Brecken! They melted nicely over the campfire and oozed out of the graham cracker just like they were supposed to! The honey flavor is very predominant, so you can have a lot of fun with different flavors of honey - orange blossom would be amazing!! 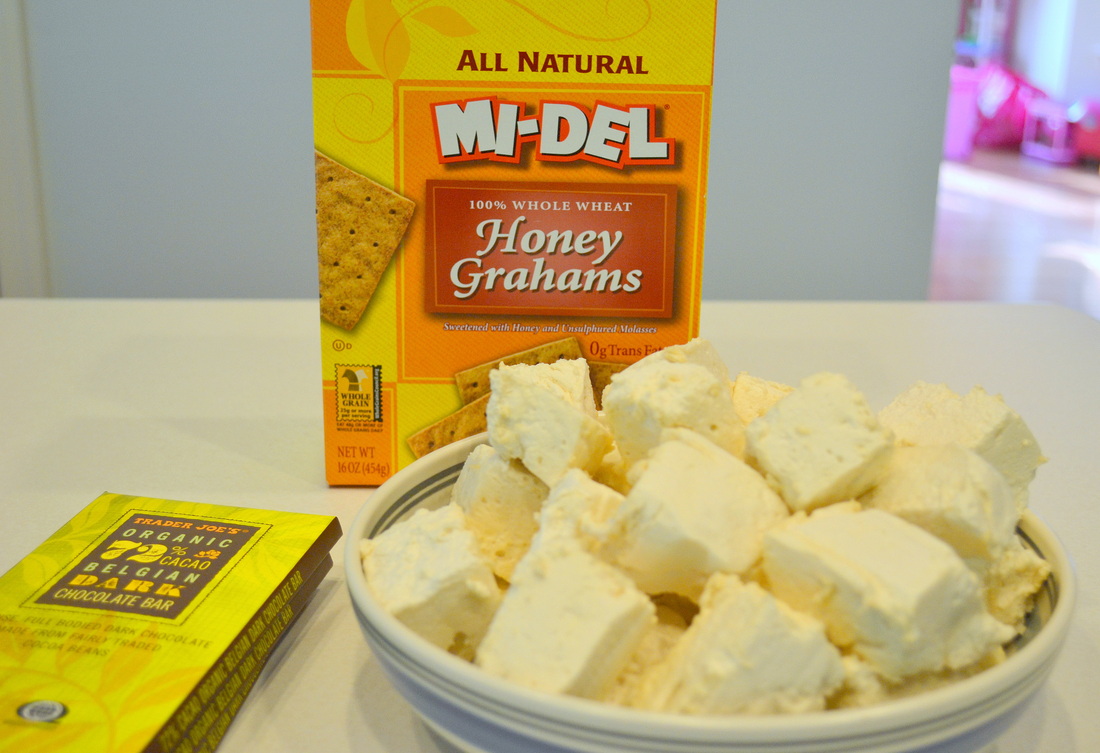
DIY (Sugar-Free) Marshmallows 1 cup water 4 tablespoons unflavored gelatin 1 cup honey 2 teaspoons vanilla 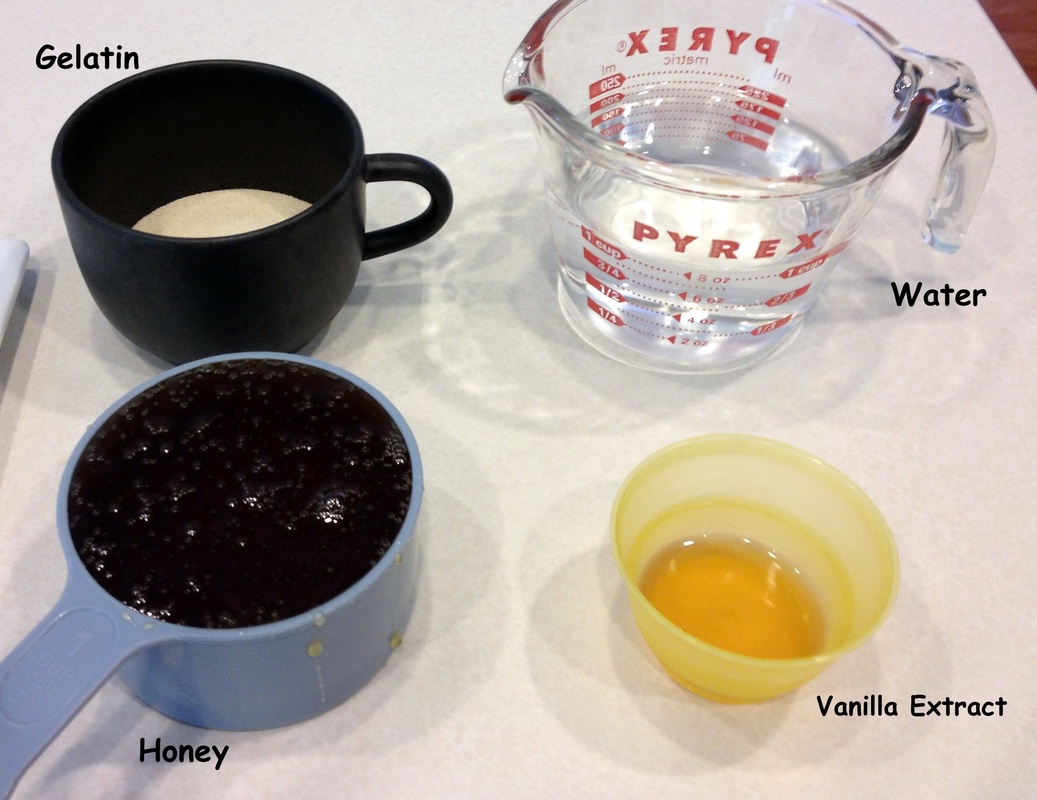
Pour 1/2 cup of the water into the bowl of a stand mixer. Sprinkle the gelatin on top of the water. Whisk until combined. Pour the other 1/2 cup of water into a small saucepan with the honey. Heat the mixture over medium heat until a thermometer registers 230° F - don't stir the mixture! Keep the heat at medium and 'swirl' the pan if necessary. This step could take a few minutes. 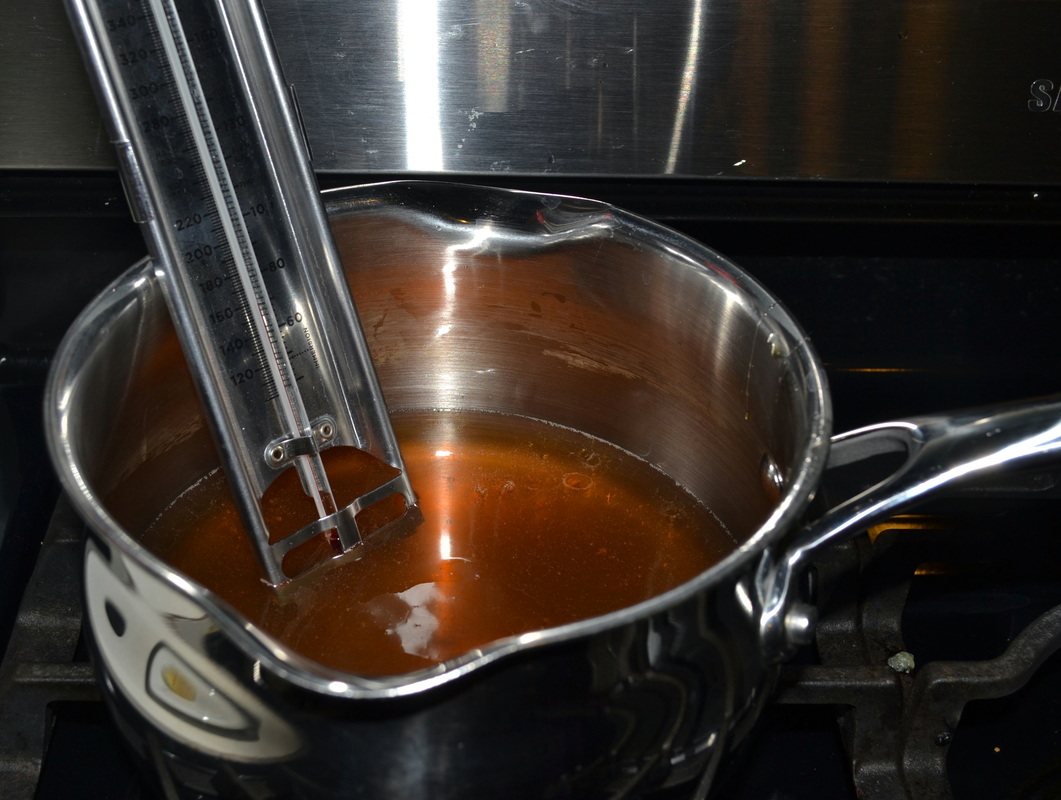
With the mixer running on low, very slowly pour the honey/water mixture into the gelatin mixture. Once the mix is incorporated, turn the mixer on high. Whisk on high for several minutes (5-10) until the mixture turns white and fluffy. Do not overmix. 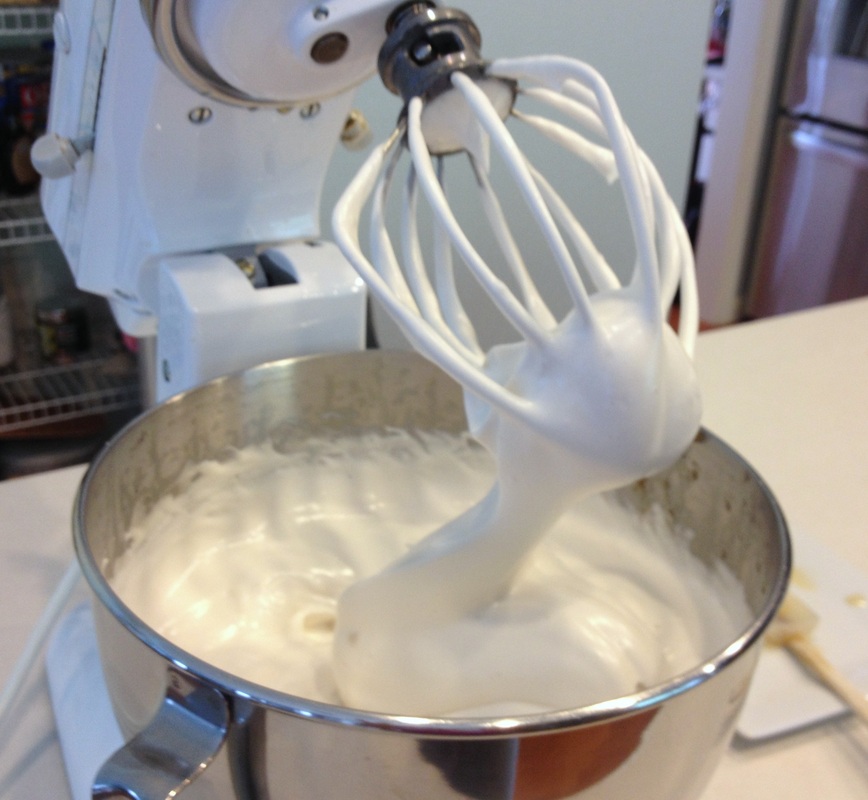
Pour the mixture into an 8x11 pan lined with parchment paper. For thinner marshmallows, use a 9x13 pan. These come out pretty thick and were great for roasting over the campfire! Tap the pan on the counter a few times to release any air bubbles. 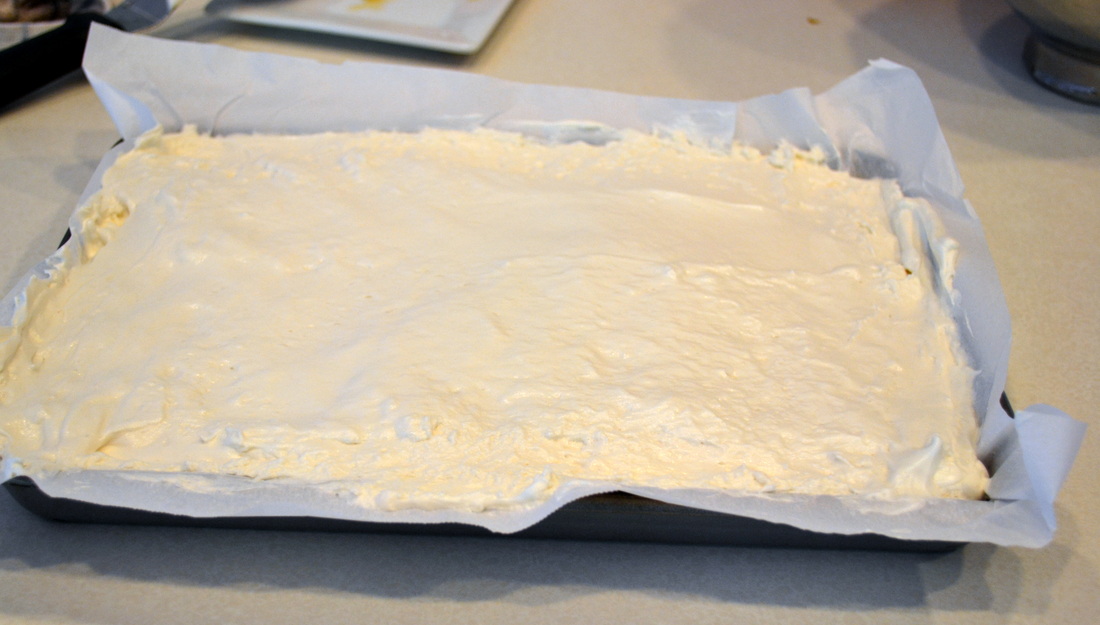
Allow the marshmallows to set in a dry place (not the refrigerator) for at least 8 hours before cutting. Cut into squares about 1x1 inches big. A pizza cutter dipped in coconut oil would work well here. Place them on a cutting board and cover with a dry, clean dishtowel overnight so that they dry out a little more. This step allows them to become easier to handle. 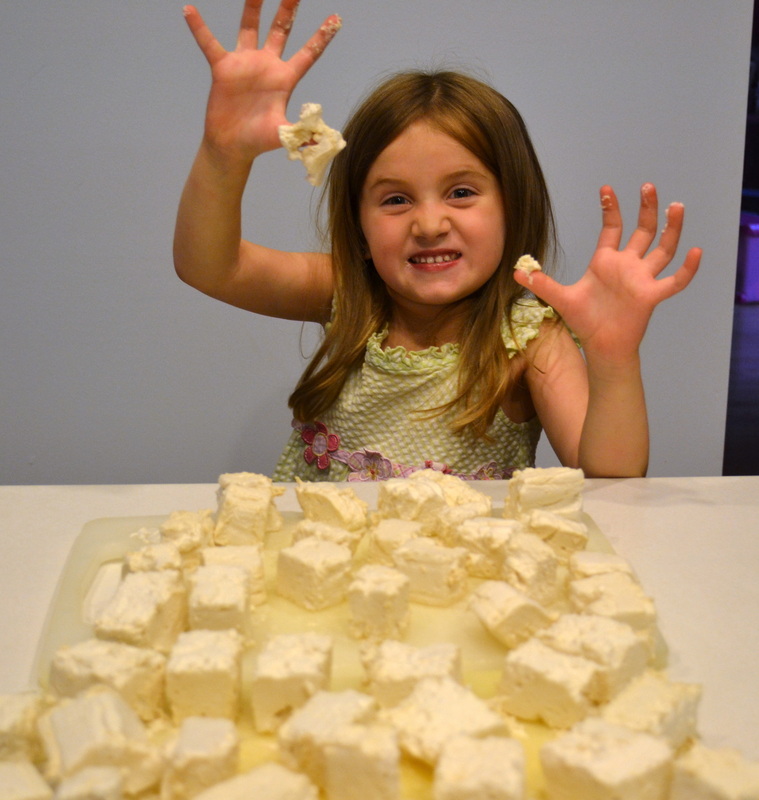
Store the marshmallows in an airtight container for 1-2 weeks. If you are planning on toasting them on the campfire, try to make them at least 2 days beforehand so that are sufficiently dry to the touch. I see endless possibilities of the fun we can have with these marshmallows! I'm planning on experimenting with all sorts of flavors of honey...maybe adding some cocoa powder to the honey mixture....maybe some fresh mint leaves around Christmastime.... let your imagination go crazy! Source:
Adapted from An Organic Wife When I started learning about 'Clean Eating' earlier this year I quickly realized that the phrase can be interpreted many different ways. For some people it means no gluten, for others it means no sugar and for others it means all organic foods. The definition that made the most sense for me and my family is the one that Lisa Leake used during her 100 Days of Real Food pledge. Here is a quick summary of the 'rules' she followed:
Now, these are the rules the Leakes used during their pledge and though I'd LOVE to live this way 100% of the time, I realize that it's not realistic for me. However, I do try to eat by these rules most of the time. Rather than commit to 100 days of real food like the Leakes did, they offer a different challenge to their readers - A 10 Day Pledge! For as much as I've learned about and talked about Clean Eating over the past 8 months I've yet to take this pledge myself. That's all about to change! I'm excited to announce that I am going to take the 10 Day Pledge beginning August 12, 2014! ( We have this little event coming up known as my daughter's 9th birthday...so I thought I should wait til after that!) I invite YOU to join me and sign up for the pledge yourself so we can do it together! So, now that we've defined what Clean Eating means to me, I'd like to share a recipe with you. I thought that a great way to start off the blog would be with dessert, of course! Brownies! I first tried these brownies a few months ago when my friend made them for her diabetic daughter. Only after my non-diabetic kids devoured these brownies she told me that they were gluten free AND sugar free! Since my older daughter has a major sweet tooth and has never met a carb she didn't love, I thought these would be a fantastic addition to her lunchbox in a few weeks. These are made with a high quality almond flour (I find mine at Costco) and honey which my kids love! The original recipe calls for chocolate chunks and orange zest. Though I really enjoyed the orange zest, it got mixed reviews in my house so I omitted it. Also, in an effort to make these completely sugar free I omitted the chocolate chunks as well. If I were making these for a special occasion I would totally use them, but for an everyday lunchbox treat I think they are just fine without them. Also, to add a little extra depth to them, I topped them with a little fleur de sal when they were done baking. 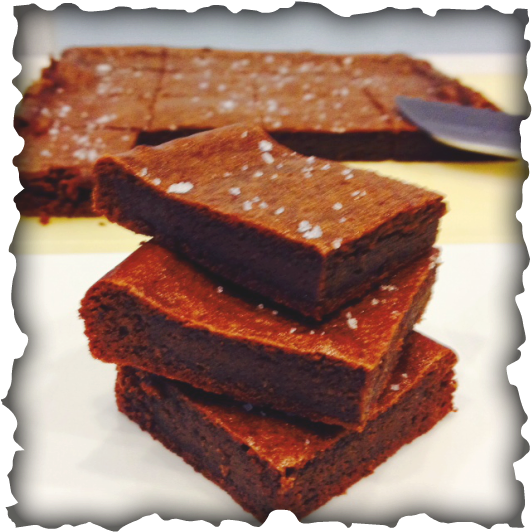
Fudgy Brownies (Gluten Free and Sugar Free) Makes 16 1/2 cup blanched almond flour 1/4 cup cocoa powder 1/2 teaspoon fleur de sel (or other flaky sea salt) 3 eggs 1/2 cup honey 1/2 cup coconut oil Pinch of fleur de sel (for garnish) Preheat oven to 350° F. Line an 8x8 inch square baking pan with parchment paper. Butter the parchment or spray with extra virgin olive oil. Place almond flour in the bowl of a food processor and process until smooth and any chunks have broken down. Pulse in cocoa powder and fleur de sel until mixture is well blended, about 10 seconds. Add eggs, one at a time, and process until mixture is smooth. Add honey and coconut oil and continue blending until the mixture is smooth and all ingredients are fully incorporated. Pour mixture into prepared pan. Bake for 25-30 minutes or until a toothpick inserted into the middle comes out clean. Allow to cool about 15 minutes before removing from the pan using the parchment to lift it out. When brownies are completely cooled, sprinkle with additional fleur de sel and cut into 16 squares. 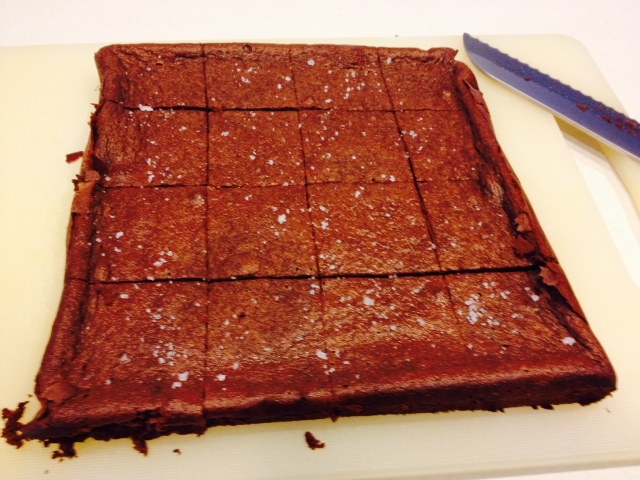
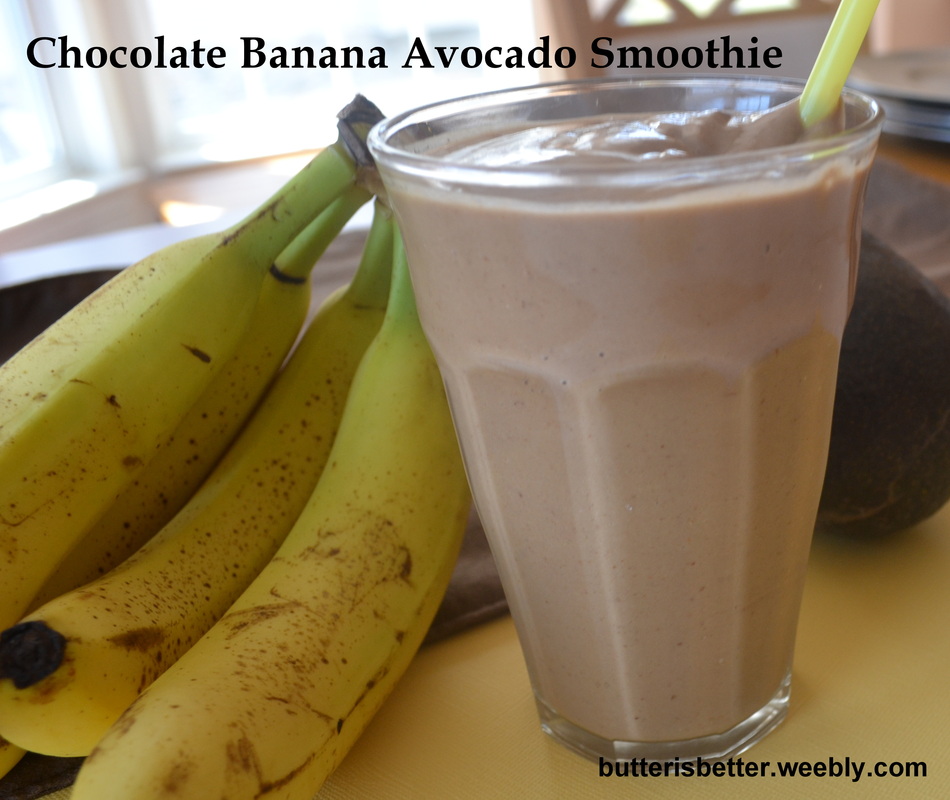
Happy Monday! I hope everyone had a great weekend! If you overindulged a bit (and don't we all?) I have the perfect recipe for you! This is another recipe that features my very favorite fruit: the avocado. Over the past few years I have developed a lower and lower tolerance to milk (and sadly, milkshakes), so I've been enjoying less and less smoothies and milkshakes. I had read many times that avocados are a great addition to shakes and smoothies to get the creaminess that is missing from non-dairy versions. I had never actively searched for a recipe but once I came across this recipe on Pinterest and knew this was one to try! Lots of smoothies look healthy but are secretly filled with tons of sugar and calories. What I like about this smoothie is that it is dairy-free (yaaay!), contains 1 1/2 servings of fruit, is sweetened with honey, not sugar and has tons of protein. This drink totally disguised itself as a chocolate milkshake to my two princesses! JP liked it and Bean loved it. My little Bean definitely acquired Mommy's avocado obsession :) It's chocolate-y and creamy and sweet, but not too sweet. The avocado is there, but I swear you can barely taste it. It's a great way to sneak a lot of healthy things into your kids! 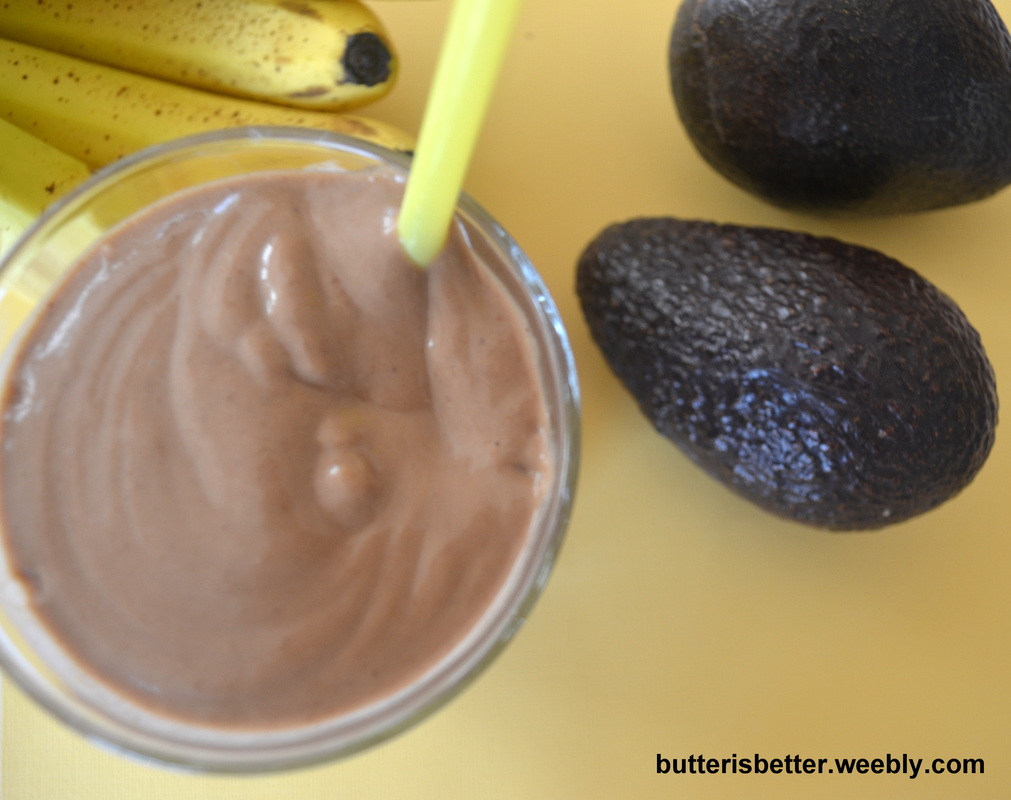
Chocolate Banana Avocado Smoothie Serves 2 1 cup unsweetened almond milk 1/2 cup crushed ice 1 ripe banana 1 tablespoon honey (you can use dates if you want to make this vegan) 1/2 ripe avocado 2 tablespoons natural cocoa powder 2 tablespoons almond butter (make your own here!) 1 1/2 teaspoons ground flax seed Combine all ingredients in a blender until smooth, about 30 seconds. Source:
Adapted from Against All Grain 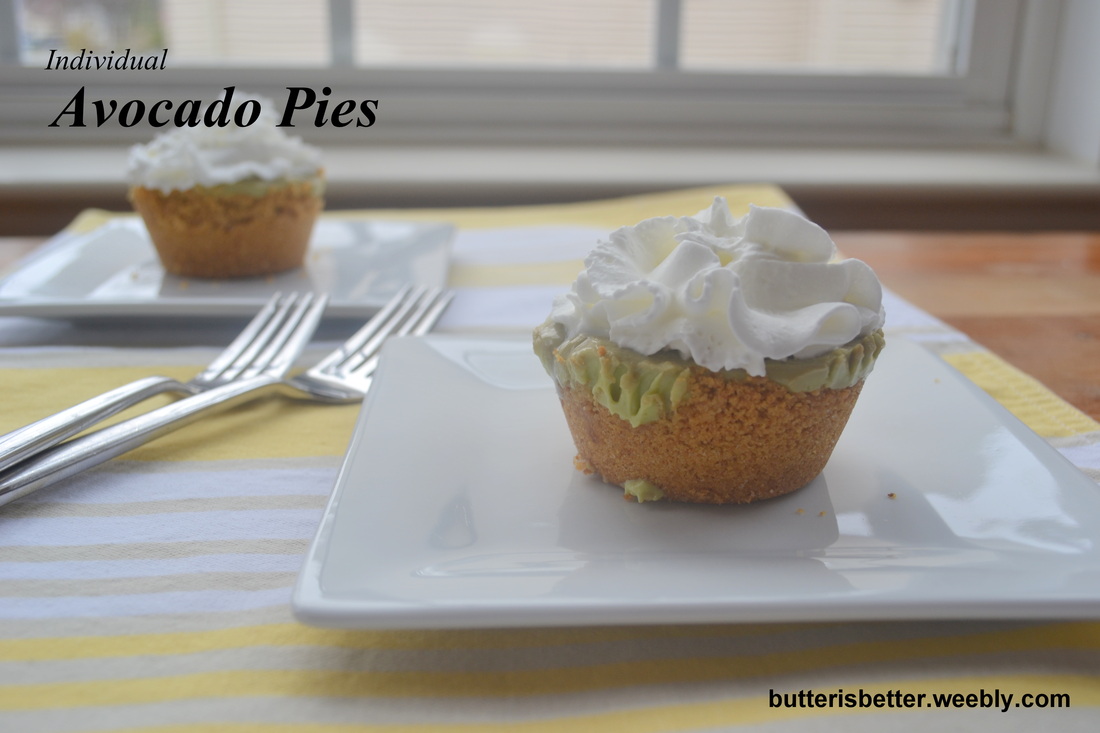
Have you ever tried an avocado? Do you love avocados? No, I mean love avocados? I do! I'm kind of obsessed with them lately, especially since I can get them for $.79 at Aldi! Even if you think you don't like avocados, I'm asking you to hear me out. I actually have two pretty unconventional avocado recipes to share with you. Both of them have the avocado flavor neatly disguised within the recipe (pretty sneaky, huh?) With the weekend coming up I decided today's selection would be a sweet and sinful dessert. On Monday I'll give you something healthy to start your week off right. :) I have been eating avocados in guacamole and on salads and sandwiches for years. When I was pregnant with Princess #1 I never had much of an appetite in the morning, but I always craved cottage cheese with diced avocado (so yummy!) for breakfast. A few years ago I was on a play date and another mom (from India, I believe) told me that she grew up eating avocados in sweet, dessert foods, never savory as we know it here in America. As I sat there eating guacamole I couldn't even imagine the flavor in something sweet. Hmmm...intriguing. Being the foodie that I am I started to be on the lookout for a dessert that consisted of avocados. About a year later I found it in Food Network Magazine. The recipe seemed simple enough so I gave it a try. I figured I'd like it but wasn't sure about my family. To my surprise it was very well received! The avocado flavor was mild and blended well with the sweetness of the sweetened condensed milk and the citrus juice in it gave it the tangy feel of a key lime pie. Other than baking the pie crust, this is basically a no-bake recipe, which makes it perfect for hot summer months. I knew I would be making this one again! It took a few years but I finally got around to whipping this up again with a few small improvements. The original recipe is to be made in a springform pan and serve 8. I found the pieces tended to fall apart when it was cut and 1/8 of the pie was just a bit too rich for anyone to finish their piece. I adapted the recipe to make individual pies using a 12-cup muffin tin which did a few things: 1) the crust to filling ratio is a higher so you taste a bit of crunchy graham cracker in nearly every creamy bite. 2) the serving size is smaller so everyone could finish their portion and there was no waste. 3) the presentation is adorable on little square plates with a generous amount of whipped cream on top! If you've ever work with avocados before you know that they oxidize rather quickly. The addition of citrus slows down the oxidation (browning) but doesn't eliminate it altogether. I found that these tasted best the first day I made them and the following day. By Day #3 they were still ok, but not as tasty as the first two days. Also, don't plan on taking these to an outside event in the summer where they will sit on a dessert table for a few hours...trust me on this...just don't! 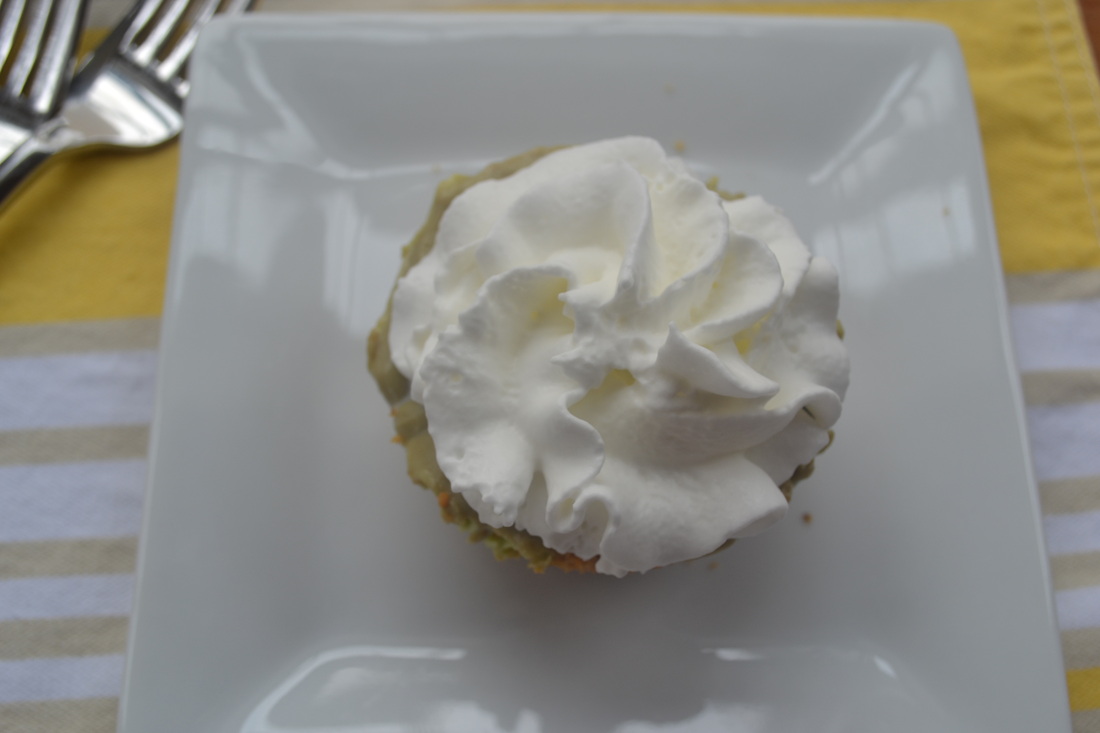
Individual Avocado Pies Serves 12 For the crust 5 tablespoons unsalted butter, melted 1 1/2 cups graham cracker crumbs 1 tablespoon granulated sugar 1/8 teaspoon kosher salt For the filling 2 medium, ripe Haas avocados 1 8-ounce package cream cheese, at room temperature 1 14-ounce can sweetened condensed milk 2 1/2 tablespoons fresh lime juice 1 1/2 tablespoons fresh lemon juice 1/8 teaspoon kosher salt Preheat oven to 350° F. Spray 12-cup muffin tin with cooking spray. Combine melted butter, graham cracker crumbs, sugar and salt in a medium bowl. Press the graham cracker crumb mixture into the bottom and up the sides of each cup in the muffin tin. Bake until golden brown, about 9-10 minutes. Allow to cool completely on a wire rack. Once the crust has cooled completely, make the filling. Halve and pit the avocado and roughly chop the flesh. Add to the bowl of a stand mixer (a hand mixer can also be used) with the softened cream cheese and beat until combined and smooth. Add the sweetened condensed milk, lime juice, lemon juice and salt. Beat until smooth and fluffy, scraping the sides of the bowl as needed. Divide the filling evenly among the 12 prepared crusts. Cover pies completely with a piece of plastic wrap, making sure to press it down directly on top of the pie filling (this helps reduce oxidation). Chill thoroughly, about 4 hours. To serve, loosen pies from muffin tin with a fork. Add whipped cream, if desired. 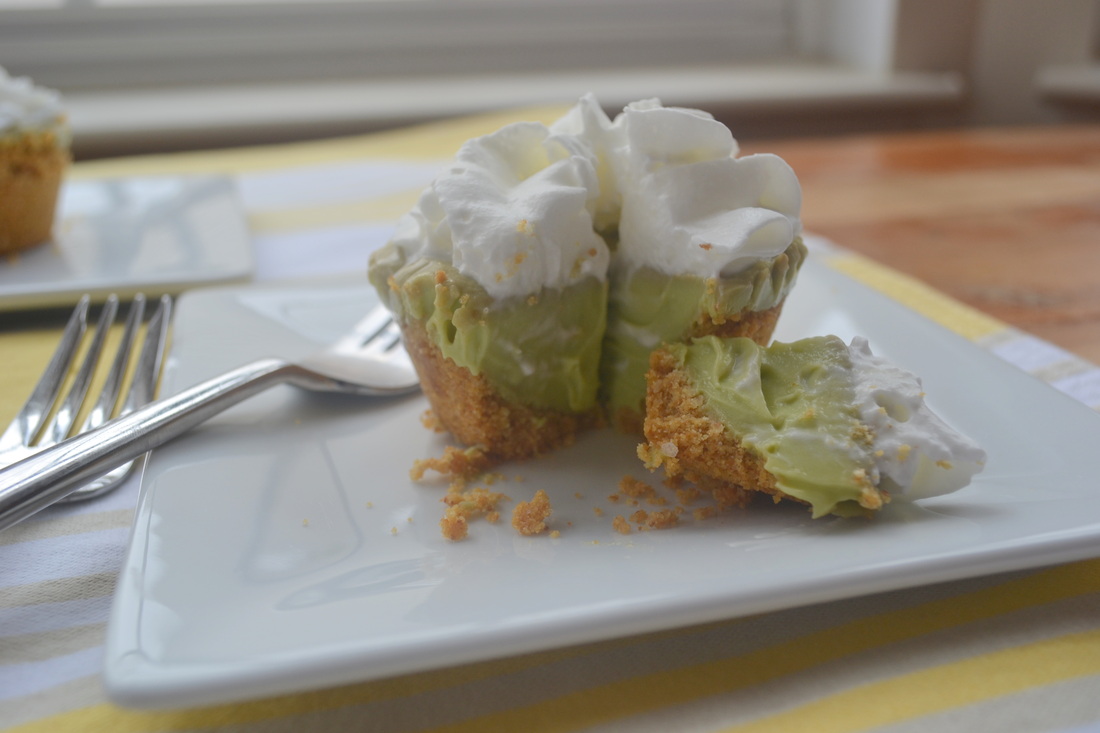
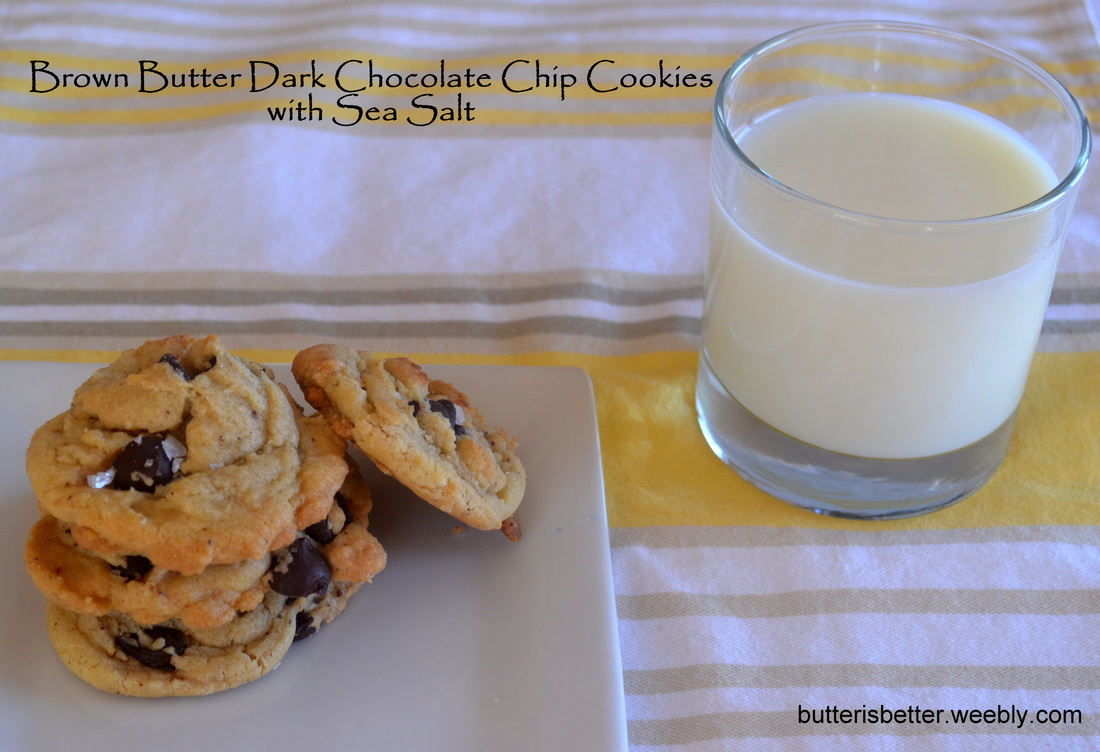
I know, I know. Crazy long title for a little cookie. But I didn't want to leave any one, delicious ingredient out of the name. Brown butter - just like regular butter, but toasty and nutty and filled with awesomeness. Dark chocolate chips - just like regular chocolate chips, but richer and a little bitter and a little better for you, too. Sea salt - my second kitchen love (after butter, of course) that comes in so many unique varieties. They are all important players in the game. What you end up with here is a basic Nestle Toll House cookie that's been dressed up all fancy and treated with extra love. Yeah, that's exactly what you have here. I've been trying to think of ways to take something simple and well-known and really amp it up and make it mine. I had been thinking about fancifying the basic chocolate chip cookie for a while now since seeing all of those brown butter, Nutella-stuffed, sea salt cookies all over Pinterest. I finally had a chance to give this idea a try since we hosted out of town guests this past weekend. The cookies were made Friday night with the intention of taking pictures Saturday afternoon when we had a rare sun-filled PA day. Let me tell you, by Saturday afternoon they were almost gone! Can you say "Success"? I couldn't stop eating them on Saturday - so much for cutting back on sugar. I ran 7-miles on Saturday morning so I sort of gave myself a free pass! Ha! Browning butter is a relatively easy thing to do. You just heat the butter over medium-low heat until it starts to turn brown and smell nutty. Watch it very carefully because no one wants cookies made with burnt butter! Check out this tutorial here. You can use any sea salt you have or kosher salt, but I used this fancy Maldon Sea Salt I bought a while ago. It's so neat looking - almost looks like little pyramids - so cool! I think it really imparts a nice, balance salt flavor to these salty-sweet dishes that are so popular now. 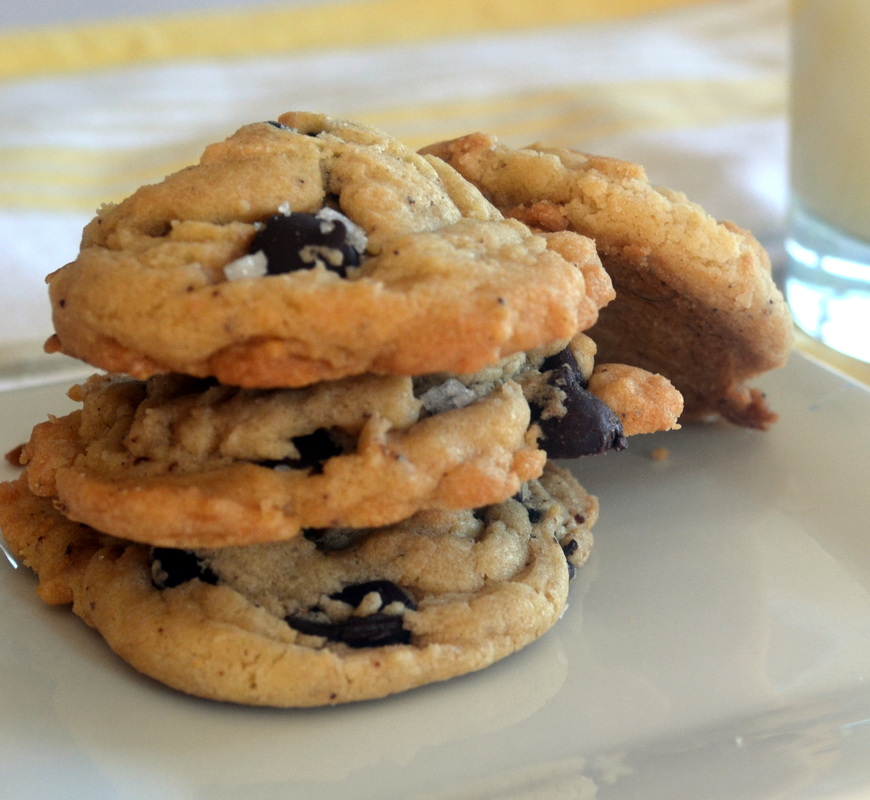
Brown Butter Dark Chocolate Chip Cookies with Sea Salt Makes about 30 cookies 2 1/4 cups all-purpose flour 1 teaspoon baking soda 1 teaspoon flaky sea salt, I used Maldon 2 sticks of unsalted butter, browned (see this link) and slightly cooled 3/4 cup granulated sugar 3/4 cup brown sugar 1 teaspoon vanilla extract 2 large eggs 12 ounces dark chocolate chips Additional sea salt, for topping Preheat oven to 375° F. Line two baking sheets with silicon baking mats. Set aside. In a medium bowl, combine flour, baking soda and salt. Whisk to blend. Set aside. In a large bowl combine brown butter, granulated sugar, brown sugar and vanilla extract. Mix until well-combined. Add in the eggs and mix until blended. In two or three batches, add in the flour mixture and stir until just combined. Fold the chocolate chips into the batter. Drop by heaping tablespoons onto the prepared cookie sheets. Bake for 9-11 minutes or until golden brown. Sprinkle hot cookies with additional sea salt. Allow to cool on the cookie sheets for about 5 minutes before transferring to a wire rack to cool completely. 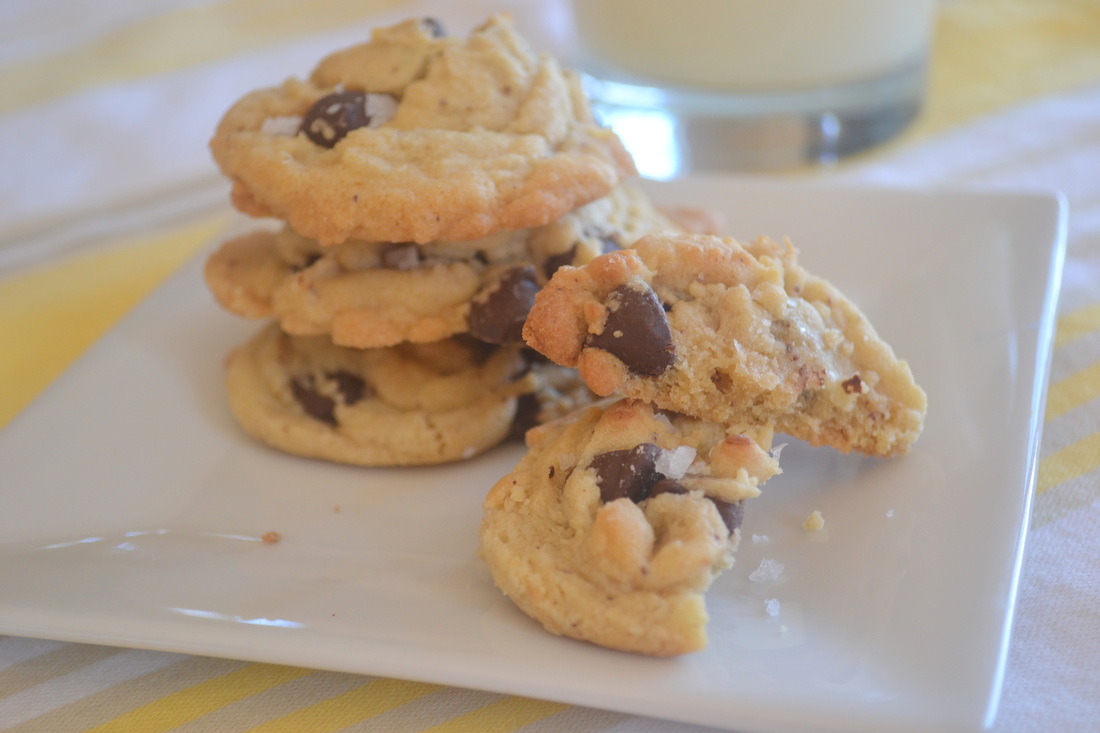
Source:
Adapted from Nestle Toll House 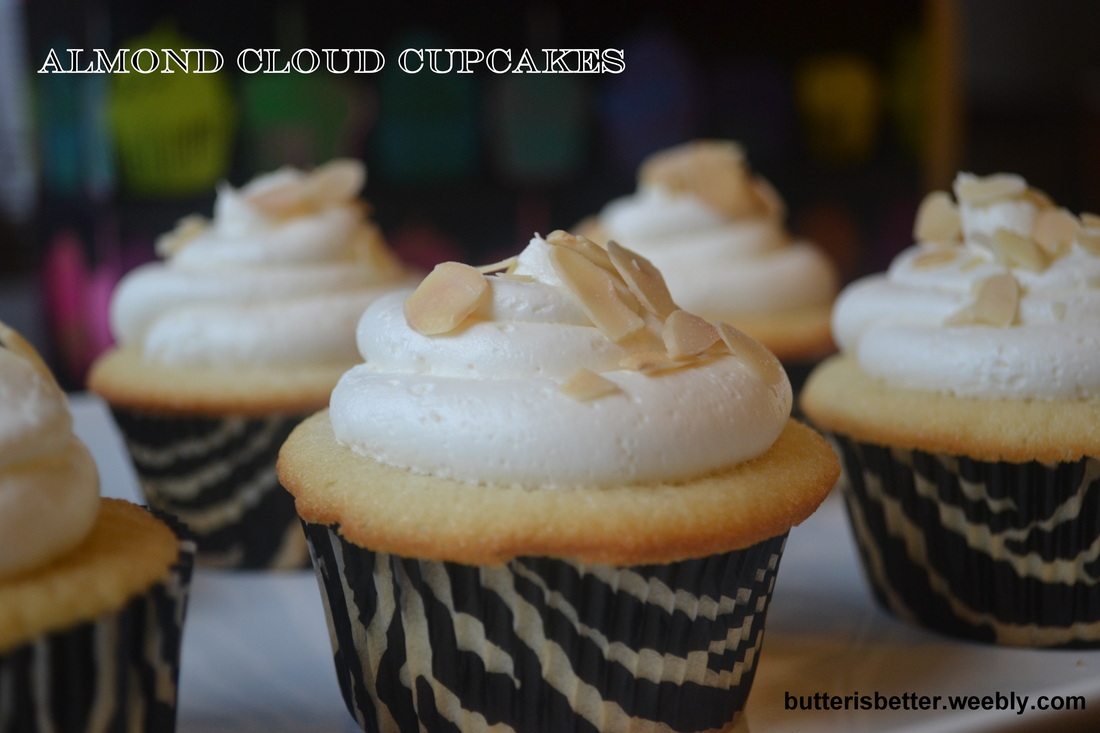
This past weekend I celebrated my 39th birthday. 39....a number that doesn't scare me or depress me, but rather baffles me. How? When? Wasn't I just 26 yesterday? I wonder where all the years have gone and think back to when my parents were 39 - I remember that time vividly. Am I really as grown-up now as they were then? Wow...I guess so? I have a home, a family and responsibilities so I guess that means I've been a grown-up for some time now. But...39? I guess the best part about turning 39 is not feeling 39! I feel happier and healthier than I ever have in my life before! Part of that is due to me trying to find inner peace and life and in parenting (that's a biggie). I attribute the other part to my dedication to fitness and exercise. I've always enjoyed exercising, but in my younger days I felt like it was a chore...something to check off of my To Do list. The last few years I've embraced exercise (especially running) as a way to have some time to myself or time with friends. A time to really push my body to its limits and a little bit farther. A time to work on achieving goals I could only dream about a decade ago. With all that being said, I'm working on a Birthday Resolution of sorts - I'm trying to stop worrying about the number on my scale and start paying attention to how good and strong my body feels when I treat it right! I plan to hit 40 happier and healthier than I hit 39!! BUT, before we do all that....LET'S EAT SOME CUPCAKES!! I, unapologetically, decided to bake myself cupcakes for my birthday again this year since I enjoyed last year's cupcakes so much. I had no plans on a party or a small gathering, I just wanted to enjoy baking my own birthday (cup)cake and eating more cupcakes than I want or need. I looked through lots of blogs and cookbooks trying to find this year's perfect cupcake. I ended up settling on this Almond Cloud Cupcake I had at a cooking class I took many years ago at Crate Cooking School. This was the perfect choice because it is a rather simple recipe - ie, I had most of the ingredients on hand and would be enjoying cupcake satisfaction in a very short amount of time. The cake itself is light and airy with a hint of almond flavor - the almond flavor really comes through in the icing. I decided to top it off with some toasted, slivered almonds which gives the perfect amount of crunch. 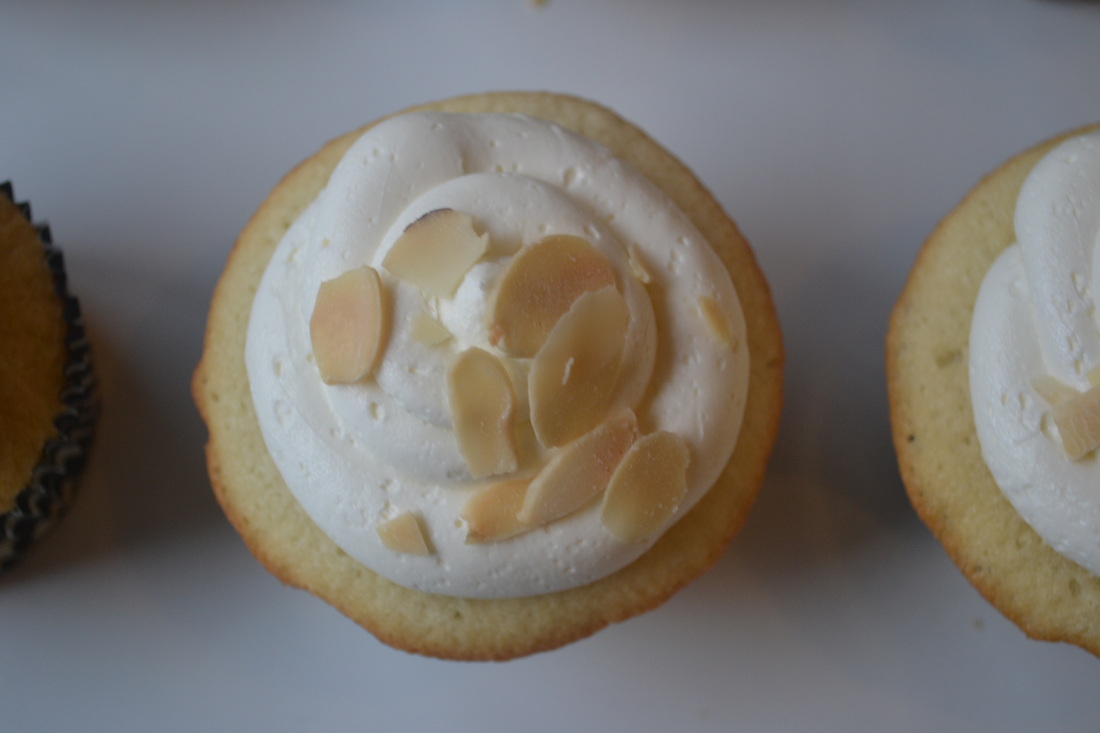
Almond Cloud Cupcakes Makes about 24 cupcakes For the cupcakes 2 1/4 cups all-purpose flour 1 2/3 cups granulated sugar 3 1/2 teaspoons baking powder 1 teaspoon salt 1 1/4 cups 2% milk 2/3 cup unsalted butter, at room temperature 1 teaspoon almond extract 5 egg whites Preheat the oven to 350° F. Line 2 standard cupcake pans with liners. Set aside. In the bowl of a stand mixer fitted with a paddle attachment add flour, sugar, baking powder, salt, milk, butter and almond extract. Beat on low sped for about 30 seconds to combine. Adjust the speed to medium-high and beat another 2 minutes, scraping the bowl as necessary. Add egg whites and beat on medium-high for another 2 minutes. Scoop the batter into the prepared liners, filling about 2/3 full. Bake for 18-22 minutes until a toothpick inserted in the center comes out clean. Allow cupcakes to cool in pans for about 5 minutes before transferring to a wire rack to cool completely. For the Almond Buttercream 16 tablespoons unsalted butter, at room temperature (I prefer Plugra, European butter) 4 cups confectioners' sugar, sifted 1 teaspoon almond extract 2 1/2 tablespoons cold water Place the butter in the bowl of a stand mixer fitted with a paddle attachment. Cream the butter for 1-2 minutes. Add 2 cups of confectioner's sugar and mix on low until well combined. Add almond extract and water, mixing for about 30 seconds. Add the remaining 2 cups of confectioner's sugar and mix until just incorporated. Increase mixer speed to medium-high and beat until light and fluffy, about 5-7 minutes. Transfer buttercream to a pastry bag fitted with a wide tip and frost cupcakes. Top with toasted, slivered almonds, if desired. 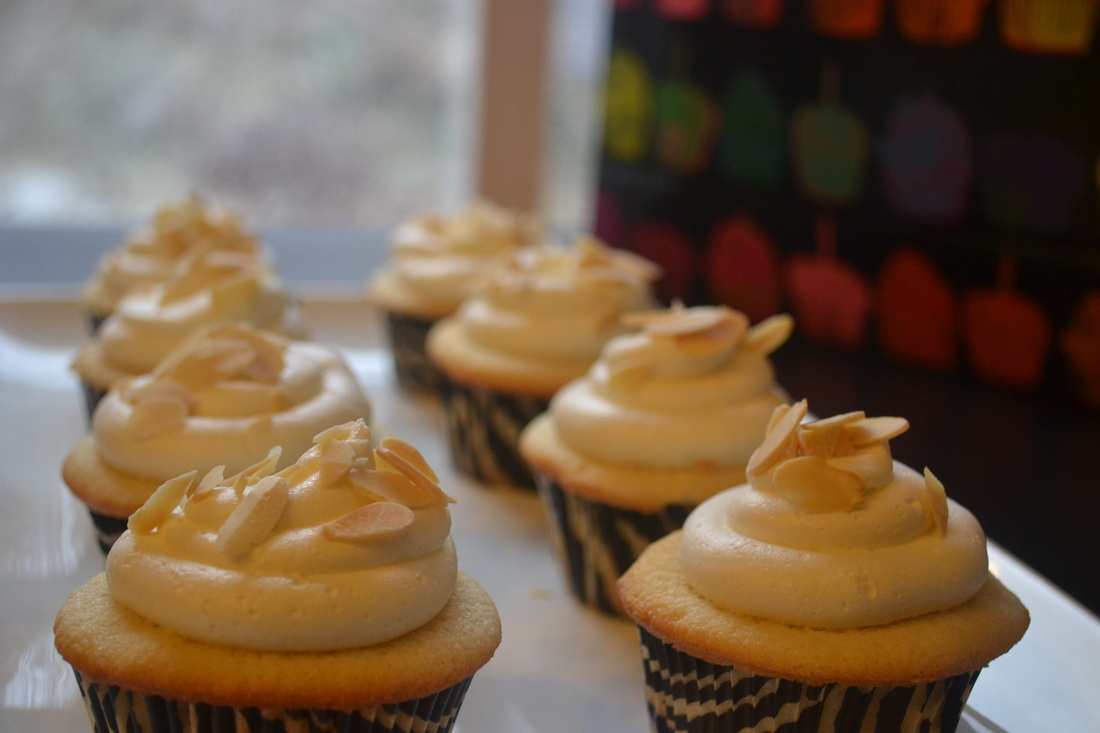
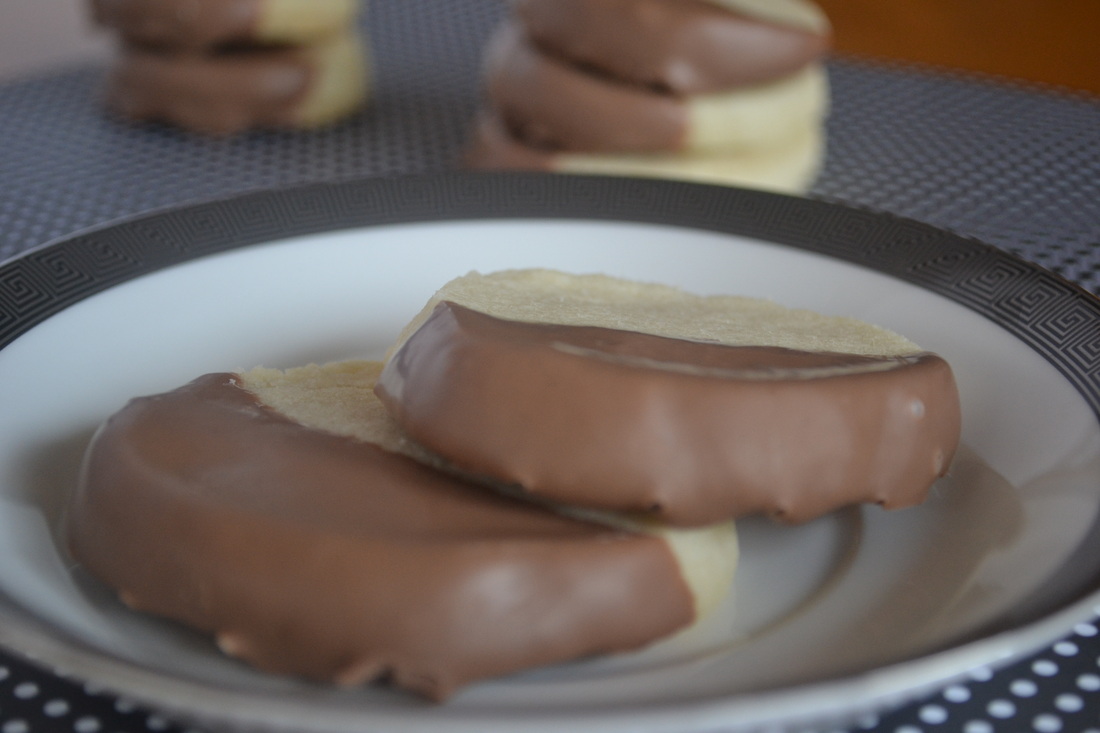
After the craziness of the second half of 2012 with the move and the overblown holidays (self-imposed...I know) I vowed to sit back and relax in January. Besides running and playing in the kitchen I succeeded in doing very little last month. By the end of the month I was starting to feel like a shut-in! All that's changed in February. How is it that the 31 days of January drug by so slow and then I blink and it's already February 20? Where did this month go? I have a good idea - it's called back to reality! After-school activities, meetings, doctor appointments, birthday parties, school parties.....like I said, reality. This past weekend I was lucky enough to spend 48 glorious hours with my hubby and our little princesses at Kalahari in Sandusky, Ohio. This is an indoor waterpark and resort about 3 hours away from us. It was so much fun and such a great feeling to wear flip flops and bathing suits again for a little while! I love weekend getaways but they always leave me feeling flustered and 'behind' on things. Tonight my 2nd grader had her First Reconciliation and each parent was asked to bring a dozen cookies for a little reception afterwards. Now, you all know me, so there was no way I was running out to the local grocery store for said cookies! In lieu of how much I have on my plate right now I chose to make a simple shortbread cookie and dip them in chocolate for a little something extra. They are so easy and delicious that I wonder why I don't make shortbread cookies more often. Oh wait, I know why - because I would eat them all! They are chewy and crumbly: buttery, salty and sweet. They are simple perfection! And after a quick dip in melted chocolate they are just that much better! 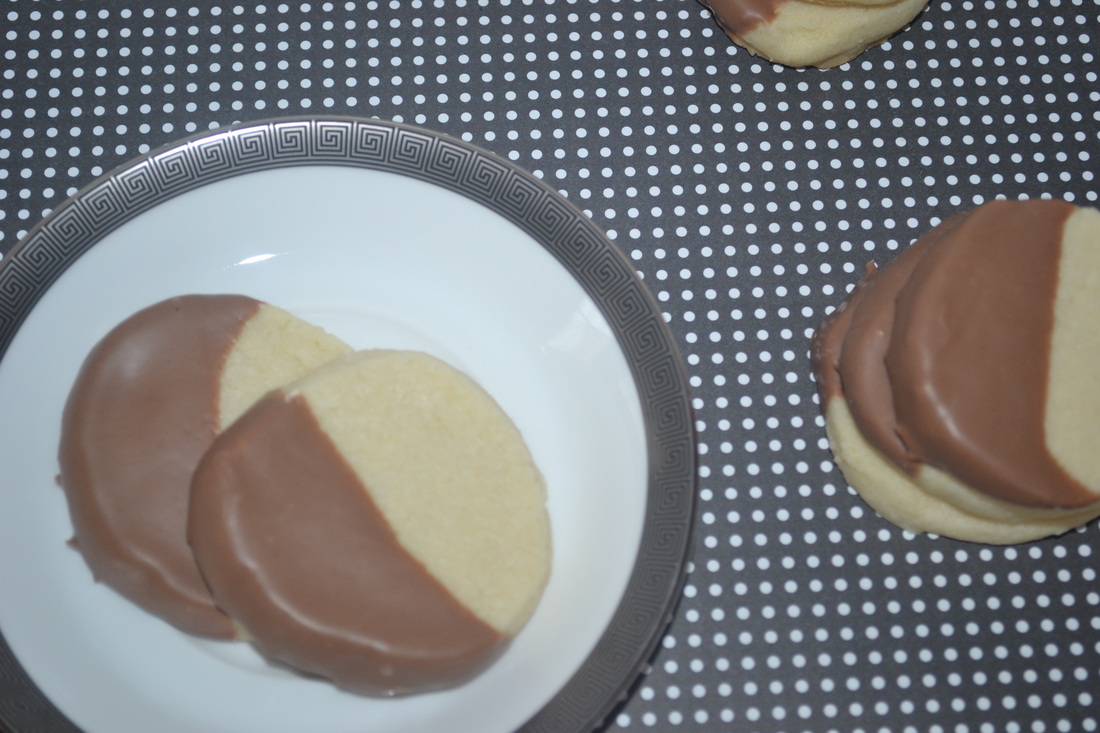
Chocolate Dipped Shortbread Cookies
Makes about 3 dozen 1 cup (2 sticks) unsalted butter, at room temperature 1 teaspoon kosher salt 3/4 cup granulated sugar 2 cups all-purpose flour 1/2 pound milk chocolate, wafers In the bowl of a stand mixer fitted with the paddle attachment, cream the butter, salt and sugar together for about 2 minutes. Add the flour and mix just until combined and a cohesive dough is formed. Roll the dough into a long roll, 1 1/2 to 2 inches in diameter. Wrap tightly in parchment paper and freeze until very firm, 30 minutes to 1 hour. Preheat the oven to 300° F. Line two baking sheets with parchment paper or a silicon baking mat. Set aside. Remove the log of dough from the freezer and slice into cookies, no thinner than 1/4 inch in thickness. Bake for 20-25 minutes, until the bottoms are a light sand color. Allow to cool on the baking sheets a few minutes before moving them to a wire rack to cool completely. Place about 2/3 of the chocolate wafers in a microwave safe bowl, preferably glass. Put the bowl in the microwave and cook for 40 seconds. Remove from the microwave and stir. Place the bowl back in the microwave for 20 seconds, then stir again. Continue heating the chocolate for 20 seconds and stirring until the chocolate is smooth and reads about 110° F. Once the chocolate is melted and smooth, add the remaining 1/3 of the chocolate wafers to the melted chocolate and stir gently. Any clumps remaining should melt slowly. Dip 1/2 of the shortbread cookie into the melted chocolate. Place on a wire rack to cool and harden the chocolate. Source: Cookies adapted from King Arthur's Flour Baker's Companion Chocolate melting technique provided by the Foodies at Market District 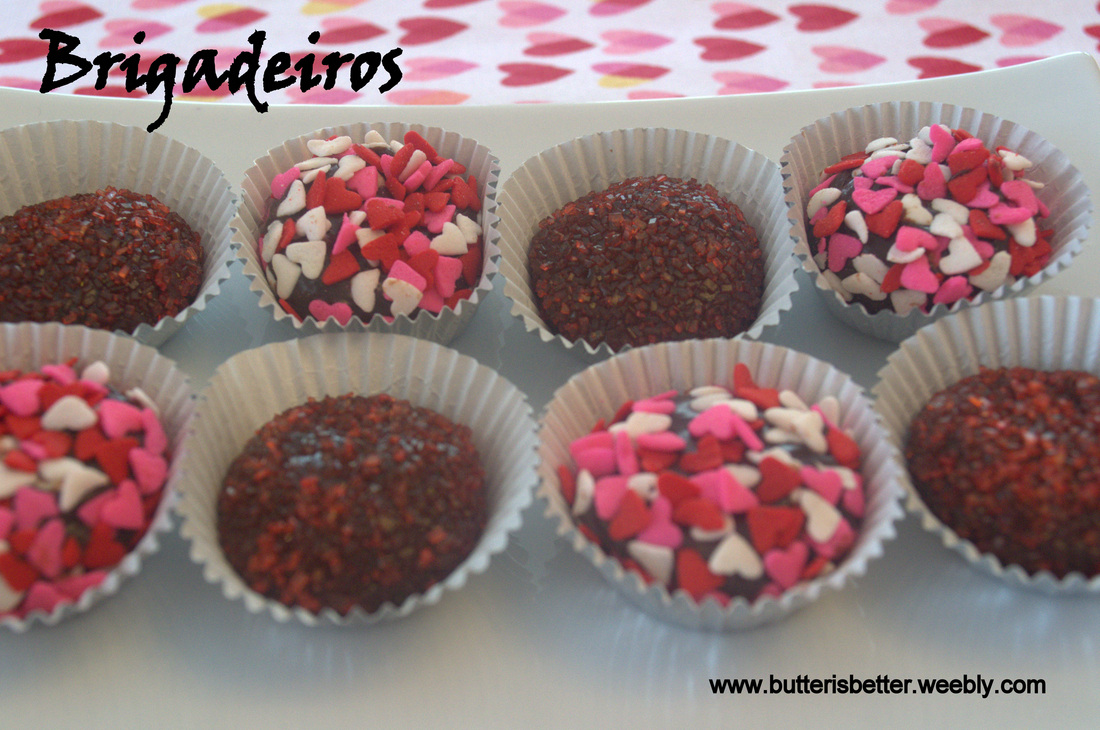
Brigadeiros. Ever heard of them before? Me either until very recently. A few months ago I was watching Unique Sweets on Cooking Channel when I first heard of these and I was intrigued by them. They look like a truffle, all small and chocolatey and decorated up cute as can be. But they aren't a truffle. Hmmm...what ARE they??? According to a quick search on Wikipedia, brigadeiros are a Brazilian truffle made with sweetened condensed milk, butter and cocoa powder, unlike traditional truffles that are made with melted chocolate and heavy cream. They are a very popular candy in Brazil and Portugal and are often served at children's birthday parties. Ok, I'm even more intrigued. I would love to try them but I have no plans of going to Brazil anytime soon (though my passport is aching to be used again!) Imagine my excitement when I opened the new America's Test Kitchen DIY Cookbook and found a recipe for brigadeiros!! These were a MUST MAKE! So, last weekend I gave them a try and found them to be ridiculously easy to make! You basically stir, stir and stir some more. Then you chill the mixture for a while before rolling into balls and decorating with the coatings of your choice. They are rich and delicious with a taste somewhere between raw brownie batter and hot fudge sauce! Yum! I found that crystallized sugar was my family's favorite topping to give them that extra little crunch. If you are still looking for a sweet treat to make for your valentine this week, you should definitely give these little gems a try!! 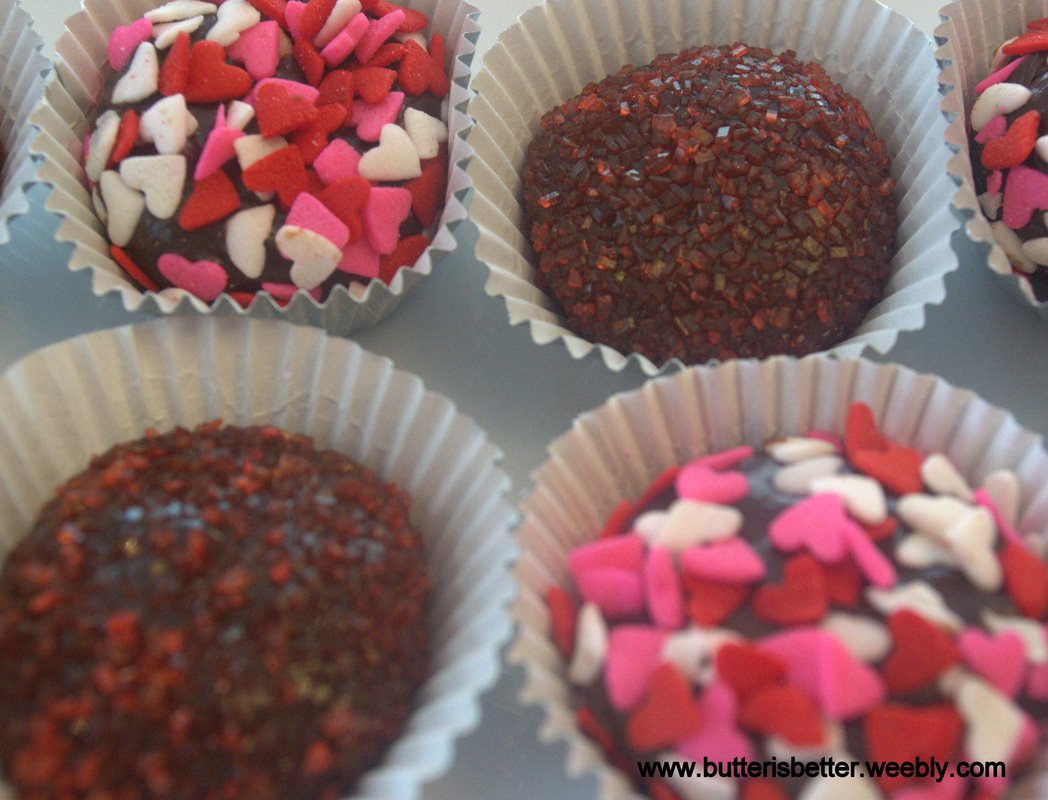
Brigadeiros
Makes about 30 1 14-ounce can sweetened, condensed milk 1/2 cup (1 1/2 ounces) Dutch-processed cocoa powder 2 tablespoons unsalted butter Sprinkles, crystallized sugar, cocoa powder, etc for topping Grease and 8-inch square baking dish. Set aside. Combine sweetened condensed milk, cocoa powder and butter in a medium saucepan. Cook over low heat, stirring frequently, until the mixture is very thick. When you run a rubber spatula over the bottom of the pan it should leave a distinct trail. This will take about 20-25 minutes. Do not be tempted to turn the heat up - keep it on low or it will burn. Once the mixture has thickened, pour into prepared baking dish. Refrigerate until cool, at least 30 minutes or up to 24 hours. If leaving the dish in the refrigerator overnight, cover with foil or plastic wrap. Pinch or scrape the chocolate into 1 tablespoon-sized pieces. Place the chocolates on a cookie sheet lined with a silicon baking mat or parchment paper. Place the chocolates back in the refrigerator to chill before rolling. After about 30 minutes take the pan out of the refrigerator and roll inch 1-inch balls. My candies got very soft during this process so I placed them back on the cookie sheet for another 30 minutes. Once they chill again, roll them in your desired toppings. Store in the refrigerator up to 2 weeks. Source: Adapted from The America's Test Kitchen DIY Cookbook 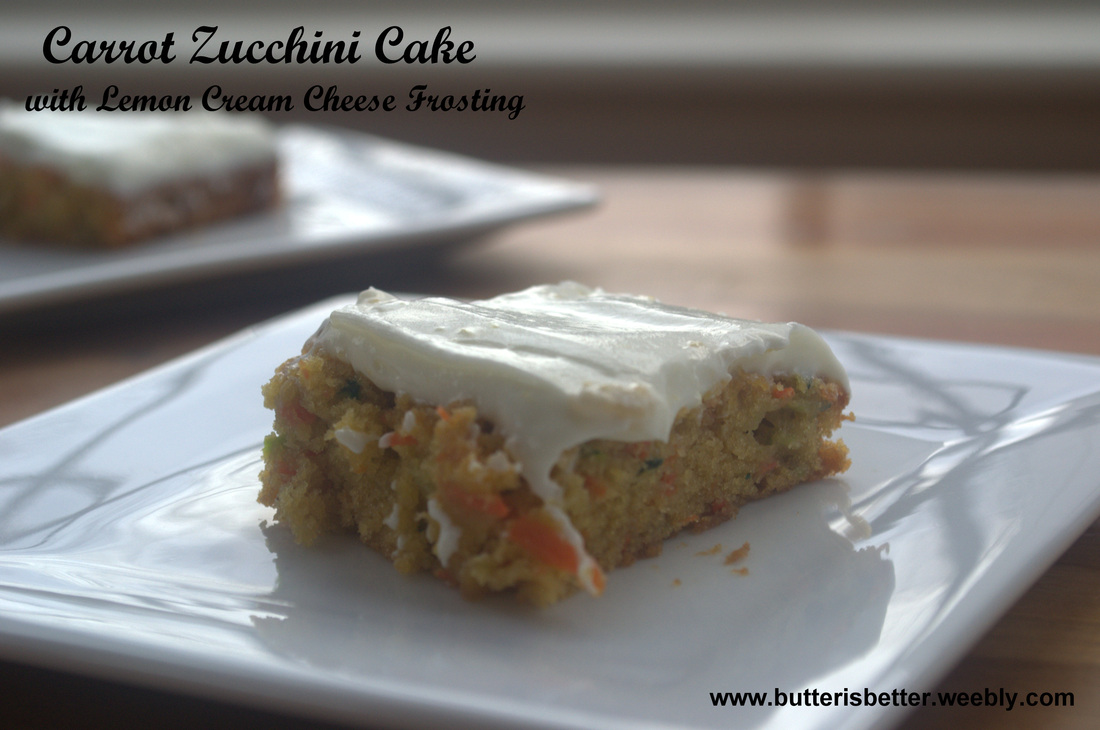
It's finally January 31st. Hooray for making it through the seemingly longest month of the year! For me this month was long and cold but mostly restful and rejuvenating. The last half of 2012 was such a whirlwind for me and my family that January was a much needed 'down' month for us. Besides playing taxi-mom and going to the grocery store I practically became a shut-in during January! I'm proud to say that my month of rest and dedication has netted some great results! I'm down 7 pounds and up to 4-mile "long runs" and I feel great! I've been SO GOOD about Weight Watchers until....well, until this cake! Stupid cake. I mean, awesome cake. No, cake-that-broke-my-resolve. Er....healthy, tasty, not-too-sweet cake. Ugh....DELICIOUS CAKE! I'm still craving veggies and citrus so when I came across this recipe on Pinterest I knew I had to make it soon. It's moist and slightly tangy and I managed to work it into my Weigh Watchers plan. One piece...yes. Two, three and four pieces...not so much. *sigh* Oh well. Weight Watchers is great, but I love cooking, baking and food too much to commit to it much longer. It gave me a great jump start to the new year and Half Marathon training so we're all good! 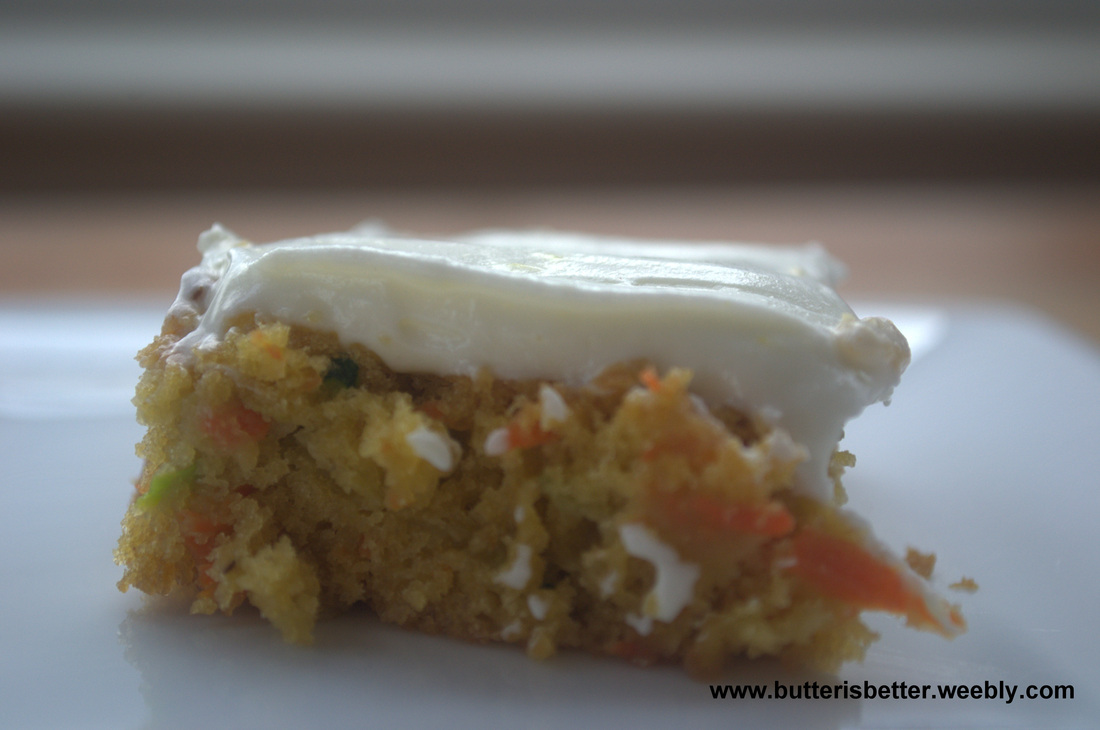
Carrot Zucchini Cake with Lemon Cream Cheese Frosting Makes 24 pieces For the cake 1 1/2 cups all-purpose flour 1 teaspoon baking powder 1/2 teaspoon ground ginger 1/4 teaspoon baking soda 2 eggs, slightly beaten 3/4 cup brown sugar, packed 1/2 cup canola oil 1/4 cup honey 1 teaspoon vanilla extract 1 1/2 cups shredded carrot 1 cup shredded zucchini 1/2 cup chopped pecans For the frosting 8 ounces reduced-fat cream cheese 1 cup powdered sugar 1 teaspoon lemon zest (about 1 lemon) 1/2 teaspoon lemon juice **Tip: Zest your lemons while they are whole, before juicing. It is MUCH easier this way! Preheat oven to 350° F. In a medium bowl, combine flour, baking powder, ground ginger and baking soda. Stir with a whisk. Set aside. In a large bowl combine the eggs, brown sugar, canola oil, honey and vanilla extract. Fold in carrots, zucchini and pecans. Gradually add the flour mixture to the wet ingredients. Stir until just combined. Pour batter into an ungreased 13x9 baking pan. Bake for 25 or until a toothpick inserted in the center comes out clean. Cool completely in the pan before frosting. Once the cake is completely cooled make the frosting. In the bowl of a stand mixer combine cream cheese, powdered sugar, lemon zest and lemon juice. Beat until light and fluffy. Spread the frosting over the cooled cake. Cut into 24 pieces. 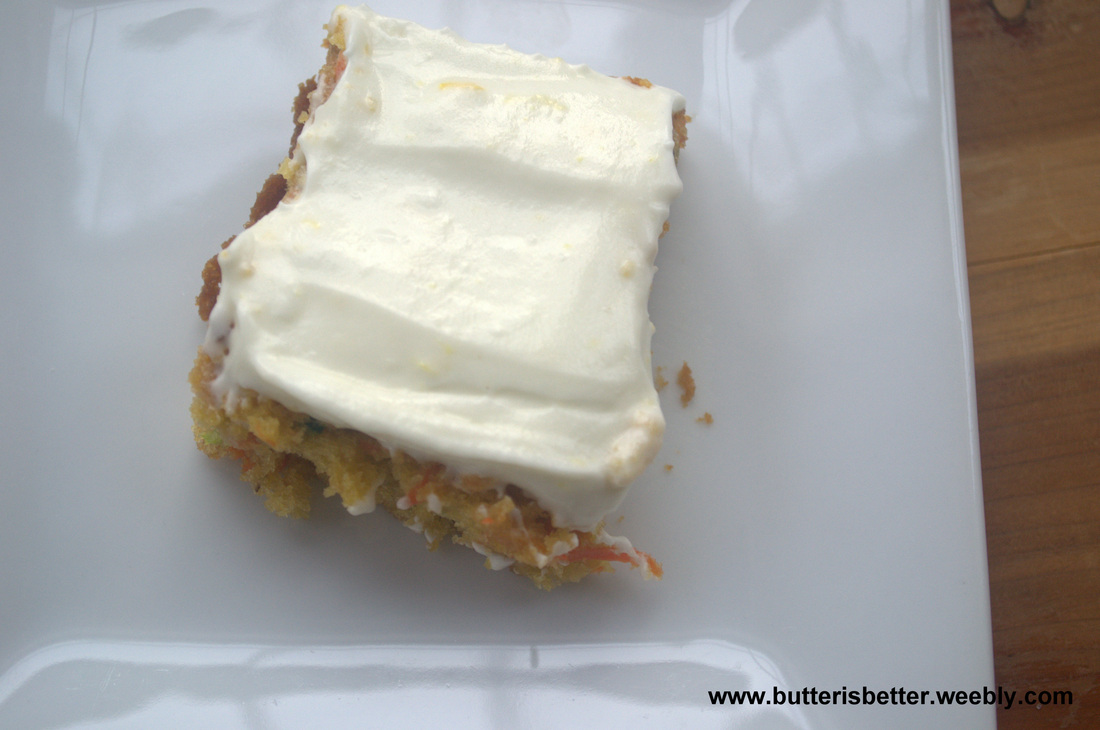
|
AuthorPittsburgh area mom striving to provide clean, healthy, REAL food for her family! Categories
All
Archives
September 2014
|
 RSS Feed
