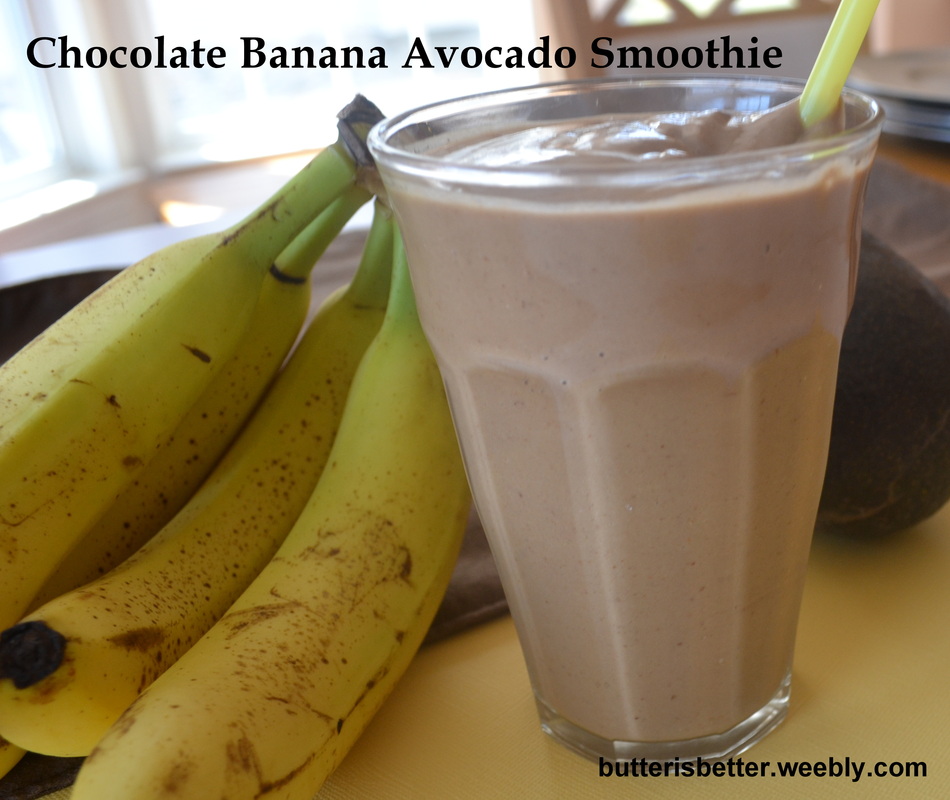
Happy Monday! I hope everyone had a great weekend! If you overindulged a bit (and don't we all?) I have the perfect recipe for you! This is another recipe that features my very favorite fruit: the avocado. Over the past few years I have developed a lower and lower tolerance to milk (and sadly, milkshakes), so I've been enjoying less and less smoothies and milkshakes. I had read many times that avocados are a great addition to shakes and smoothies to get the creaminess that is missing from non-dairy versions. I had never actively searched for a recipe but once I came across this recipe on Pinterest and knew this was one to try! Lots of smoothies look healthy but are secretly filled with tons of sugar and calories. What I like about this smoothie is that it is dairy-free (yaaay!), contains 1 1/2 servings of fruit, is sweetened with honey, not sugar and has tons of protein. This drink totally disguised itself as a chocolate milkshake to my two princesses! JP liked it and Bean loved it. My little Bean definitely acquired Mommy's avocado obsession :) It's chocolate-y and creamy and sweet, but not too sweet. The avocado is there, but I swear you can barely taste it. It's a great way to sneak a lot of healthy things into your kids! 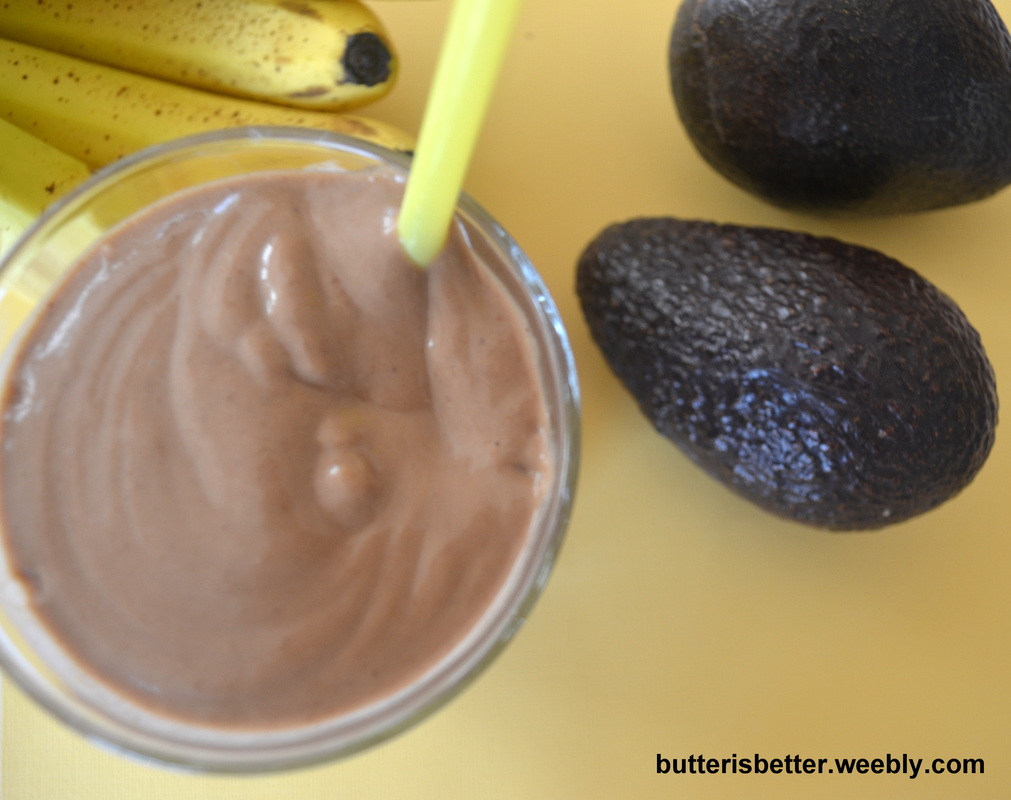
Chocolate Banana Avocado Smoothie Serves 2 1 cup unsweetened almond milk 1/2 cup crushed ice 1 ripe banana 1 tablespoon honey (you can use dates if you want to make this vegan) 1/2 ripe avocado 2 tablespoons natural cocoa powder 2 tablespoons almond butter (make your own here!) 1 1/2 teaspoons ground flax seed Combine all ingredients in a blender until smooth, about 30 seconds. Source:
Adapted from Against All Grain
0 Comments

Have you ever tried an avocado? Do you love avocados? No, I mean love avocados? I do! I'm kind of obsessed with them lately, especially since I can get them for $.79 at Aldi! Even if you think you don't like avocados, I'm asking you to hear me out. I actually have two pretty unconventional avocado recipes to share with you. Both of them have the avocado flavor neatly disguised within the recipe (pretty sneaky, huh?) With the weekend coming up I decided today's selection would be a sweet and sinful dessert. On Monday I'll give you something healthy to start your week off right. :) I have been eating avocados in guacamole and on salads and sandwiches for years. When I was pregnant with Princess #1 I never had much of an appetite in the morning, but I always craved cottage cheese with diced avocado (so yummy!) for breakfast. A few years ago I was on a play date and another mom (from India, I believe) told me that she grew up eating avocados in sweet, dessert foods, never savory as we know it here in America. As I sat there eating guacamole I couldn't even imagine the flavor in something sweet. Hmmm...intriguing. Being the foodie that I am I started to be on the lookout for a dessert that consisted of avocados. About a year later I found it in Food Network Magazine. The recipe seemed simple enough so I gave it a try. I figured I'd like it but wasn't sure about my family. To my surprise it was very well received! The avocado flavor was mild and blended well with the sweetness of the sweetened condensed milk and the citrus juice in it gave it the tangy feel of a key lime pie. Other than baking the pie crust, this is basically a no-bake recipe, which makes it perfect for hot summer months. I knew I would be making this one again! It took a few years but I finally got around to whipping this up again with a few small improvements. The original recipe is to be made in a springform pan and serve 8. I found the pieces tended to fall apart when it was cut and 1/8 of the pie was just a bit too rich for anyone to finish their piece. I adapted the recipe to make individual pies using a 12-cup muffin tin which did a few things: 1) the crust to filling ratio is a higher so you taste a bit of crunchy graham cracker in nearly every creamy bite. 2) the serving size is smaller so everyone could finish their portion and there was no waste. 3) the presentation is adorable on little square plates with a generous amount of whipped cream on top! If you've ever work with avocados before you know that they oxidize rather quickly. The addition of citrus slows down the oxidation (browning) but doesn't eliminate it altogether. I found that these tasted best the first day I made them and the following day. By Day #3 they were still ok, but not as tasty as the first two days. Also, don't plan on taking these to an outside event in the summer where they will sit on a dessert table for a few hours...trust me on this...just don't! 
Individual Avocado Pies Serves 12 For the crust 5 tablespoons unsalted butter, melted 1 1/2 cups graham cracker crumbs 1 tablespoon granulated sugar 1/8 teaspoon kosher salt For the filling 2 medium, ripe Haas avocados 1 8-ounce package cream cheese, at room temperature 1 14-ounce can sweetened condensed milk 2 1/2 tablespoons fresh lime juice 1 1/2 tablespoons fresh lemon juice 1/8 teaspoon kosher salt Preheat oven to 350° F. Spray 12-cup muffin tin with cooking spray. Combine melted butter, graham cracker crumbs, sugar and salt in a medium bowl. Press the graham cracker crumb mixture into the bottom and up the sides of each cup in the muffin tin. Bake until golden brown, about 9-10 minutes. Allow to cool completely on a wire rack. Once the crust has cooled completely, make the filling. Halve and pit the avocado and roughly chop the flesh. Add to the bowl of a stand mixer (a hand mixer can also be used) with the softened cream cheese and beat until combined and smooth. Add the sweetened condensed milk, lime juice, lemon juice and salt. Beat until smooth and fluffy, scraping the sides of the bowl as needed. Divide the filling evenly among the 12 prepared crusts. Cover pies completely with a piece of plastic wrap, making sure to press it down directly on top of the pie filling (this helps reduce oxidation). Chill thoroughly, about 4 hours. To serve, loosen pies from muffin tin with a fork. Add whipped cream, if desired. 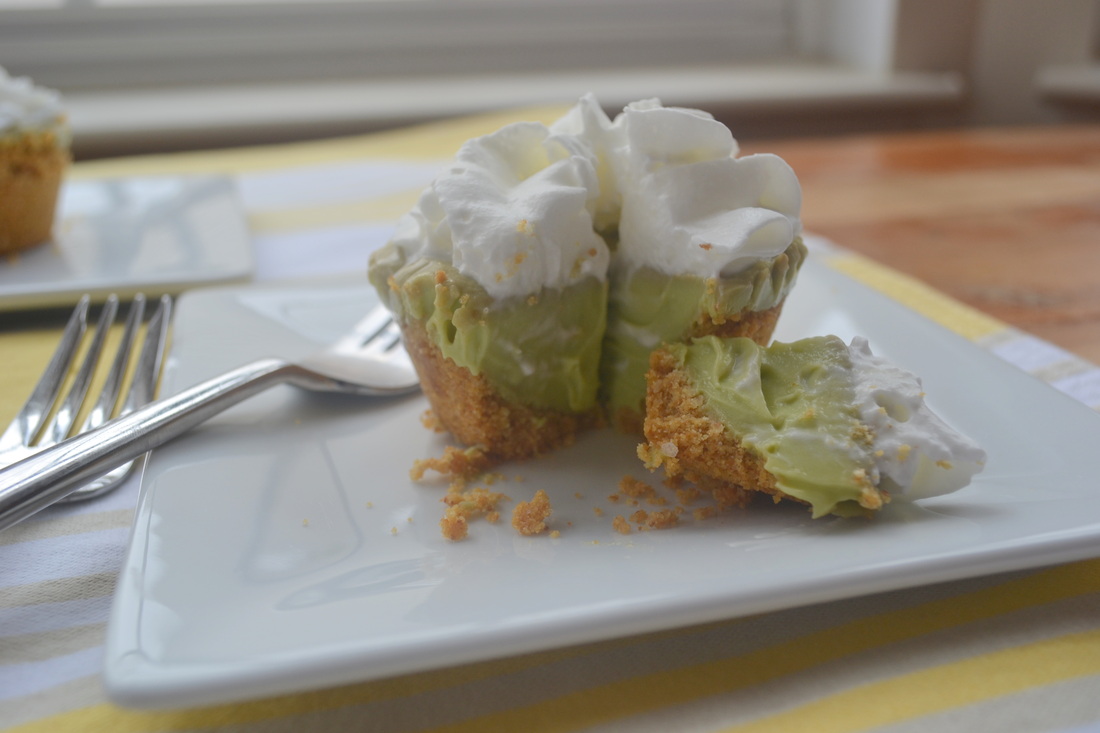
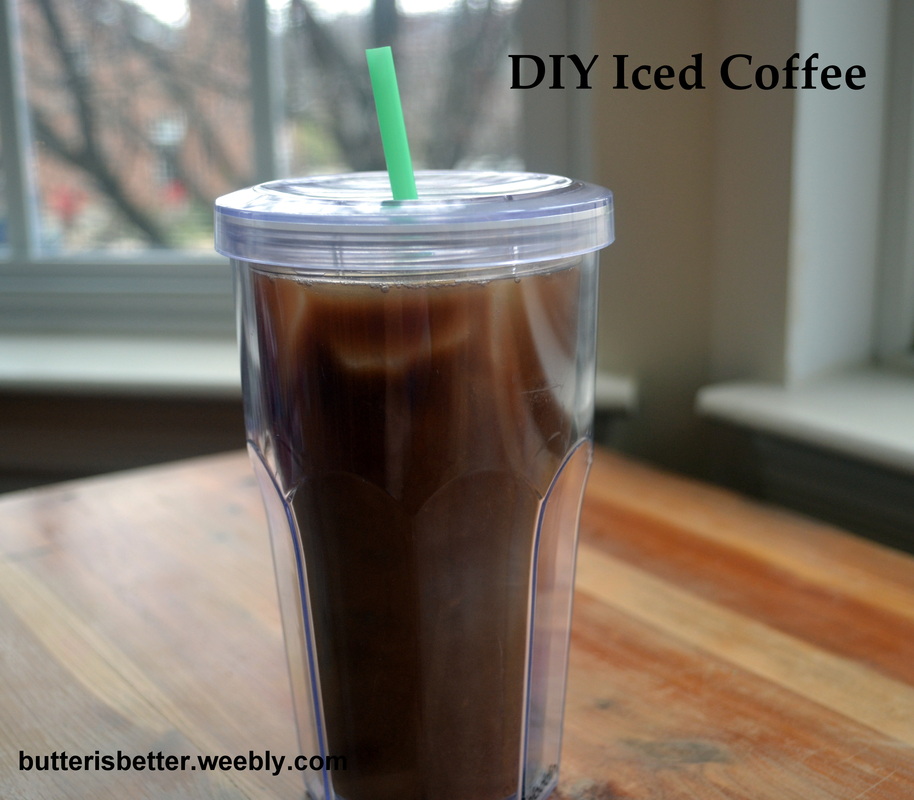
Do you see the picture above? Do you know what that is a picture of? Freedom! Er...Iced Coffee! But, iced coffee that I made by myself, at home, for a fraction of what it costs at a coffee shop! To me, that is sweet coffee freedom! I am a coffee drinker in that I have to have a cup (sometimes 2) of coffee every day or else I end up with a dreaded caffeine-induced headache. I hate that I'm a slave to coffee, but I accept it. I've tried a few times to give coffee up over the summers because, quite honestly, who wants a hot cup of coffee when it's 80 degrees at 10:00 am? Giving up coffee never really worked for me. A few years ago I discovered iced coffees at the coffee shops around town. Genius! It's coffee. It's cold. It's refreshing. It's perfect for summer! This great find came with a few problems - 1) Buying an iced coffee every day is not budget-friendly 2) Getting to a coffee shop every day is not convenient AT ALL and 3) Doesn't it seem like they put way too much ice in those drinks and not enough coffee? So, why not make it at home???? And I tried.... My first attempt was making a full pot of coffee in the morning and only drinking what my hubby and I wanted for the day, then dumping the leftover into a pitcher in the fridge. Then, the next day, then the next day...eh. I was still drinking warm coffee from the initial brew and the stuff in the fridge just tasted stale and nasty. Fail #1! My second attempt was to make espresso and get out the blender and make a sweet, frozen coffee concoction. Messy, too sweet, too many calories, too much work and just tasted off. Fail #2. My third attempt came when I purchase my beloved Keurig. One of the reasons I bought the Keurig was because I read about how you could make iced coffee by using them. Intriguing. How this was achieved was by brewing a strong blend of K-Cup using only 6 ounces of water. Once you had this potent little concoction in your coffee mug, you simply dumped it over a FULL cup of ice in an insulated cold beverage tumbler. Ok, let's try it. It worked....sort of. The taste was ok, but since you are pouring piping hot coffee over ice the ice melted instantly and left you with almost-cold coffee. Probably my best attempt up to that point, so we went with it for a while. I'm still comfortable calling this Fail #3. Then, along came this brand new technique I saw on Annie's Eats. I've never really heard of cold brewing coffee before. Looks complicated....or does it? The originally recipe makes quite a bit so I quartered the recipe down to yield just one pitcher and suddenly this was the easiest thing I'd ever done in the kitchen! It takes just a few minutes of planning and very minimal kitchen supplies (I think a kitchen scale is extremely helpful in this recipe). I usually throw a batch together at night and let it sit on the counter overnight. The next morning I strain it through a colander lined with a heavy-duty paper towel (I like Bounty) or a cheesecloth. Once it's strained I pop it in the fridge until I'm ready for it. You can add any kind of syrup or sweetener to your drink if you like, but I usually just add some almond milk to balance mine out. It keeps in the fridge for quite a while too - I've had my current batch in there for 3 weeks now (I'm blaming Mother Nature on her late arrival of spring here in PA). So, if you've been looking for a perfect recipe to make iced coffee at home, look no further - you have found it! 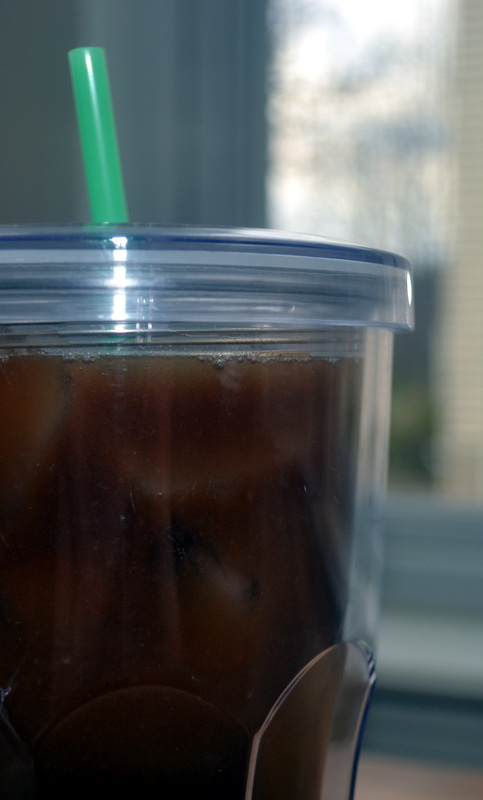
DIY Iced Coffee Makes about 2 quarts 4 ounces bold/dark roast coffee, ground (this is where the kitchen scales comes in handy) 2 quarts cold, filtered water Add coffee grounds to a 2 quart pitcher. Fill about halfway with cold water. Stir to moisten grounds. Continue filling pitcher with water until it is full (this may be slightly less than 2 quarts). Cover and let sit at room temperature for 8 hours or overnight. 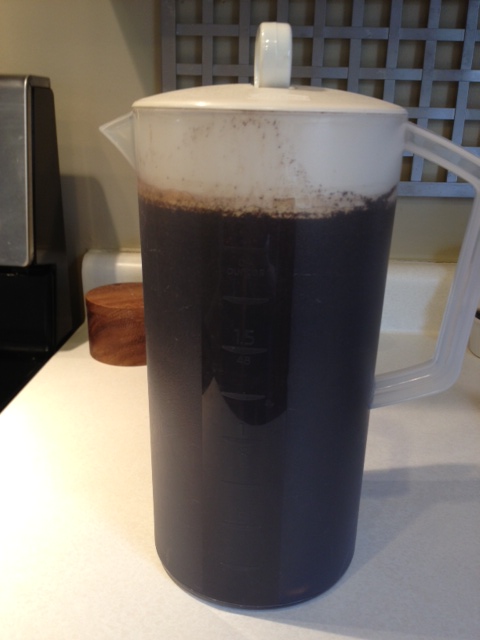
After 8 hours, pour coffee and grounds through a fine mesh sieve lined with a strong paper towel or cheesecloth. Push gently on the coffee grounds to extract all the liquid. Discard coffee grounds. Place coffee in a pitcher and store in the refrigerator until ready to use. Enjoy! Source:
Adapted from Annie's Eats, which was adapted from Pioneer Woman, who originally saw it on Imbibe Magazine 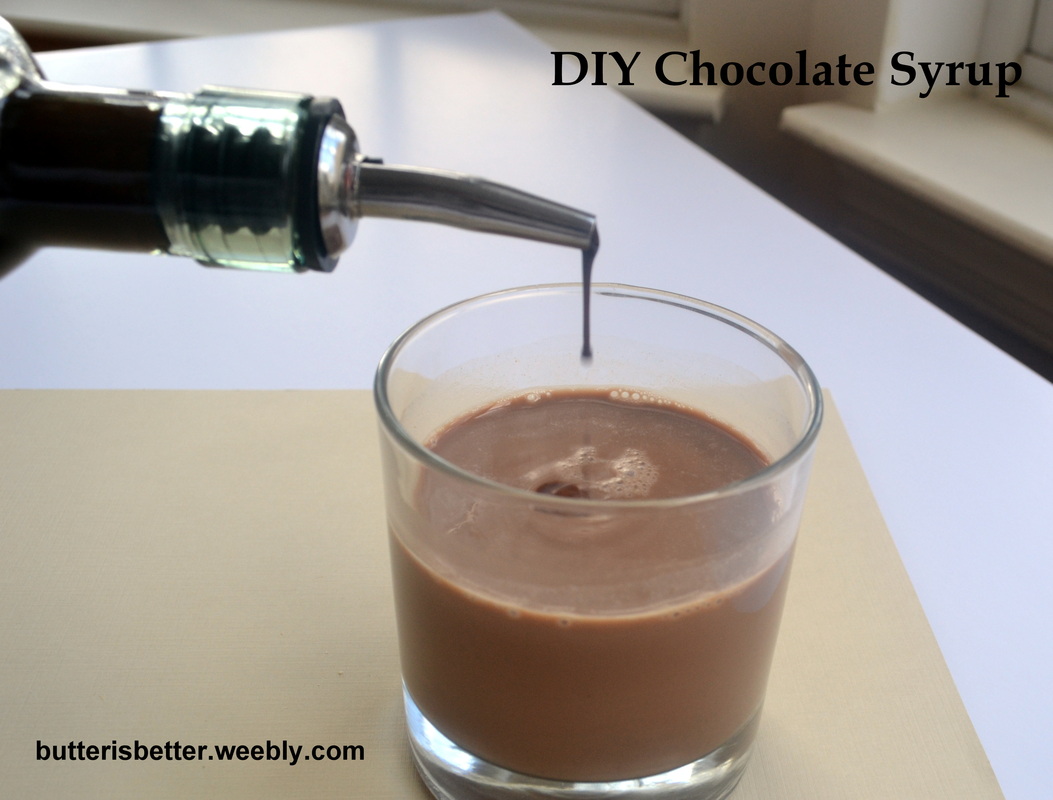
I grew up in Central Pennsylvania and because of that I tend to hold a loyalty to all PA-based foods - TastyKake, Heinz ketchup, too many potato chip and pretzel makers to count and, of course, Hershey's chocolate. A few years ago when I quit working to become a stay-at-home-mom I began watching my grocery budget to the extreme (we're talking Excel spreadsheets, broken down by item, store and price per unit. Yes, I'm that person). I tried many store brand and generic items and, for the most part, they were all acceptable substitutes. Hershey's Chocolate Syrup though....no way I could give that up!! I justified the higher cost over store brand because I consistently bought it at Target which was much cheaper than my go-to grocery store. About a year ago, when I first stumbled across food blog (seriously, you'd think I'd been living under a rock all these years!) I saw lots of recipes for DIY Chocolate Syrup. Naturally, my first thought was "Yeah, right. Who wants to do that when you can buy Hershey's?" I'm not sure what possessed me to do it (possibly the crazy short ingredient list?), but I gave this recipe a shot and, WOW! No more store bought in this house!! I felt a little bad abandoning my old-faithful, but I used Hershey's Cocoa Powder so I could still sort of call it Hershey's Homemade Chocolate Syrup....right? Give this one a try - it's one of the easiest DIY recipes you will find! 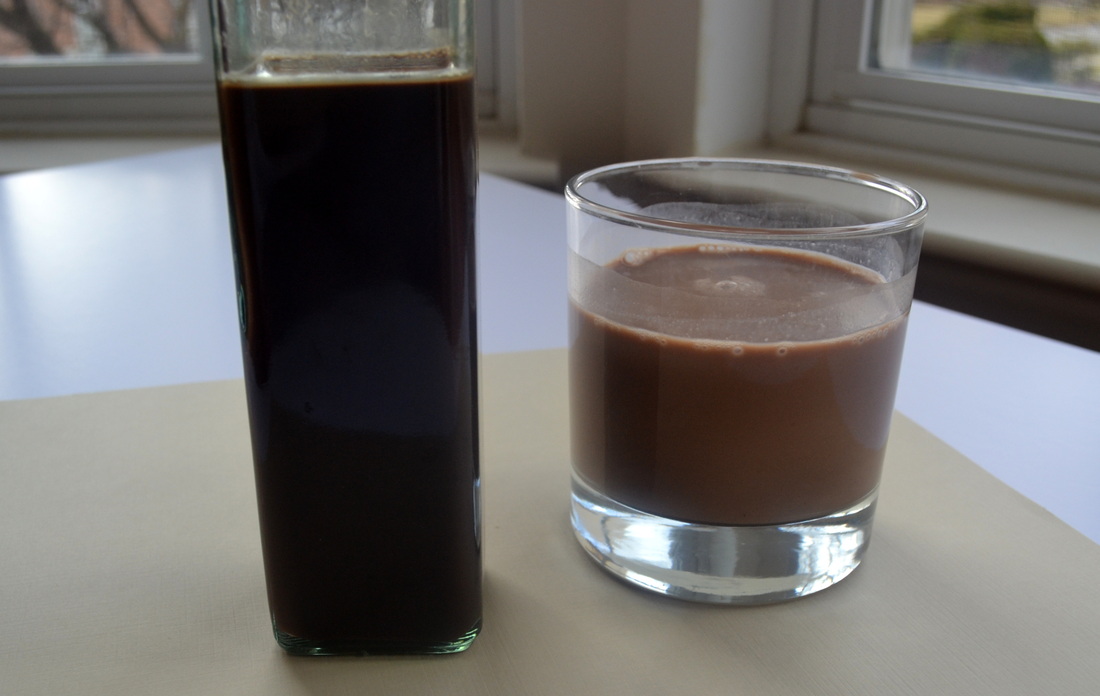
DIY Chocolate Syrup
1 1/4 cups granulated sugar 1 cup unsweetened cocoa powder 1 cup water 1/4 teaspoon salt (I use kosher) 2 teaspoon vanilla extract In a medium saucepan, combine the sugar and cocoa powder. Whisk together to break up any lumps. Stir in the water and salt. Bring to a boil over medium-high heat, stirring frequently. Once the mixture is boiling, reduce the heat to medium-low and simmer until slightly thickened, about 5 minutes. Remove from the heat and let cool for about 5 minutes. Stir in the vanilla. Once cool enough to handle transfer to a bottle and store in the refrigerator. I like these bottles from The Container Store because they are squeezable and BPA free. |
AuthorPittsburgh area mom striving to provide clean, healthy, REAL food for her family! Categories
All
Archives
September 2014
|
 RSS Feed
