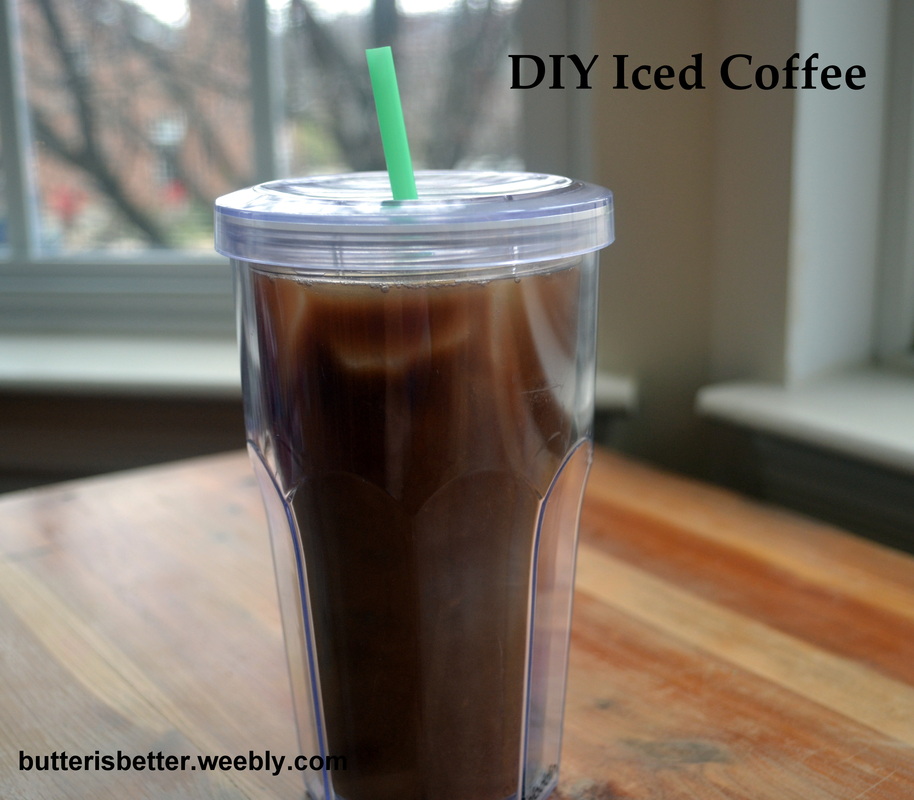
Do you see the picture above? Do you know what that is a picture of? Freedom! Er...Iced Coffee! But, iced coffee that I made by myself, at home, for a fraction of what it costs at a coffee shop! To me, that is sweet coffee freedom! I am a coffee drinker in that I have to have a cup (sometimes 2) of coffee every day or else I end up with a dreaded caffeine-induced headache. I hate that I'm a slave to coffee, but I accept it. I've tried a few times to give coffee up over the summers because, quite honestly, who wants a hot cup of coffee when it's 80 degrees at 10:00 am? Giving up coffee never really worked for me. A few years ago I discovered iced coffees at the coffee shops around town. Genius! It's coffee. It's cold. It's refreshing. It's perfect for summer! This great find came with a few problems - 1) Buying an iced coffee every day is not budget-friendly 2) Getting to a coffee shop every day is not convenient AT ALL and 3) Doesn't it seem like they put way too much ice in those drinks and not enough coffee? So, why not make it at home???? And I tried.... My first attempt was making a full pot of coffee in the morning and only drinking what my hubby and I wanted for the day, then dumping the leftover into a pitcher in the fridge. Then, the next day, then the next day...eh. I was still drinking warm coffee from the initial brew and the stuff in the fridge just tasted stale and nasty. Fail #1! My second attempt was to make espresso and get out the blender and make a sweet, frozen coffee concoction. Messy, too sweet, too many calories, too much work and just tasted off. Fail #2. My third attempt came when I purchase my beloved Keurig. One of the reasons I bought the Keurig was because I read about how you could make iced coffee by using them. Intriguing. How this was achieved was by brewing a strong blend of K-Cup using only 6 ounces of water. Once you had this potent little concoction in your coffee mug, you simply dumped it over a FULL cup of ice in an insulated cold beverage tumbler. Ok, let's try it. It worked....sort of. The taste was ok, but since you are pouring piping hot coffee over ice the ice melted instantly and left you with almost-cold coffee. Probably my best attempt up to that point, so we went with it for a while. I'm still comfortable calling this Fail #3. Then, along came this brand new technique I saw on Annie's Eats. I've never really heard of cold brewing coffee before. Looks complicated....or does it? The originally recipe makes quite a bit so I quartered the recipe down to yield just one pitcher and suddenly this was the easiest thing I'd ever done in the kitchen! It takes just a few minutes of planning and very minimal kitchen supplies (I think a kitchen scale is extremely helpful in this recipe). I usually throw a batch together at night and let it sit on the counter overnight. The next morning I strain it through a colander lined with a heavy-duty paper towel (I like Bounty) or a cheesecloth. Once it's strained I pop it in the fridge until I'm ready for it. You can add any kind of syrup or sweetener to your drink if you like, but I usually just add some almond milk to balance mine out. It keeps in the fridge for quite a while too - I've had my current batch in there for 3 weeks now (I'm blaming Mother Nature on her late arrival of spring here in PA). So, if you've been looking for a perfect recipe to make iced coffee at home, look no further - you have found it! 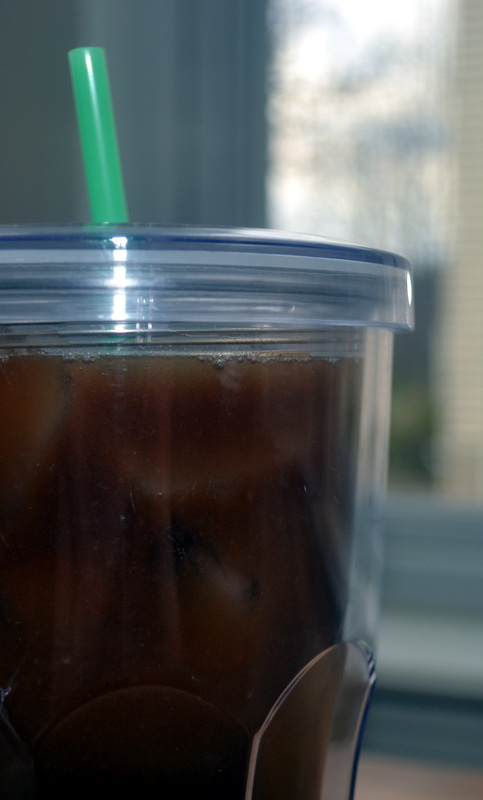
DIY Iced Coffee Makes about 2 quarts 4 ounces bold/dark roast coffee, ground (this is where the kitchen scales comes in handy) 2 quarts cold, filtered water Add coffee grounds to a 2 quart pitcher. Fill about halfway with cold water. Stir to moisten grounds. Continue filling pitcher with water until it is full (this may be slightly less than 2 quarts). Cover and let sit at room temperature for 8 hours or overnight. 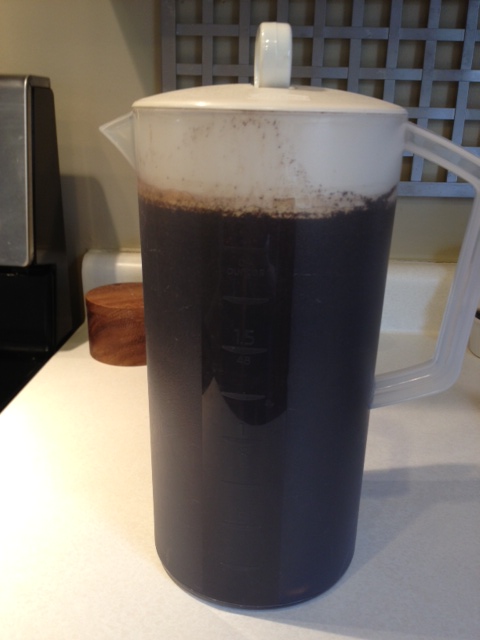
After 8 hours, pour coffee and grounds through a fine mesh sieve lined with a strong paper towel or cheesecloth. Push gently on the coffee grounds to extract all the liquid. Discard coffee grounds. Place coffee in a pitcher and store in the refrigerator until ready to use. Enjoy! Source:
Adapted from Annie's Eats, which was adapted from Pioneer Woman, who originally saw it on Imbibe Magazine
1 Comment
Pap
4/12/2013 08:36:12 am
I like the idea I must try . Thanks Leave a Reply. |
AuthorPittsburgh area mom striving to provide clean, healthy, REAL food for her family! Categories
All
Archives
September 2014
|
 RSS Feed
