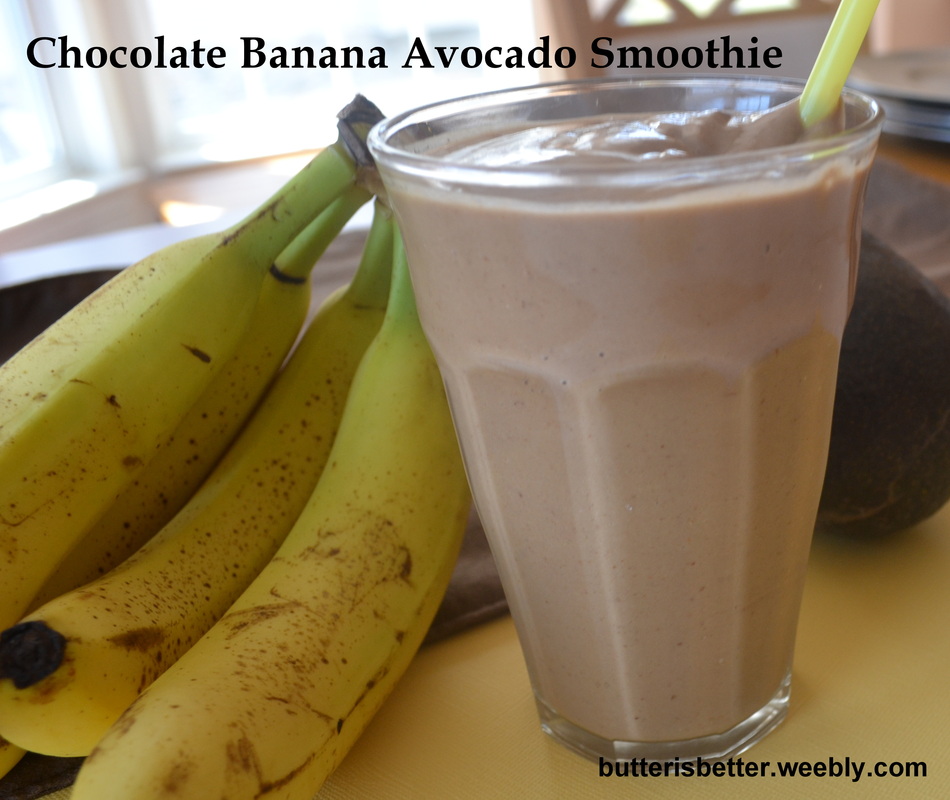
Happy Monday! I hope everyone had a great weekend! If you overindulged a bit (and don't we all?) I have the perfect recipe for you! This is another recipe that features my very favorite fruit: the avocado. Over the past few years I have developed a lower and lower tolerance to milk (and sadly, milkshakes), so I've been enjoying less and less smoothies and milkshakes. I had read many times that avocados are a great addition to shakes and smoothies to get the creaminess that is missing from non-dairy versions. I had never actively searched for a recipe but once I came across this recipe on Pinterest and knew this was one to try! Lots of smoothies look healthy but are secretly filled with tons of sugar and calories. What I like about this smoothie is that it is dairy-free (yaaay!), contains 1 1/2 servings of fruit, is sweetened with honey, not sugar and has tons of protein. This drink totally disguised itself as a chocolate milkshake to my two princesses! JP liked it and Bean loved it. My little Bean definitely acquired Mommy's avocado obsession :) It's chocolate-y and creamy and sweet, but not too sweet. The avocado is there, but I swear you can barely taste it. It's a great way to sneak a lot of healthy things into your kids! 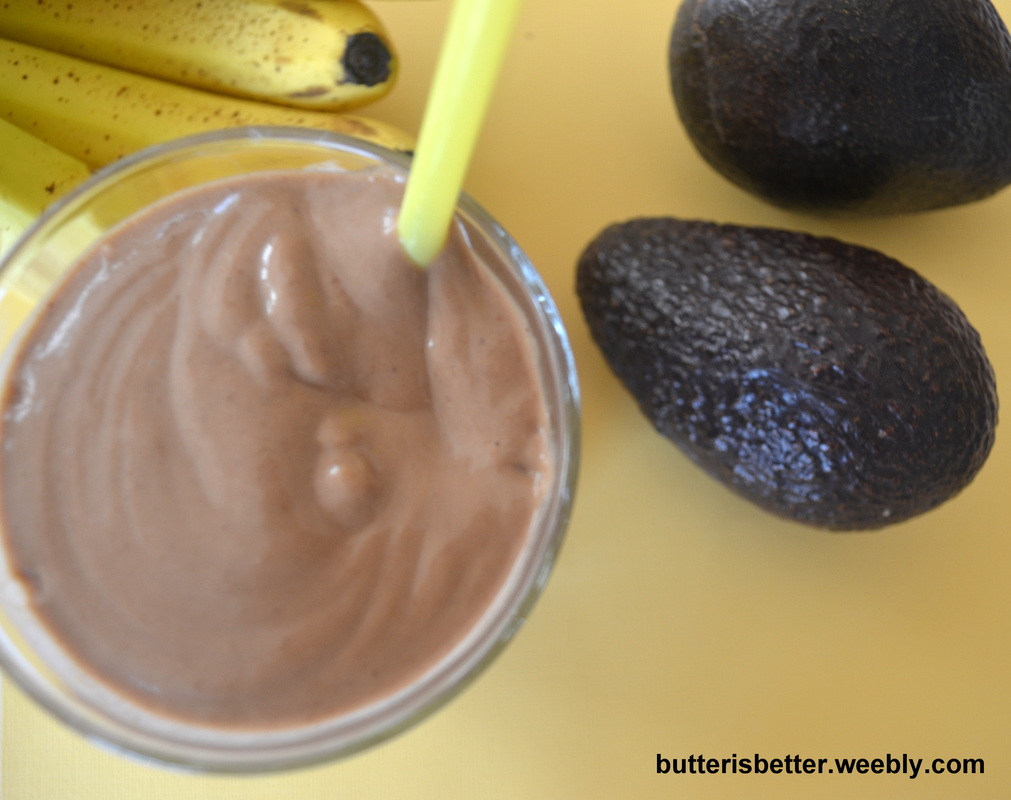
Chocolate Banana Avocado Smoothie Serves 2 1 cup unsweetened almond milk 1/2 cup crushed ice 1 ripe banana 1 tablespoon honey (you can use dates if you want to make this vegan) 1/2 ripe avocado 2 tablespoons natural cocoa powder 2 tablespoons almond butter (make your own here!) 1 1/2 teaspoons ground flax seed Combine all ingredients in a blender until smooth, about 30 seconds. Source:
Adapted from Against All Grain
0 Comments
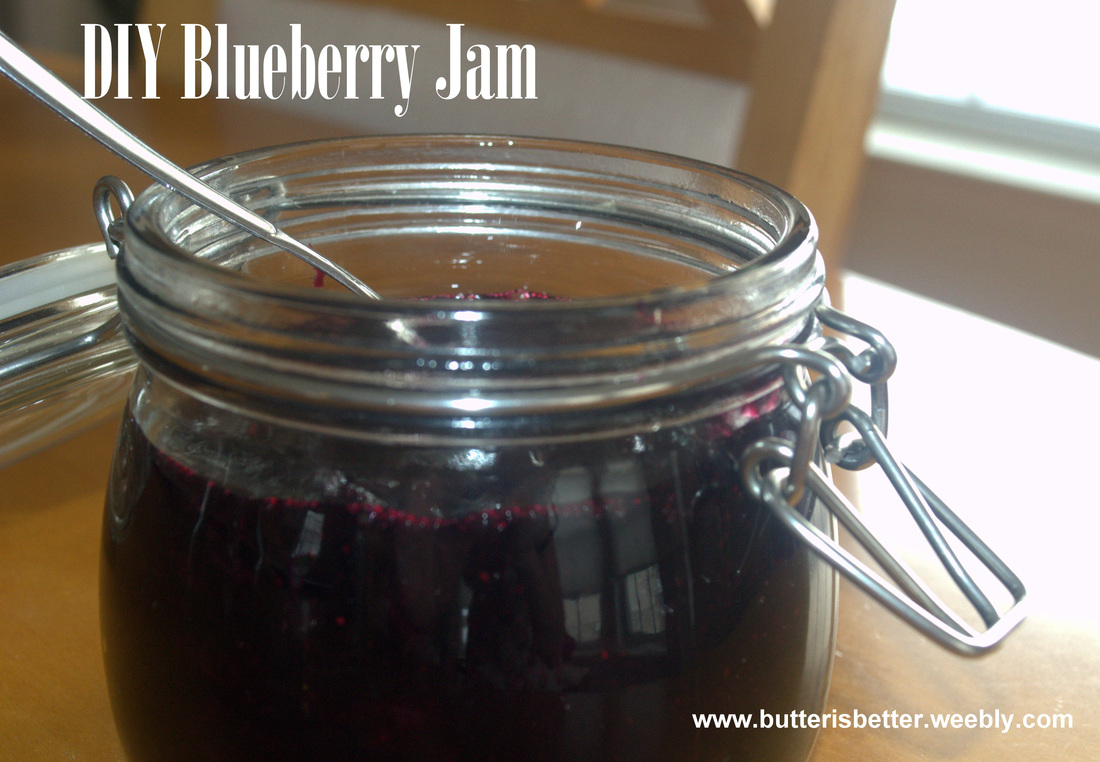
Here we are, almost halfway through the school year and I've accomplished a big feat! My 2nd grade daughter has been a fan of school lunches and, for the price, I never minded her buying them. At a little over $2 a day she can get a pretty decent, balanced, kid-friendly lunch. Well, the problem with that is, well....she doesn't! I surprised her during lunch one day last April and I caught her eating an ice cream cone while her otherwise healthy lunch items sat there on her tray untouched! When I questioned her about it she had a perfectly logical answer: "I have to eat the ice cream first Mommy. It would melt if I didn't." Doh! How many times had she done this? I couldn't be too upset, she was only 6 after all. After a doctor's visit over the summer I'd discovered the my petite little girl had gained a whopping TEN pounds in first grade! Whoa! Time to 'Mom Up' and start packing lunches for her. We have a little system in place to keep mommy and daughter happy. Some things have worked, some haven't. A few things that are a constant are 1 fruit, 1 veggie, 1 sandwich and 1 'junk' each day. Thankfully, she DOES eat those fruits and veggies so when she was asking for a jelly sandwich every single day I kind of let it slide. About a month ago I started reading labels more carefully. Yep, as suspected, high fructose corn syrup in her little jelly sandwich (cut out in the shape of a heart these days!). Time to make another change and give DIY jam-making a try. How simple! Just combine some fresh fruit, sugar and lemon juice and let it thicken up a bit and you have jam! This is only a small batch so you don't have to worry about getting into the canning game - I'm certainly not there yet! This recipe produced a nice, thick, fresh tasting blueberry jam. It tastes like summer on a spoon! Anything that tastes like summer is much needed in Pennsylvania these days. Ugh...don't even get me started on how much I hate winter and how I feel like it's never going to stop snowing or if I'll ever see my toes again.... Anyhow, I digress! This jam takes about a half hour of your time and makes about 2 cups. The only downside to this recipe is that it only lasts in your refrigerator about 3 weeks. But that shouldn't be too much of a problem. Just pair it up with some homemade almond butter and reinvent your PB&J for a yummy throwback lunch! 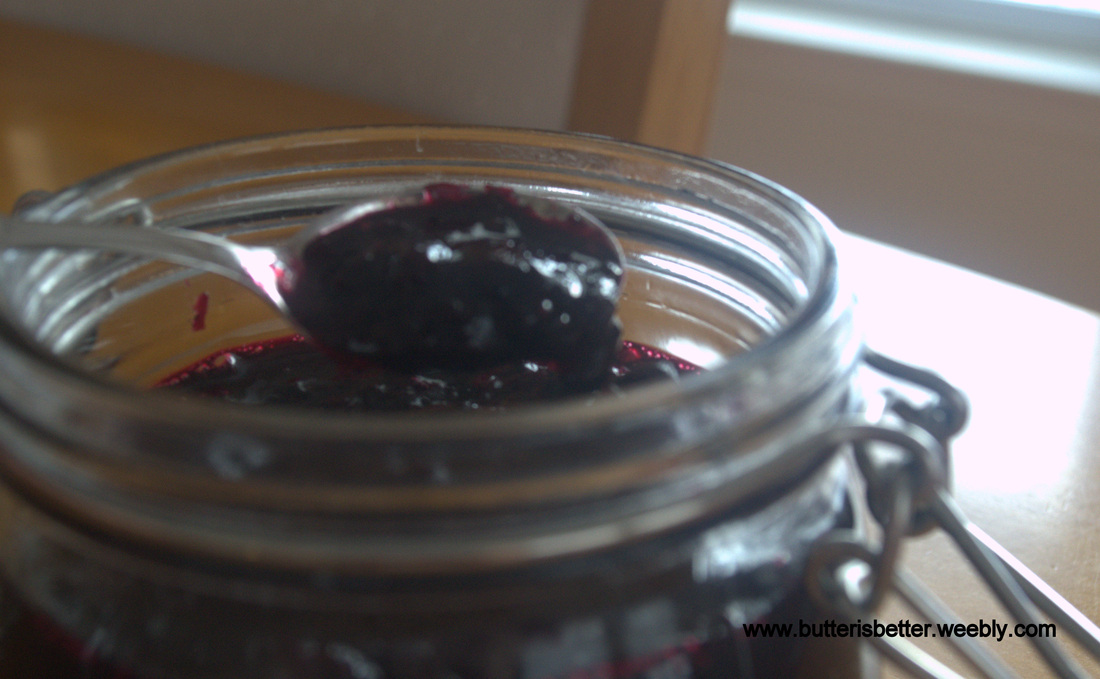
DIY Blueberry Jam
Makes about 1 1/2 cups 1 pound blueberries 3/4 cup granulated sugar 2 tablespoons lemon juice Place a metal spoon in the freezer to chill. Combine blueberries, sugar and lemon juice in a medium saucepan. Bring to a boil over medium-high heat. While bringing the mixture to a boil mash the blueberries with a potato masher or a fork to release the pectin of the fruit. Once the mixture is boiling, reduce to medium. Simmer vigorously until the mixture thickens and is jamlike, about 8-12 minutes. To test for consistency, remove the spoon from the freezer and dip into the jam. Allow the jam to run off the spoon. Jam should fall off the spoon slowly, in one thick clump. If it does this, it is done. Remove from heat and allow to cool to room temperature. If the jam is too thin, continue simmering another 2-4 minutes until it reaches desired consistency. Once jam has cooled to room temperature place in an airtight container and refrigerate for up to 3 weeks. Source: Adapted from The America's Test Kitchen DIY Cookbook 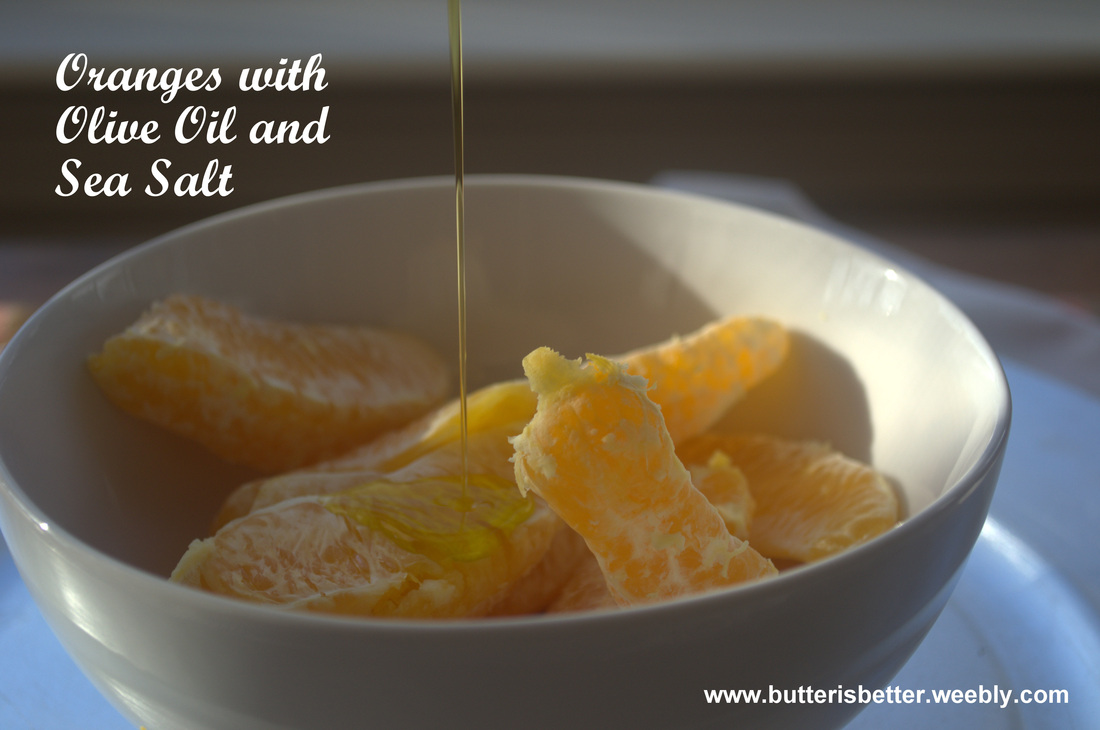
In 1998 I spent 15 days in Rome, Italy visiting my mom's aunt and uncle - Zia and Zio. The food, or 'magic' created in Zia Lucia's kitchen inspired me in so many ways. I was fortunate enough to take my now-husband back with my family in 2001 for 10 days. Zia Lucia's cooking was still out of this world and now Mike could finally understand just what it was that we all loved about her, them, Rome...all of it! Though I didn't get to cook with her I will forever be influenced by the love she put into every single creation she brought out of that kitchen. The simple "Italian Orange" as I like to call it, is a perfect example of how she can put together a fantastic tasting dish out of things you already have just sitting around your kitchen. At first I'm sure this combination sounds a bit odd do you, but TRUST ME! It's so delicious, refreshing and healthy! You'll make it again and again. I've been enjoying it at home for so long and decided it just wasn't fair to keep this little gem to myself, so today I'm sharing it with you! 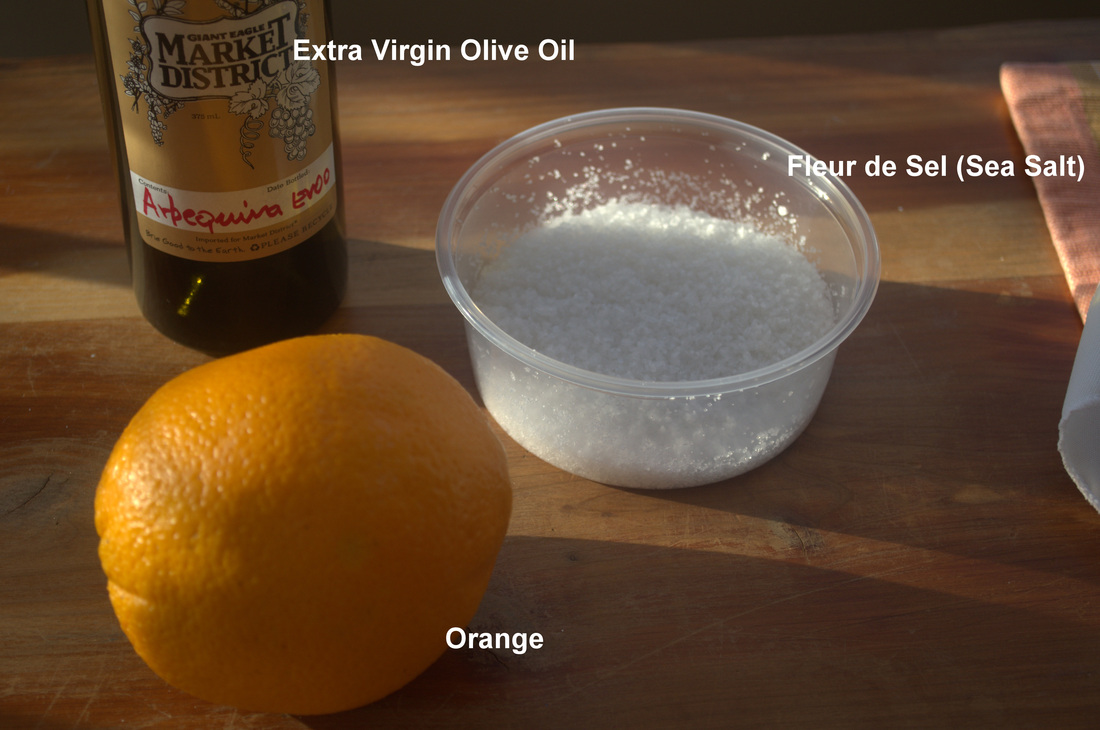
The Italian Orange Serves 1 1 orange, peeled and segmented 1 teaspoon extra virgin olive oil Sprinkle of sea salt, I use Fleur de Sel Place the segmented orange in a bowl, drizzle with olive oil, sprinkle with sea salt. Enjoy! 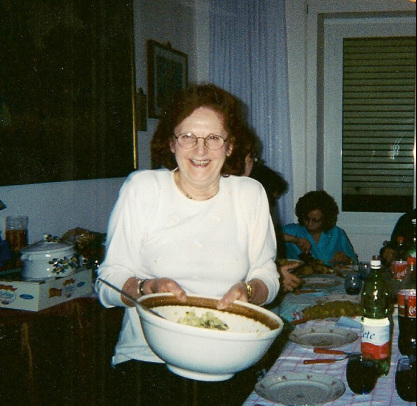
Zia Lucia
Source
Zia Lucia's original |
AuthorPittsburgh area mom striving to provide clean, healthy, REAL food for her family! Categories
All
Archives
September 2014
|
 RSS Feed
