As I've said a few times before, life in my house has gotten pretty chaotic over the past month. Sometimes I have so much fun creating my little DIY projects like almond butter and blueberry jam that I run out of time and totally bonk on dinner! Not good! I know casseroles can be a great time saver but I rarely find any that I like enough to make more than once. That all changed when I came across this chicken casserole from Weight Watchers. I first made this back in January for a Monday night dinner. Monday night is the night when my 2nd grader has CCD at the exact same time that my 4-year-old has gymnastics on opposites sides of town. Fun, right? A quick, easy and healthy dinner is a must on these nights and this casserole makes everyone happy! A few things about this casserole: the recipe calls for green beans as the veggie. I know corn might sound more logical in here (and you can certainly use it), but give the green beans a try! They are lower in calories and actually complement the dish very well. Also, you can totally use a rotisserie chicken from the grocery store, but I prefer to bake my own ahead of time and shred it in the Kitchen-Aid. If you haven't heard about this trick - well, it's mind blowing! I normally prepare the casserole a day before eating it and store it in the refrigerator, but you can also freeze it. I found two things when I froze it and baked it straight from the freezer: First of all, the cheese topping kind of got messed up. Next time I'll freeze the casserole without the cheese and add it just before baking. Second, I don't know why, but the frozen casserole seemed much spicier than the refrigerated ones. Not so spicy that it was inedible, just spicy enough that you had to add a little extra sour cream - fine by me! 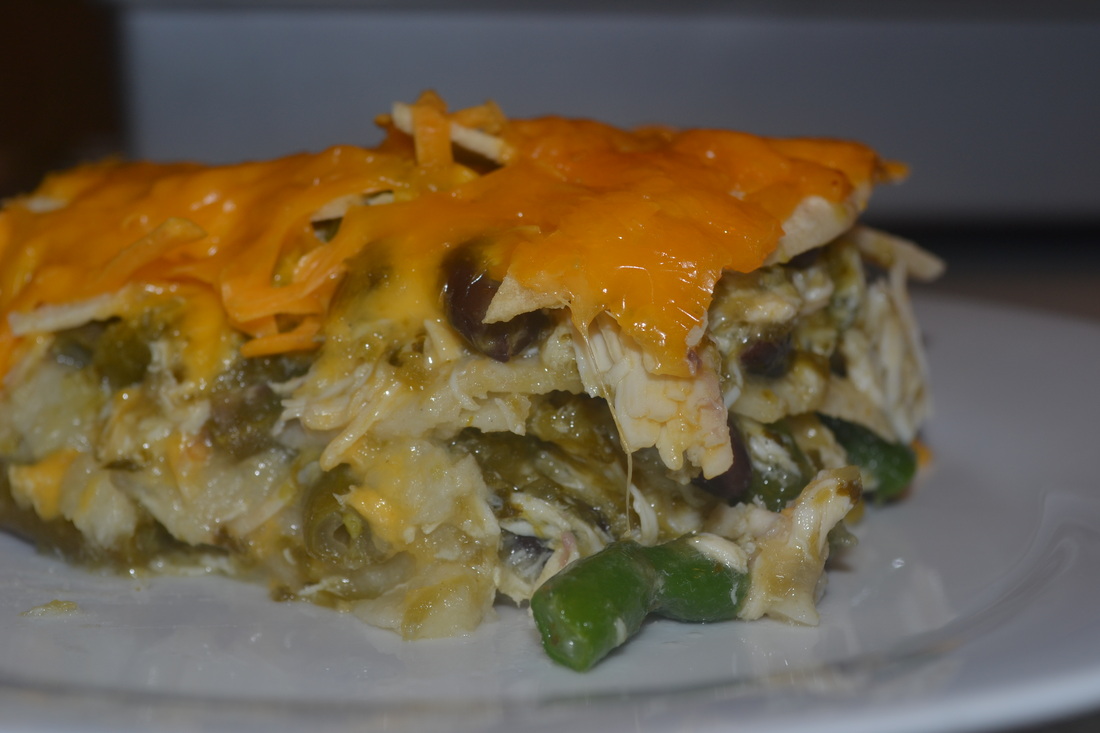
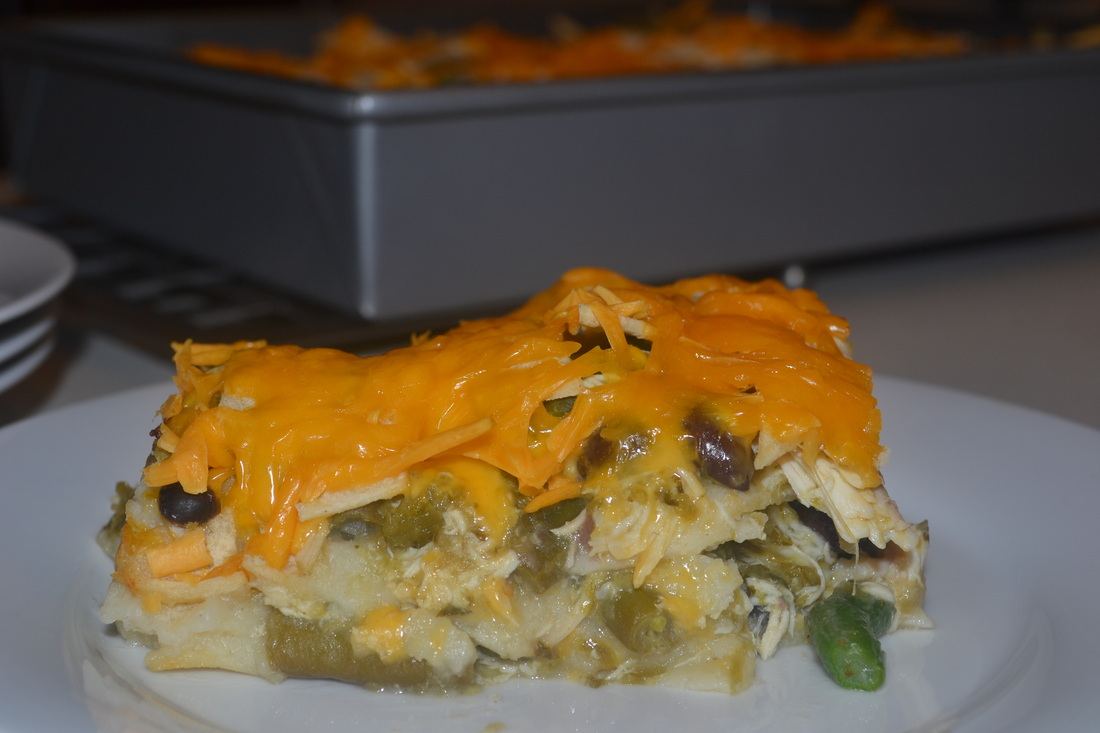
Southwestern Chicken Casserole
Serves 12 1 pound cooked, shredded chicken breast 35-36 ounces salsa verde 16 ounces frozen, chopped green beans 1 15.5 ounce black beans, drained and rinsed 16 6-inch corn tortillas, shredded or thinly sliced 8 ounces reduced-fat cheddar cheese, shredded In a large bowl mix together chicken, salsa, green beans and black beans. Spread 1/3 of the corn tortillas on the bottom of a 9 x 13 baking dish. Top with 1/2 of the chicken mixture. Spread another 1/3 of the tortillas on top of the chicken, then add the remaining chicken mixture. Top with the remaining tortillas. Sprinkle evenly with shredded cheese. Cover with aluminum foil. Store in the refrigerator for up to 2 days. (Freezer for up to 4 months.) When ready to bake, preheat the oven to 350° F. Bake for 20 minutes covered (30 minutes covered if baking from freezer). Remove aluminum foil and bake for another 30 minutes until bubbly and brown (45 more minutes if baking from freezer.) Allow to cool for about 10 minutes before serving. Source: Adapted from Weight Watchers
0 Comments
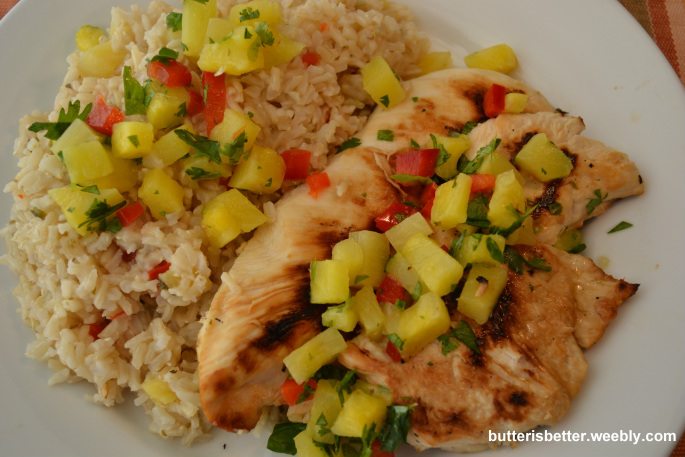 A few days ago it finally hit me. I finally figured out why I'm a less-inspired cook during the summer months. I'm not a huge fan of grilling. It's not that I don't LIKE grilled food, it's just that in our current living situation grilling in inconvenient, at best. Our grill actually ran out of propane in March and neither hubby or I are in a rush to refill it! In lieu of that we have a cast iron grill pan we use to sort of simulate real, outside grilling. It actually does a really nice job with the food (clean-up, on the other hand, is a whole different story!). The other day I had some chicken defrosted in the fridge and I was scouring the internet for a healthy, summer dish to use it in. I came across this recipe for Island Chicken on allrecipes and I had some of the ingredients on hand, but not all. So, let the improvising begin! I used fresh/frozen pineapple instead of canned, but you can use whatever you have on hand. I also skipped the hot peppers and replaced them with sweet red bell peppers and made a few other adaptations. It was a family pleaser for sure! We will definitely have this on the menu again. As for the rice, I honestly had no idea how much my kiddos love rice! I took some basic cooking techniques and developed the rice recipe right here in the Butter Is Better Test Kitchen. Enjoy! 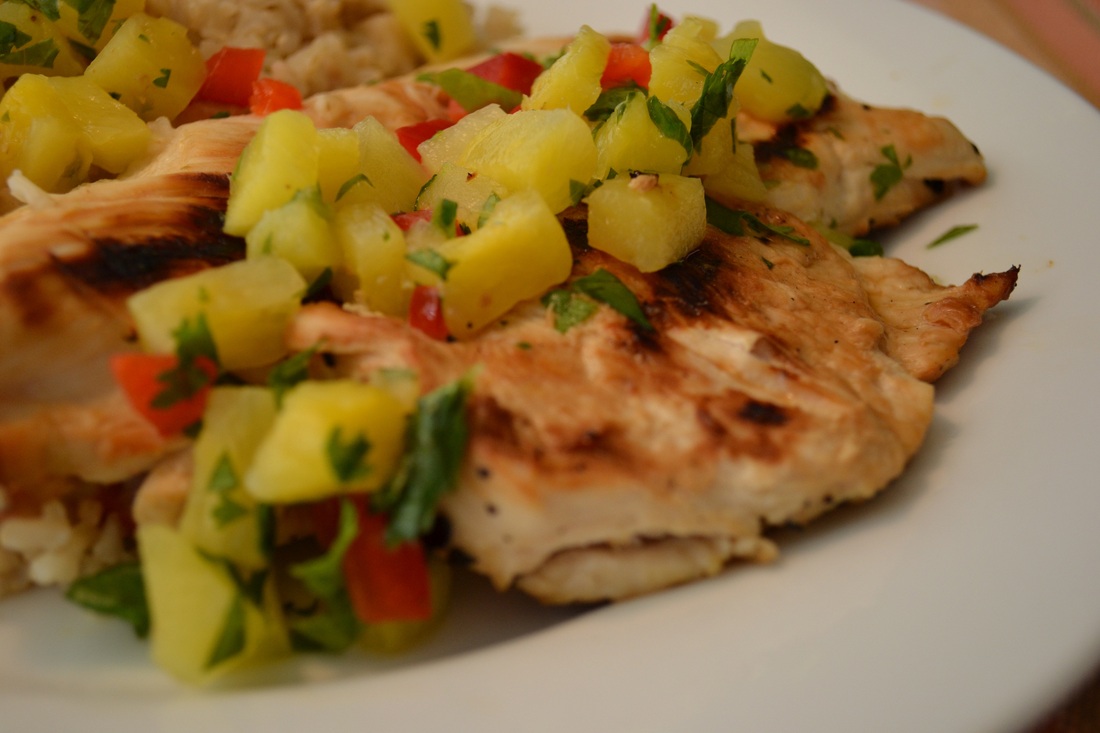 For the Chicken & Salsa Makes 4 servings 2 cups diced pineapple 1/4 cup reserved pineapple juice 1/2 cup diced red bell pepper Juice of 1 lemon - about 1/4 cup Juice of 1 orange - about 1/2 cup 1/3 cup chopped cilantro 1/4 spiced rum 1 pound chicken breasts (this would also be great with boneless, skinless, chicken thighs) In a bowl, combine pineapple, reserved pineapple juice, bell pepper, lemon juice, orange juice, cilantro and rum. Let stand for one hour to allow flavors to meld. After one hour, strain the juice from the salsa. Set the salsa aside for the rice. Place chicken and juice in a bowl to marinate. Cover with plastic wrap and refrigerate 2-6 hours. Preheat grill or grill pan. Grill chicken until juice run clear or internal temperature reaches 165 F. Remember to flip the chicken about halfway through - I apologize - I didn't keep track of time when doing this! Discard the marinade. Do not use it again! Once the chicken is done, serve it with Island Rice (see below) 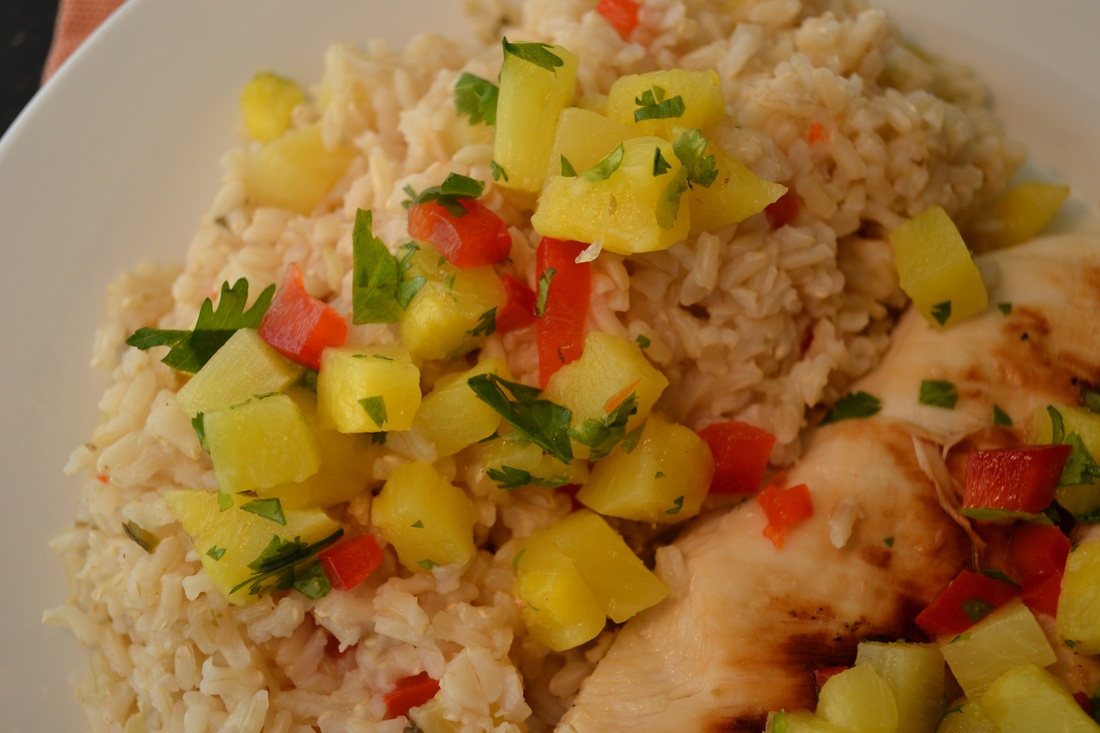 For the Island Rice
1 cup brown rice 1 3/4 cups water 1/2 cup pineapple salsa (see recipe above) 1 tsp kosher salt Combine all ingredients in a medium saucepan. Bring the water to a boil. Once the water boils, stir the mixture once, reduce the heat to a simmer and cover with a tightly fitting lid. Simmer for 50-55 minutes until the water is absorbed and the rice is nice and fluffy. Don't lift the lid or stir the rice until the timer goes off. 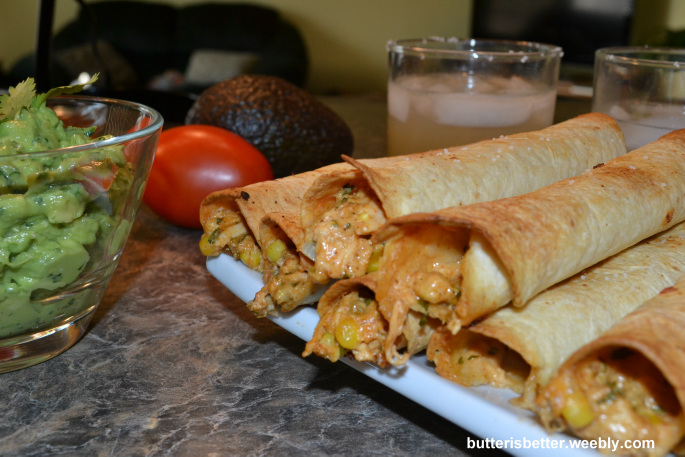 Finally! I'm finally sharing this crowd-pleasing recipe with you! I first made these taquitos a few months ago for a Super Bowl party because I wanted to try something fun and festive but I wanted to steer away from my all-too-common chip/dip combo. These taquitos were amazing! They were crispy and cheesy and a little bit spicy. This adaptation makes a double-batch (about 24-26). It takes a little bit of time to make the filling and roll each one, but it's totally worth it to have a freezer full of these little gems! I usually cook a few of them immediately for dinner and freeze a majority of them. They make for a fantastic last-minute snack for guests and even a quick dinner when you are parenting solo, as I have been this past week! 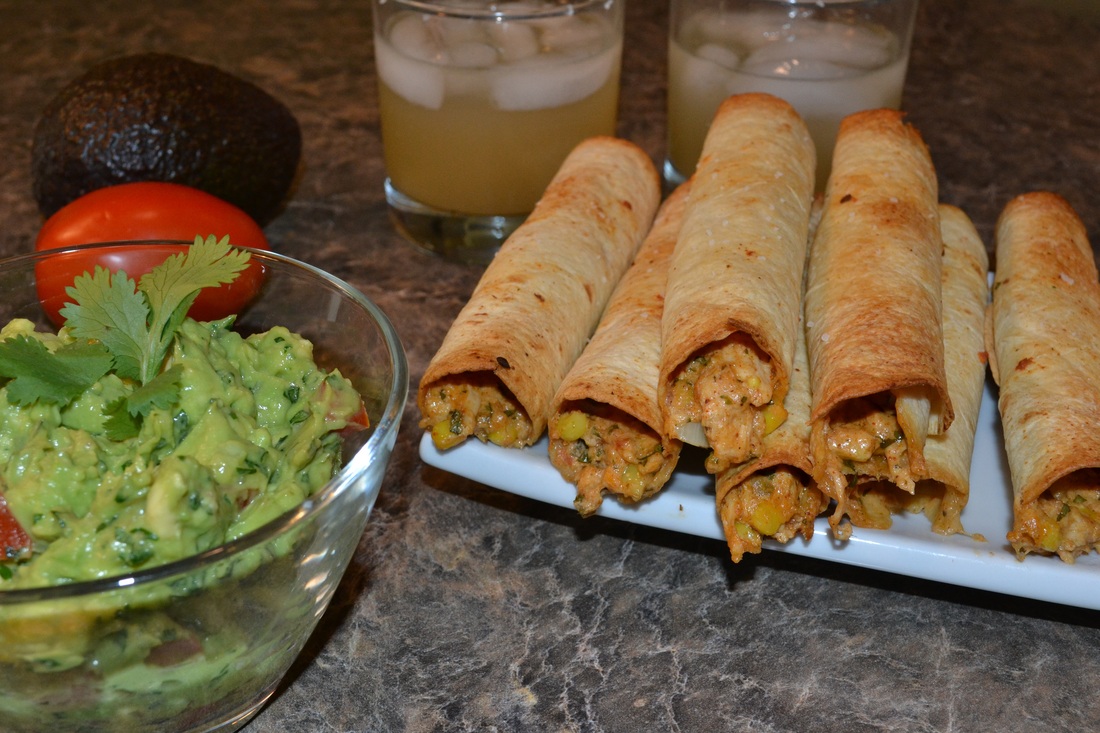 Creamy Chicken Taquitos
Makes 24-26 2 cups shredded, cooked chicken 8 ounces cream cheese, softened 1/2 cup salsa 2 tbsp freshly squeezed lime juice 2 tsp chili powder 1 tsp cumin 1 tsp onion powder 3 garlic cloves, minced 6 tbsp cilantro, chopped 1 cup frozen corn kernels, defrosted 1 cup cheddar cheese, shredded 1 cup pepper jack cheese, shredded 24-26 6-inch flour tortillas Cooking spray Kosher salt Preheat oven to 425 F. Line a baking sheet with a silicone baking mat or parchment paper. In a large bowl combine shredded chicken, cream cheese, salsa, lime juice, chili powder, cumin, onion powder, garlic, cilantro, corn and cheeses. Mix until well combined. Briefly heat the tortillas in the microwave so they roll easier (about 10 seconds per 10 tortillas). Place a tortilla on a work surface. Spoon about 2 tablespoons of filling onto the top 1/3 of the tortilla. Fold the top part of the tortilla over the filling and towards you. Continue to roll tightly until you have a taquito. Repeat with the remaining tortillas until you have used all of the filling. If you are baking immediately, place the taquito seam-side-down on the prepared baking sheet. Spray lightly with cooking spray and sprinkle with a bit of kosher salt. Baked about 15-20 minutes until crisp and golden brown. If you are freezing for later use, place the taquito seam-side-down on a freezer safe plate that is small enough to fit in your freezer. I use a quarter sheet jelly roll pan. Spray lightly with cooking spray and sprinkle with kosher salt. Freeze for about 30 minutes. Transfer to a freezer safe bag. When ready to eat, bake at 425 F for 15-20 minutes until crisp and golden brown. Serve with sour cream, salsa or guacamole. **Tip - when making Freezer Meals I always write down the name of the item, the date and any cooking instructions, ie, 425 F for 15-20 mins. |
AuthorPittsburgh area mom striving to provide clean, healthy, REAL food for her family! Categories
All
Archives
September 2014
|
 RSS Feed
