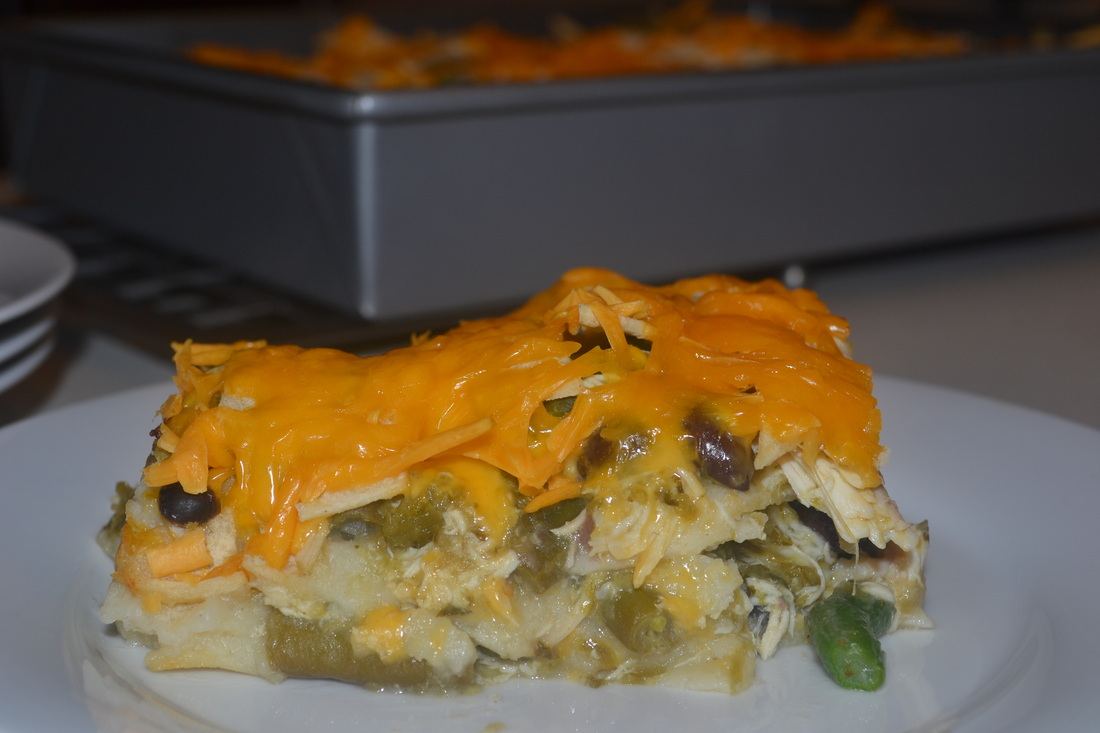
As I've said a few times before, life in my house has gotten pretty chaotic over the past month. Sometimes I have so much fun creating my little DIY projects like almond butter and blueberry jam that I run out of time and totally bonk on dinner! Not good! I know casseroles can be a great time saver but I rarely find any that I like enough to make more than once. That all changed when I came across this chicken casserole from Weight Watchers. I first made this back in January for a Monday night dinner. Monday night is the night when my 2nd grader has CCD at the exact same time that my 4-year-old has gymnastics on opposites sides of town. Fun, right? A quick, easy and healthy dinner is a must on these nights and this casserole makes everyone happy! A few things about this casserole: the recipe calls for green beans as the veggie. I know corn might sound more logical in here (and you can certainly use it), but give the green beans a try! They are lower in calories and actually complement the dish very well. Also, you can totally use a rotisserie chicken from the grocery store, but I prefer to bake my own ahead of time and shred it in the Kitchen-Aid. If you haven't heard about this trick - well, it's mind blowing! I normally prepare the casserole a day before eating it and store it in the refrigerator, but you can also freeze it. I found two things when I froze it and baked it straight from the freezer: First of all, the cheese topping kind of got messed up. Next time I'll freeze the casserole without the cheese and add it just before baking. Second, I don't know why, but the frozen casserole seemed much spicier than the refrigerated ones. Not so spicy that it was inedible, just spicy enough that you had to add a little extra sour cream - fine by me! 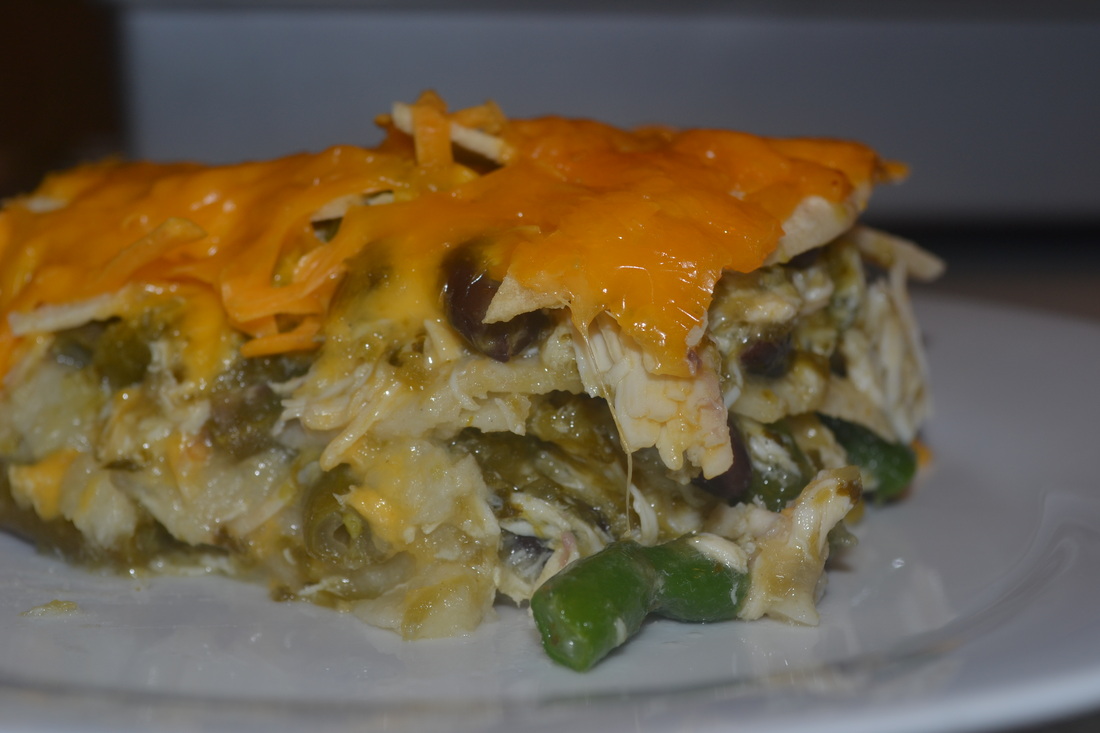
Southwestern Chicken Casserole
Serves 12 1 pound cooked, shredded chicken breast 35-36 ounces salsa verde 16 ounces frozen, chopped green beans 1 15.5 ounce black beans, drained and rinsed 16 6-inch corn tortillas, shredded or thinly sliced 8 ounces reduced-fat cheddar cheese, shredded In a large bowl mix together chicken, salsa, green beans and black beans. Spread 1/3 of the corn tortillas on the bottom of a 9 x 13 baking dish. Top with 1/2 of the chicken mixture. Spread another 1/3 of the tortillas on top of the chicken, then add the remaining chicken mixture. Top with the remaining tortillas. Sprinkle evenly with shredded cheese. Cover with aluminum foil. Store in the refrigerator for up to 2 days. (Freezer for up to 4 months.) When ready to bake, preheat the oven to 350° F. Bake for 20 minutes covered (30 minutes covered if baking from freezer). Remove aluminum foil and bake for another 30 minutes until bubbly and brown (45 more minutes if baking from freezer.) Allow to cool for about 10 minutes before serving. Source: Adapted from Weight Watchers
0 Comments
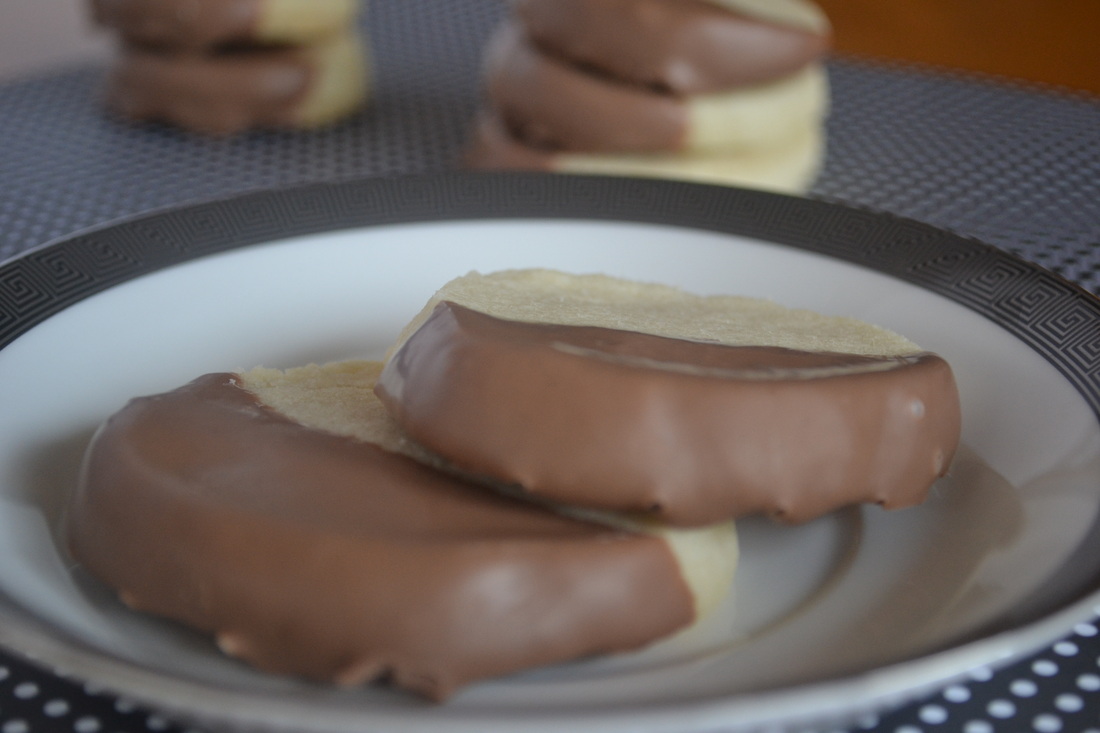
After the craziness of the second half of 2012 with the move and the overblown holidays (self-imposed...I know) I vowed to sit back and relax in January. Besides running and playing in the kitchen I succeeded in doing very little last month. By the end of the month I was starting to feel like a shut-in! All that's changed in February. How is it that the 31 days of January drug by so slow and then I blink and it's already February 20? Where did this month go? I have a good idea - it's called back to reality! After-school activities, meetings, doctor appointments, birthday parties, school parties.....like I said, reality. This past weekend I was lucky enough to spend 48 glorious hours with my hubby and our little princesses at Kalahari in Sandusky, Ohio. This is an indoor waterpark and resort about 3 hours away from us. It was so much fun and such a great feeling to wear flip flops and bathing suits again for a little while! I love weekend getaways but they always leave me feeling flustered and 'behind' on things. Tonight my 2nd grader had her First Reconciliation and each parent was asked to bring a dozen cookies for a little reception afterwards. Now, you all know me, so there was no way I was running out to the local grocery store for said cookies! In lieu of how much I have on my plate right now I chose to make a simple shortbread cookie and dip them in chocolate for a little something extra. They are so easy and delicious that I wonder why I don't make shortbread cookies more often. Oh wait, I know why - because I would eat them all! They are chewy and crumbly: buttery, salty and sweet. They are simple perfection! And after a quick dip in melted chocolate they are just that much better! 
Chocolate Dipped Shortbread Cookies
Makes about 3 dozen 1 cup (2 sticks) unsalted butter, at room temperature 1 teaspoon kosher salt 3/4 cup granulated sugar 2 cups all-purpose flour 1/2 pound milk chocolate, wafers In the bowl of a stand mixer fitted with the paddle attachment, cream the butter, salt and sugar together for about 2 minutes. Add the flour and mix just until combined and a cohesive dough is formed. Roll the dough into a long roll, 1 1/2 to 2 inches in diameter. Wrap tightly in parchment paper and freeze until very firm, 30 minutes to 1 hour. Preheat the oven to 300° F. Line two baking sheets with parchment paper or a silicon baking mat. Set aside. Remove the log of dough from the freezer and slice into cookies, no thinner than 1/4 inch in thickness. Bake for 20-25 minutes, until the bottoms are a light sand color. Allow to cool on the baking sheets a few minutes before moving them to a wire rack to cool completely. Place about 2/3 of the chocolate wafers in a microwave safe bowl, preferably glass. Put the bowl in the microwave and cook for 40 seconds. Remove from the microwave and stir. Place the bowl back in the microwave for 20 seconds, then stir again. Continue heating the chocolate for 20 seconds and stirring until the chocolate is smooth and reads about 110° F. Once the chocolate is melted and smooth, add the remaining 1/3 of the chocolate wafers to the melted chocolate and stir gently. Any clumps remaining should melt slowly. Dip 1/2 of the shortbread cookie into the melted chocolate. Place on a wire rack to cool and harden the chocolate. Source: Cookies adapted from King Arthur's Flour Baker's Companion Chocolate melting technique provided by the Foodies at Market District 
Brigadeiros. Ever heard of them before? Me either until very recently. A few months ago I was watching Unique Sweets on Cooking Channel when I first heard of these and I was intrigued by them. They look like a truffle, all small and chocolatey and decorated up cute as can be. But they aren't a truffle. Hmmm...what ARE they??? According to a quick search on Wikipedia, brigadeiros are a Brazilian truffle made with sweetened condensed milk, butter and cocoa powder, unlike traditional truffles that are made with melted chocolate and heavy cream. They are a very popular candy in Brazil and Portugal and are often served at children's birthday parties. Ok, I'm even more intrigued. I would love to try them but I have no plans of going to Brazil anytime soon (though my passport is aching to be used again!) Imagine my excitement when I opened the new America's Test Kitchen DIY Cookbook and found a recipe for brigadeiros!! These were a MUST MAKE! So, last weekend I gave them a try and found them to be ridiculously easy to make! You basically stir, stir and stir some more. Then you chill the mixture for a while before rolling into balls and decorating with the coatings of your choice. They are rich and delicious with a taste somewhere between raw brownie batter and hot fudge sauce! Yum! I found that crystallized sugar was my family's favorite topping to give them that extra little crunch. If you are still looking for a sweet treat to make for your valentine this week, you should definitely give these little gems a try!! 
Brigadeiros
Makes about 30 1 14-ounce can sweetened, condensed milk 1/2 cup (1 1/2 ounces) Dutch-processed cocoa powder 2 tablespoons unsalted butter Sprinkles, crystallized sugar, cocoa powder, etc for topping Grease and 8-inch square baking dish. Set aside. Combine sweetened condensed milk, cocoa powder and butter in a medium saucepan. Cook over low heat, stirring frequently, until the mixture is very thick. When you run a rubber spatula over the bottom of the pan it should leave a distinct trail. This will take about 20-25 minutes. Do not be tempted to turn the heat up - keep it on low or it will burn. Once the mixture has thickened, pour into prepared baking dish. Refrigerate until cool, at least 30 minutes or up to 24 hours. If leaving the dish in the refrigerator overnight, cover with foil or plastic wrap. Pinch or scrape the chocolate into 1 tablespoon-sized pieces. Place the chocolates on a cookie sheet lined with a silicon baking mat or parchment paper. Place the chocolates back in the refrigerator to chill before rolling. After about 30 minutes take the pan out of the refrigerator and roll inch 1-inch balls. My candies got very soft during this process so I placed them back on the cookie sheet for another 30 minutes. Once they chill again, roll them in your desired toppings. Store in the refrigerator up to 2 weeks. Source: Adapted from The America's Test Kitchen DIY Cookbook 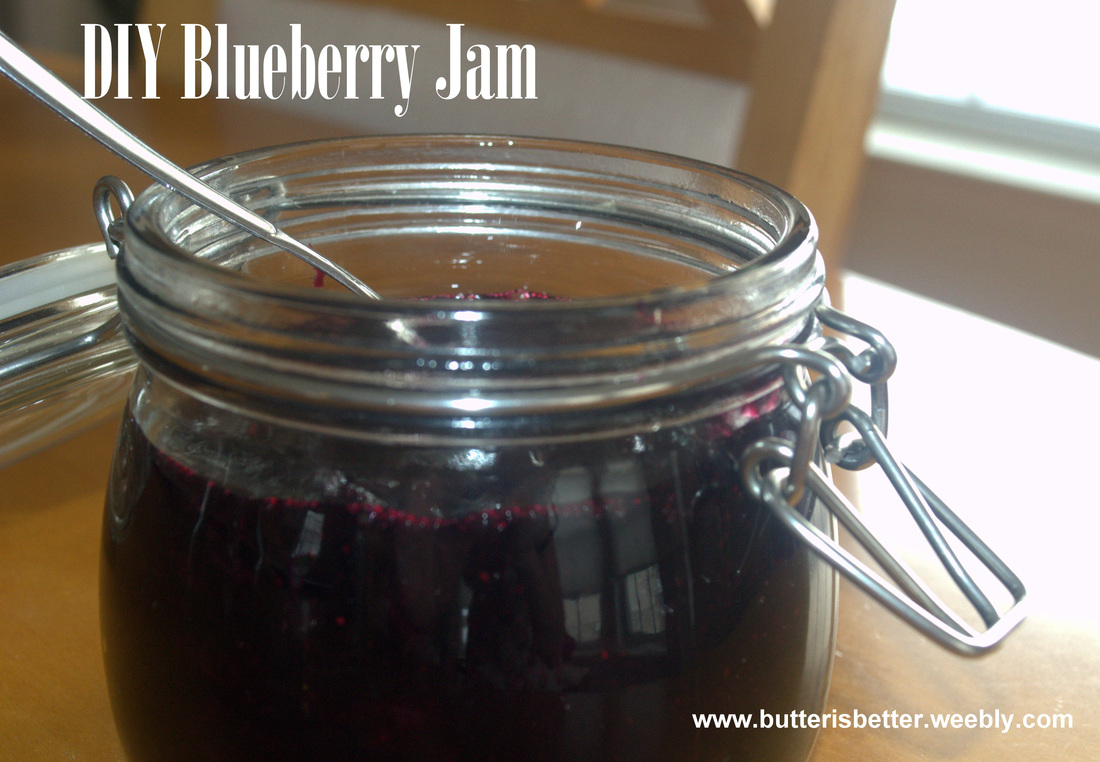
Here we are, almost halfway through the school year and I've accomplished a big feat! My 2nd grade daughter has been a fan of school lunches and, for the price, I never minded her buying them. At a little over $2 a day she can get a pretty decent, balanced, kid-friendly lunch. Well, the problem with that is, well....she doesn't! I surprised her during lunch one day last April and I caught her eating an ice cream cone while her otherwise healthy lunch items sat there on her tray untouched! When I questioned her about it she had a perfectly logical answer: "I have to eat the ice cream first Mommy. It would melt if I didn't." Doh! How many times had she done this? I couldn't be too upset, she was only 6 after all. After a doctor's visit over the summer I'd discovered the my petite little girl had gained a whopping TEN pounds in first grade! Whoa! Time to 'Mom Up' and start packing lunches for her. We have a little system in place to keep mommy and daughter happy. Some things have worked, some haven't. A few things that are a constant are 1 fruit, 1 veggie, 1 sandwich and 1 'junk' each day. Thankfully, she DOES eat those fruits and veggies so when she was asking for a jelly sandwich every single day I kind of let it slide. About a month ago I started reading labels more carefully. Yep, as suspected, high fructose corn syrup in her little jelly sandwich (cut out in the shape of a heart these days!). Time to make another change and give DIY jam-making a try. How simple! Just combine some fresh fruit, sugar and lemon juice and let it thicken up a bit and you have jam! This is only a small batch so you don't have to worry about getting into the canning game - I'm certainly not there yet! This recipe produced a nice, thick, fresh tasting blueberry jam. It tastes like summer on a spoon! Anything that tastes like summer is much needed in Pennsylvania these days. Ugh...don't even get me started on how much I hate winter and how I feel like it's never going to stop snowing or if I'll ever see my toes again.... Anyhow, I digress! This jam takes about a half hour of your time and makes about 2 cups. The only downside to this recipe is that it only lasts in your refrigerator about 3 weeks. But that shouldn't be too much of a problem. Just pair it up with some homemade almond butter and reinvent your PB&J for a yummy throwback lunch! 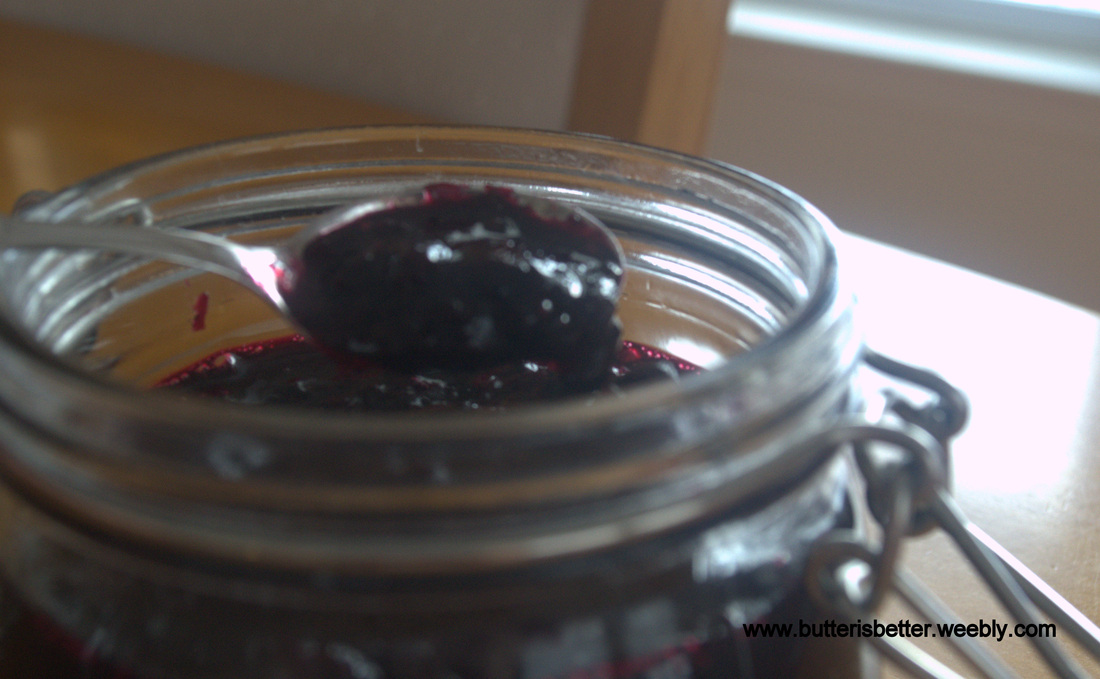
DIY Blueberry Jam
Makes about 1 1/2 cups 1 pound blueberries 3/4 cup granulated sugar 2 tablespoons lemon juice Place a metal spoon in the freezer to chill. Combine blueberries, sugar and lemon juice in a medium saucepan. Bring to a boil over medium-high heat. While bringing the mixture to a boil mash the blueberries with a potato masher or a fork to release the pectin of the fruit. Once the mixture is boiling, reduce to medium. Simmer vigorously until the mixture thickens and is jamlike, about 8-12 minutes. To test for consistency, remove the spoon from the freezer and dip into the jam. Allow the jam to run off the spoon. Jam should fall off the spoon slowly, in one thick clump. If it does this, it is done. Remove from heat and allow to cool to room temperature. If the jam is too thin, continue simmering another 2-4 minutes until it reaches desired consistency. Once jam has cooled to room temperature place in an airtight container and refrigerate for up to 3 weeks. Source: Adapted from The America's Test Kitchen DIY Cookbook 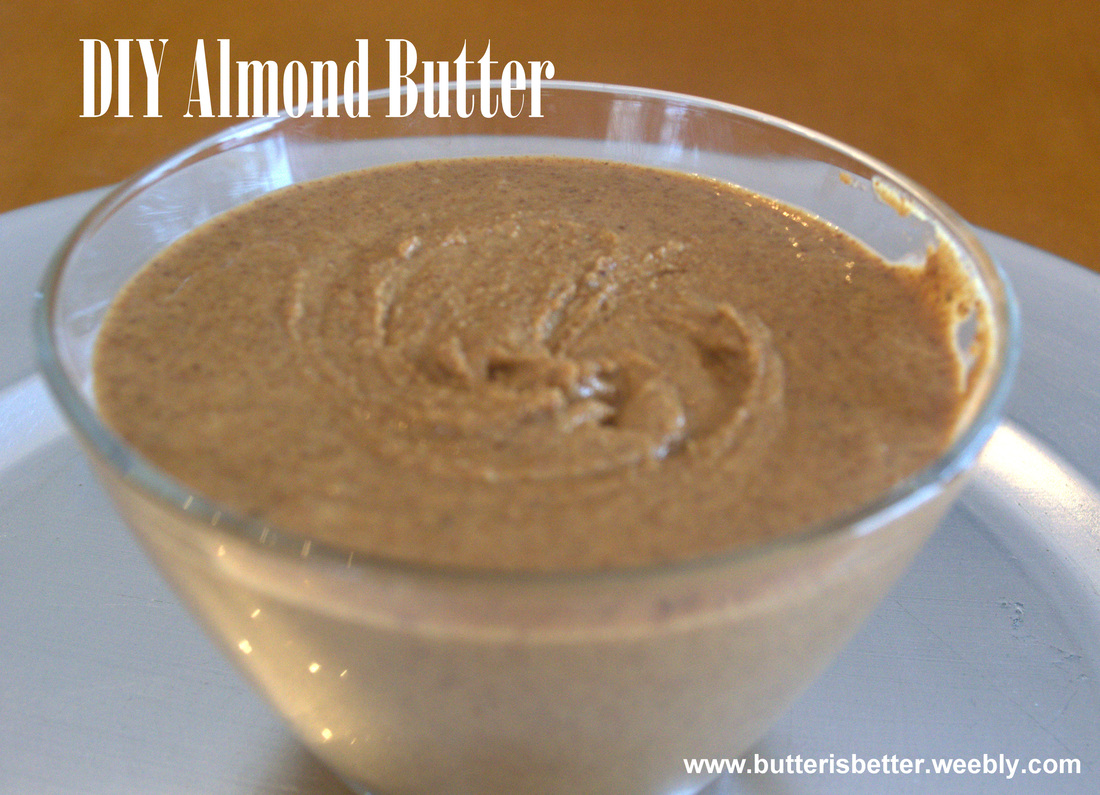
Have you all heard about the current almond butter craze? I've known that almond butter has existed for years and though I love it, I've always steered away from buying it simply because of the cost. With my health kick/lifestyle change over the past month I've been reading some health & fitness blogs in addition to my running magazines and can I tell you something? Almond butter is EVERYWHERE!! It's packed with vitamins, minerals, fiber and protein and tastes great in place of peanut butter on a sandwich, celery or pretzels or even in a smoothie. I decided to just suck it up and buy a tiny, overpriced jar of this awesomeness during my next grocery run. As I stood there in the nut butter aisle I pondered my choices. I could either buy a $10 jar of almond butter, or the cheaper $8 alternative. I went with the $8 choice. I had it in my hand. I put it in my cart. Then, it hit me! I recently bought myself some new cookbooks and I had remembered seeing a super easy recipe for making almond butter at home!!! I immediately put the little jar back on the shelf and hauled butt over to the nut aisle where I found a 1 pound bag of roasted almonds for $5! Score! Let's give this a try!!! I made a few modifications to this recipe. The most notable being using already roasted almonds instead of raw. Since the recipe stresses the importance of having warm almonds when processing to bring out the oils I decided to still throw them in the oven for a few minutes. If you use raw almonds, roast for 10-12 minutes until they are fragrant and slightly darkened. DIY Almond Butter
Makes about 1 1/2 cups 1 pound whole, roasted almonds 3/4 teaspoon kosher salt Adjust an oven rack to the middle position. Preheat oven to 375° F. Spread the almonds on a rimmed baking sheet in a single layer. Roast about 6 minutes, until fragrant. (Be very careful with this step. It only takes a few seconds for nuts to go from perfectly roasted to burnt.) Remove from oven and allow to cool slightly, until they are cool enough to handle - about 15-20 minutes. Place almonds in a food processor for about 1 minute, until they resemble coarse meal. Scrape down the sides of the bowl. Continue processing. After another minute or two you will have a very firm mass. It will be difficult to scrape down the bowl at this point - that's perfectly ok. Continue processing for another 2-3 minutes. The oils in the nuts will begin to break down and the mixture will start to look like a paste. Stop to scrape down the bowl. It should be pretty easy to do at this point. Add the salt to the nuts and process for about another 30 seconds. This whole process should take about 5-7 minutes. What you will be left with is gorgeous, tasty, pure almond butter!! Store in an airtight container. It can be kept at room temperature or refrigerated for up to 2 months. Source: Adapted from The America's Test Kitchen DIY Cookbook |
AuthorPittsburgh area mom striving to provide clean, healthy, REAL food for her family! Categories
All
Archives
September 2014
|
 RSS Feed
