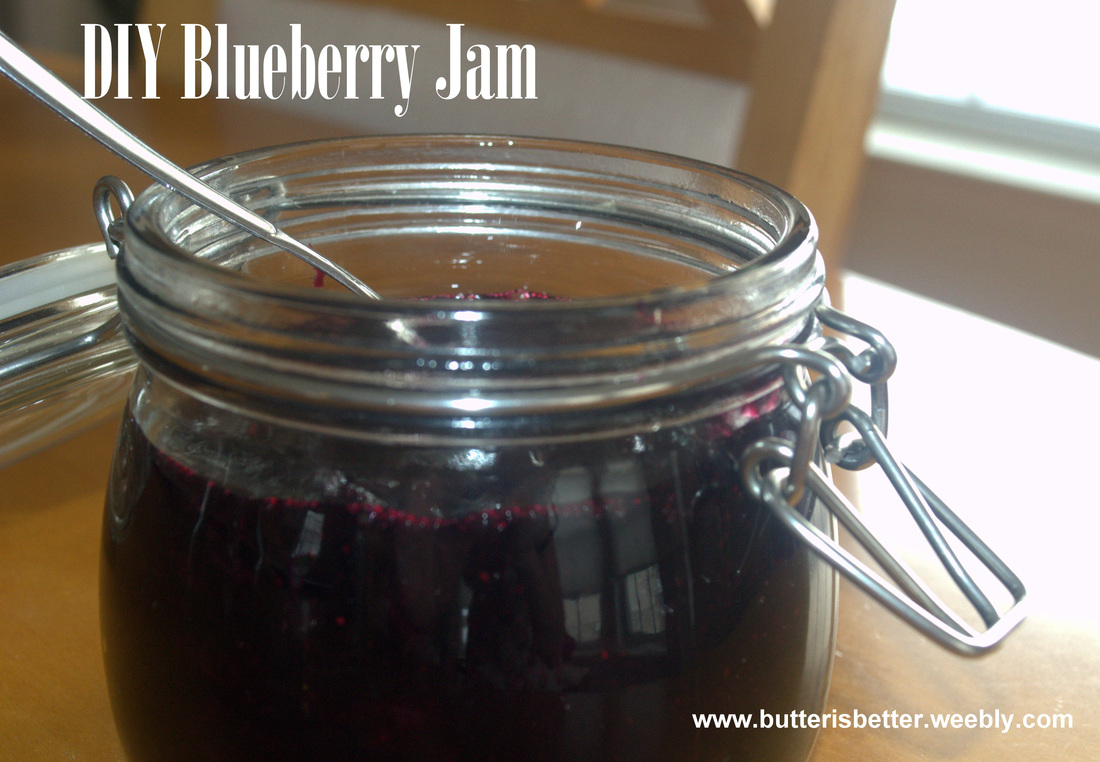
Here we are, almost halfway through the school year and I've accomplished a big feat! My 2nd grade daughter has been a fan of school lunches and, for the price, I never minded her buying them. At a little over $2 a day she can get a pretty decent, balanced, kid-friendly lunch. Well, the problem with that is, well....she doesn't! I surprised her during lunch one day last April and I caught her eating an ice cream cone while her otherwise healthy lunch items sat there on her tray untouched! When I questioned her about it she had a perfectly logical answer: "I have to eat the ice cream first Mommy. It would melt if I didn't." Doh! How many times had she done this? I couldn't be too upset, she was only 6 after all. After a doctor's visit over the summer I'd discovered the my petite little girl had gained a whopping TEN pounds in first grade! Whoa! Time to 'Mom Up' and start packing lunches for her. We have a little system in place to keep mommy and daughter happy. Some things have worked, some haven't. A few things that are a constant are 1 fruit, 1 veggie, 1 sandwich and 1 'junk' each day. Thankfully, she DOES eat those fruits and veggies so when she was asking for a jelly sandwich every single day I kind of let it slide. About a month ago I started reading labels more carefully. Yep, as suspected, high fructose corn syrup in her little jelly sandwich (cut out in the shape of a heart these days!). Time to make another change and give DIY jam-making a try. How simple! Just combine some fresh fruit, sugar and lemon juice and let it thicken up a bit and you have jam! This is only a small batch so you don't have to worry about getting into the canning game - I'm certainly not there yet! This recipe produced a nice, thick, fresh tasting blueberry jam. It tastes like summer on a spoon! Anything that tastes like summer is much needed in Pennsylvania these days. Ugh...don't even get me started on how much I hate winter and how I feel like it's never going to stop snowing or if I'll ever see my toes again.... Anyhow, I digress! This jam takes about a half hour of your time and makes about 2 cups. The only downside to this recipe is that it only lasts in your refrigerator about 3 weeks. But that shouldn't be too much of a problem. Just pair it up with some homemade almond butter and reinvent your PB&J for a yummy throwback lunch! 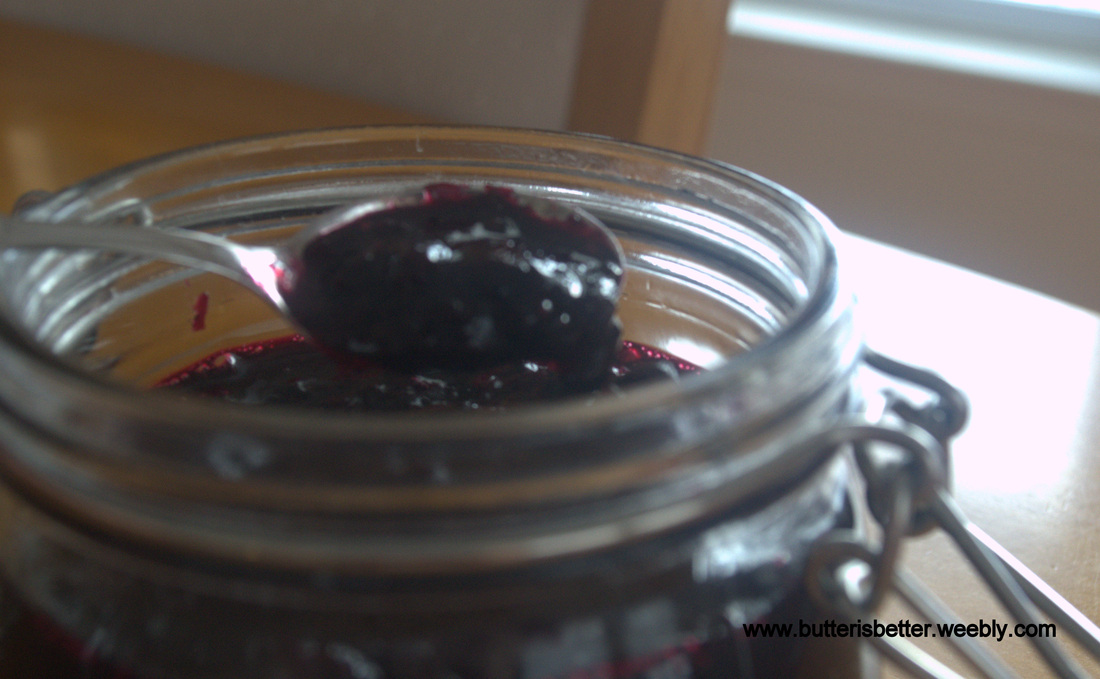
DIY Blueberry Jam
Makes about 1 1/2 cups 1 pound blueberries 3/4 cup granulated sugar 2 tablespoons lemon juice Place a metal spoon in the freezer to chill. Combine blueberries, sugar and lemon juice in a medium saucepan. Bring to a boil over medium-high heat. While bringing the mixture to a boil mash the blueberries with a potato masher or a fork to release the pectin of the fruit. Once the mixture is boiling, reduce to medium. Simmer vigorously until the mixture thickens and is jamlike, about 8-12 minutes. To test for consistency, remove the spoon from the freezer and dip into the jam. Allow the jam to run off the spoon. Jam should fall off the spoon slowly, in one thick clump. If it does this, it is done. Remove from heat and allow to cool to room temperature. If the jam is too thin, continue simmering another 2-4 minutes until it reaches desired consistency. Once jam has cooled to room temperature place in an airtight container and refrigerate for up to 3 weeks. Source: Adapted from The America's Test Kitchen DIY Cookbook
0 Comments
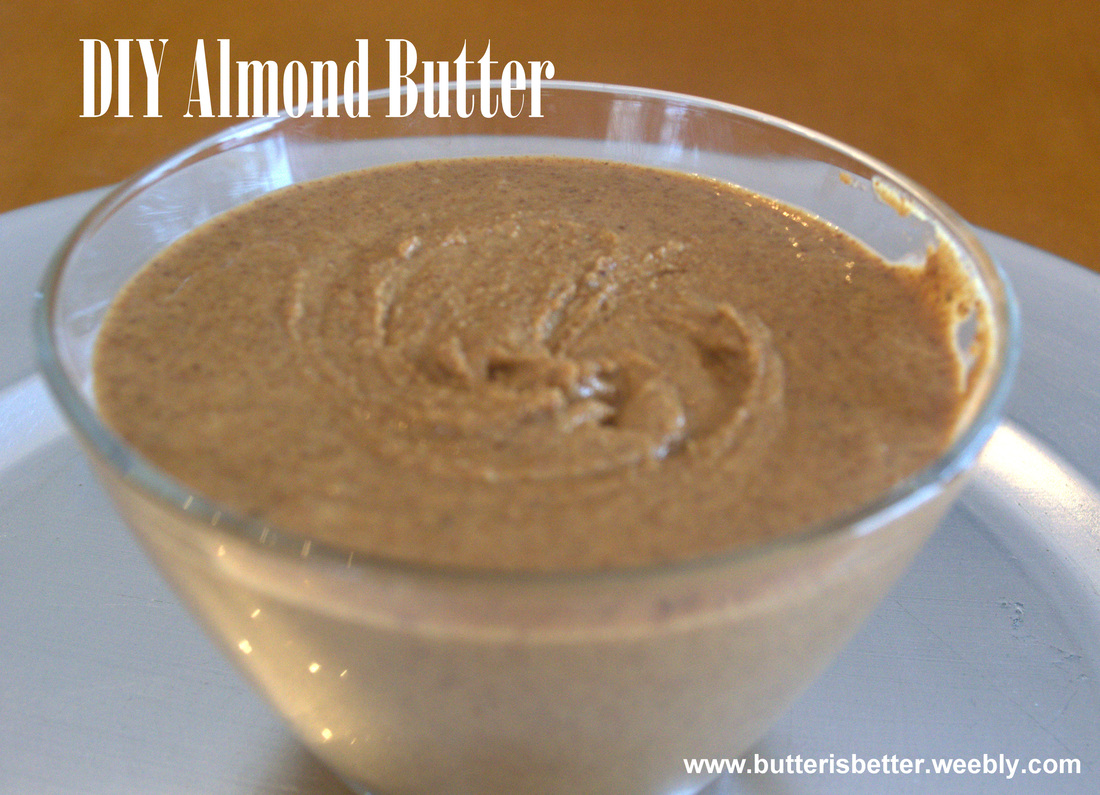
Have you all heard about the current almond butter craze? I've known that almond butter has existed for years and though I love it, I've always steered away from buying it simply because of the cost. With my health kick/lifestyle change over the past month I've been reading some health & fitness blogs in addition to my running magazines and can I tell you something? Almond butter is EVERYWHERE!! It's packed with vitamins, minerals, fiber and protein and tastes great in place of peanut butter on a sandwich, celery or pretzels or even in a smoothie. I decided to just suck it up and buy a tiny, overpriced jar of this awesomeness during my next grocery run. As I stood there in the nut butter aisle I pondered my choices. I could either buy a $10 jar of almond butter, or the cheaper $8 alternative. I went with the $8 choice. I had it in my hand. I put it in my cart. Then, it hit me! I recently bought myself some new cookbooks and I had remembered seeing a super easy recipe for making almond butter at home!!! I immediately put the little jar back on the shelf and hauled butt over to the nut aisle where I found a 1 pound bag of roasted almonds for $5! Score! Let's give this a try!!! I made a few modifications to this recipe. The most notable being using already roasted almonds instead of raw. Since the recipe stresses the importance of having warm almonds when processing to bring out the oils I decided to still throw them in the oven for a few minutes. If you use raw almonds, roast for 10-12 minutes until they are fragrant and slightly darkened. DIY Almond Butter
Makes about 1 1/2 cups 1 pound whole, roasted almonds 3/4 teaspoon kosher salt Adjust an oven rack to the middle position. Preheat oven to 375° F. Spread the almonds on a rimmed baking sheet in a single layer. Roast about 6 minutes, until fragrant. (Be very careful with this step. It only takes a few seconds for nuts to go from perfectly roasted to burnt.) Remove from oven and allow to cool slightly, until they are cool enough to handle - about 15-20 minutes. Place almonds in a food processor for about 1 minute, until they resemble coarse meal. Scrape down the sides of the bowl. Continue processing. After another minute or two you will have a very firm mass. It will be difficult to scrape down the bowl at this point - that's perfectly ok. Continue processing for another 2-3 minutes. The oils in the nuts will begin to break down and the mixture will start to look like a paste. Stop to scrape down the bowl. It should be pretty easy to do at this point. Add the salt to the nuts and process for about another 30 seconds. This whole process should take about 5-7 minutes. What you will be left with is gorgeous, tasty, pure almond butter!! Store in an airtight container. It can be kept at room temperature or refrigerated for up to 2 months. Source: Adapted from The America's Test Kitchen DIY Cookbook 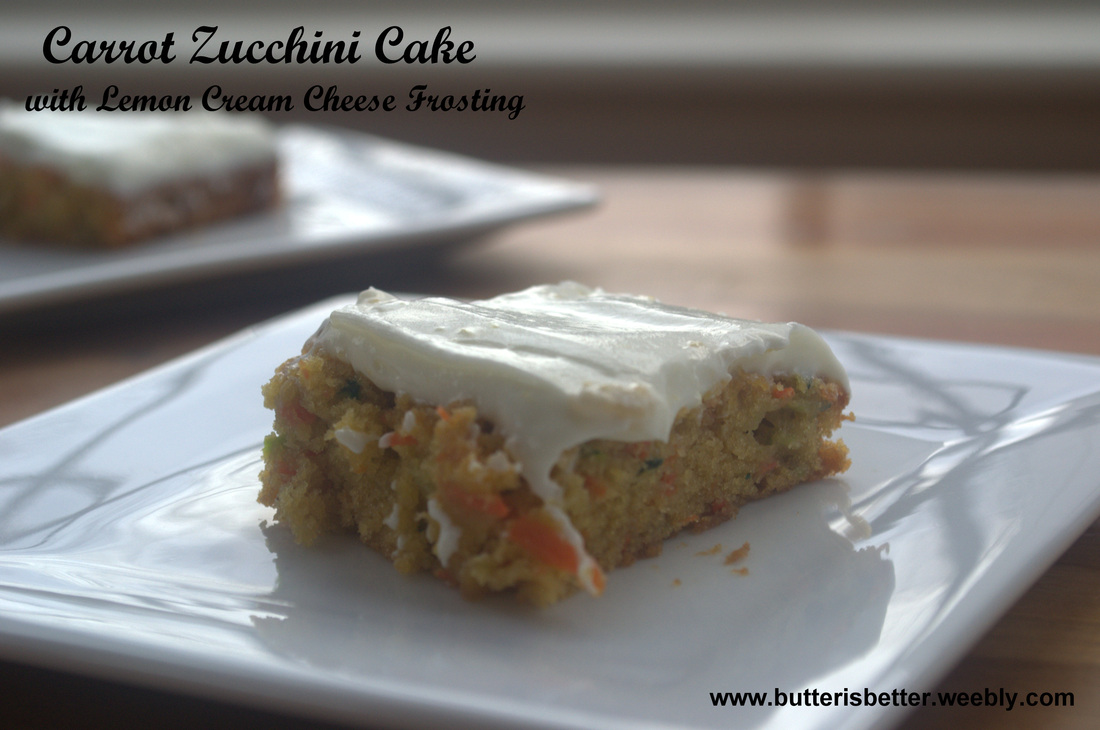
It's finally January 31st. Hooray for making it through the seemingly longest month of the year! For me this month was long and cold but mostly restful and rejuvenating. The last half of 2012 was such a whirlwind for me and my family that January was a much needed 'down' month for us. Besides playing taxi-mom and going to the grocery store I practically became a shut-in during January! I'm proud to say that my month of rest and dedication has netted some great results! I'm down 7 pounds and up to 4-mile "long runs" and I feel great! I've been SO GOOD about Weight Watchers until....well, until this cake! Stupid cake. I mean, awesome cake. No, cake-that-broke-my-resolve. Er....healthy, tasty, not-too-sweet cake. Ugh....DELICIOUS CAKE! I'm still craving veggies and citrus so when I came across this recipe on Pinterest I knew I had to make it soon. It's moist and slightly tangy and I managed to work it into my Weigh Watchers plan. One piece...yes. Two, three and four pieces...not so much. *sigh* Oh well. Weight Watchers is great, but I love cooking, baking and food too much to commit to it much longer. It gave me a great jump start to the new year and Half Marathon training so we're all good! 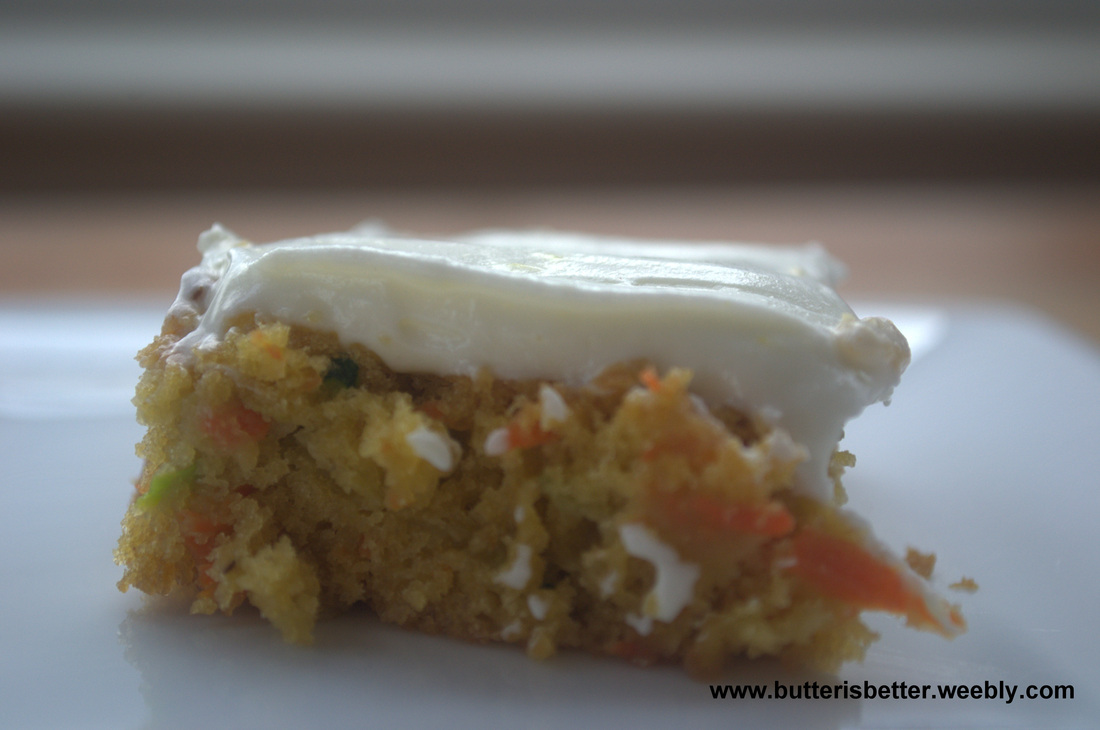
Carrot Zucchini Cake with Lemon Cream Cheese Frosting Makes 24 pieces For the cake 1 1/2 cups all-purpose flour 1 teaspoon baking powder 1/2 teaspoon ground ginger 1/4 teaspoon baking soda 2 eggs, slightly beaten 3/4 cup brown sugar, packed 1/2 cup canola oil 1/4 cup honey 1 teaspoon vanilla extract 1 1/2 cups shredded carrot 1 cup shredded zucchini 1/2 cup chopped pecans For the frosting 8 ounces reduced-fat cream cheese 1 cup powdered sugar 1 teaspoon lemon zest (about 1 lemon) 1/2 teaspoon lemon juice **Tip: Zest your lemons while they are whole, before juicing. It is MUCH easier this way! Preheat oven to 350° F. In a medium bowl, combine flour, baking powder, ground ginger and baking soda. Stir with a whisk. Set aside. In a large bowl combine the eggs, brown sugar, canola oil, honey and vanilla extract. Fold in carrots, zucchini and pecans. Gradually add the flour mixture to the wet ingredients. Stir until just combined. Pour batter into an ungreased 13x9 baking pan. Bake for 25 or until a toothpick inserted in the center comes out clean. Cool completely in the pan before frosting. Once the cake is completely cooled make the frosting. In the bowl of a stand mixer combine cream cheese, powdered sugar, lemon zest and lemon juice. Beat until light and fluffy. Spread the frosting over the cooled cake. Cut into 24 pieces. 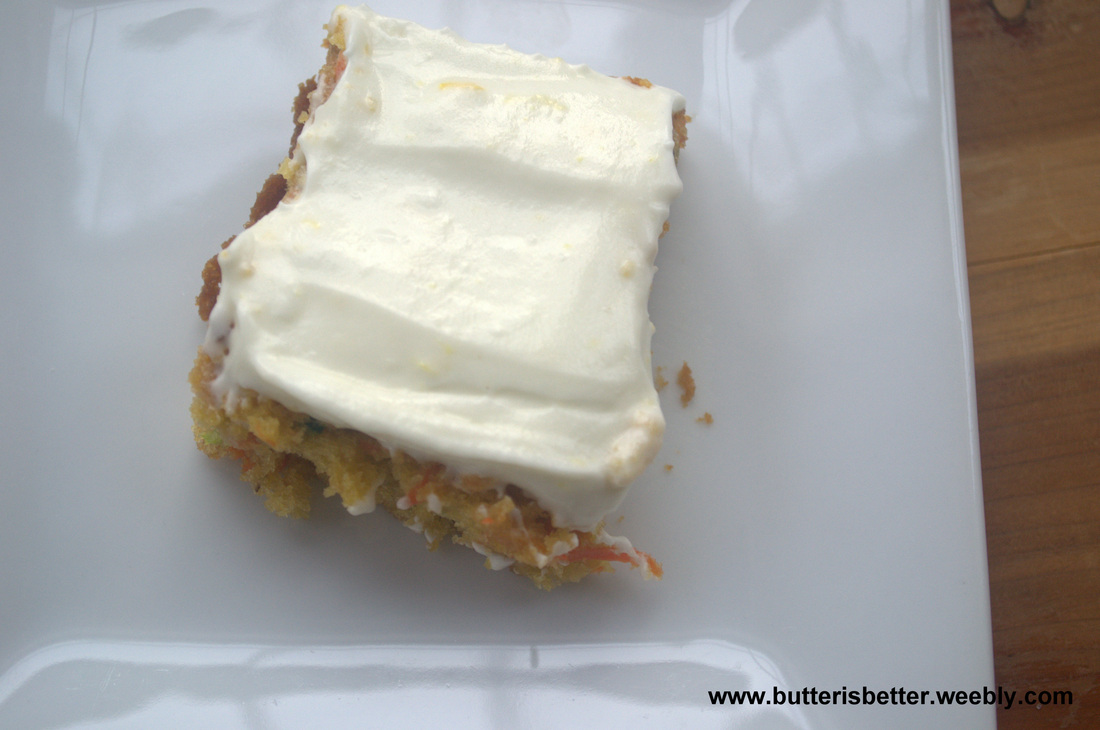

In 1998 I spent 15 days in Rome, Italy visiting my mom's aunt and uncle - Zia and Zio. The food, or 'magic' created in Zia Lucia's kitchen inspired me in so many ways. I was fortunate enough to take my now-husband back with my family in 2001 for 10 days. Zia Lucia's cooking was still out of this world and now Mike could finally understand just what it was that we all loved about her, them, Rome...all of it! Though I didn't get to cook with her I will forever be influenced by the love she put into every single creation she brought out of that kitchen. The simple "Italian Orange" as I like to call it, is a perfect example of how she can put together a fantastic tasting dish out of things you already have just sitting around your kitchen. At first I'm sure this combination sounds a bit odd do you, but TRUST ME! It's so delicious, refreshing and healthy! You'll make it again and again. I've been enjoying it at home for so long and decided it just wasn't fair to keep this little gem to myself, so today I'm sharing it with you! 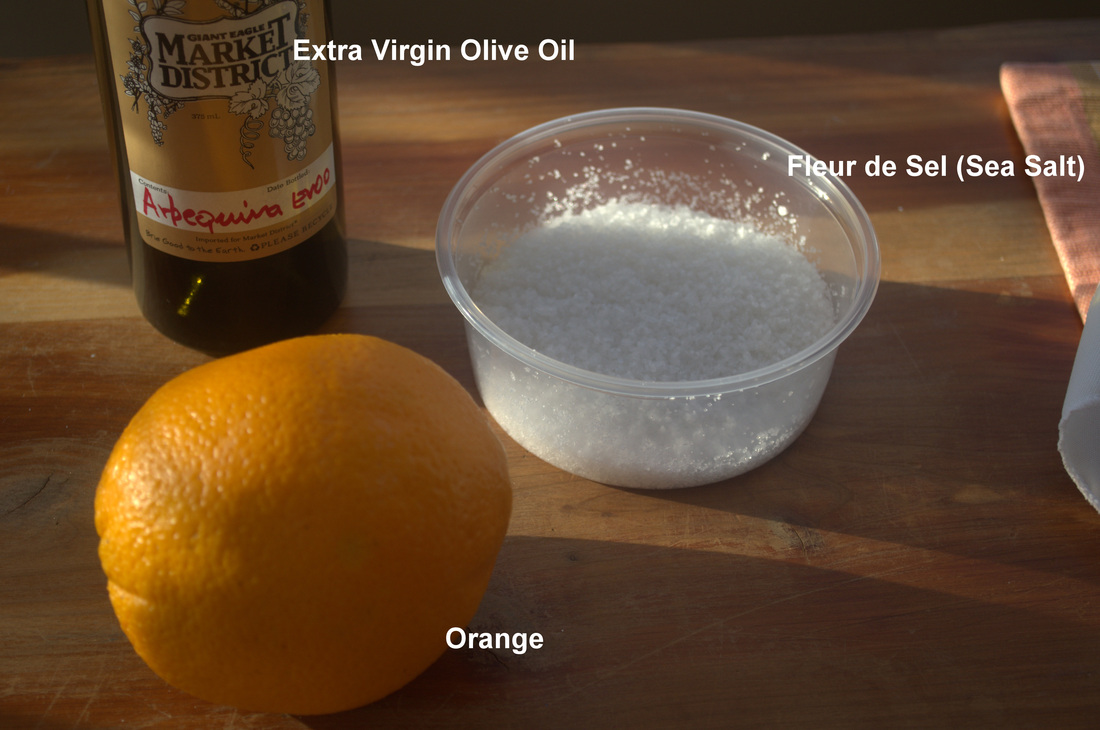
The Italian Orange Serves 1 1 orange, peeled and segmented 1 teaspoon extra virgin olive oil Sprinkle of sea salt, I use Fleur de Sel Place the segmented orange in a bowl, drizzle with olive oil, sprinkle with sea salt. Enjoy! 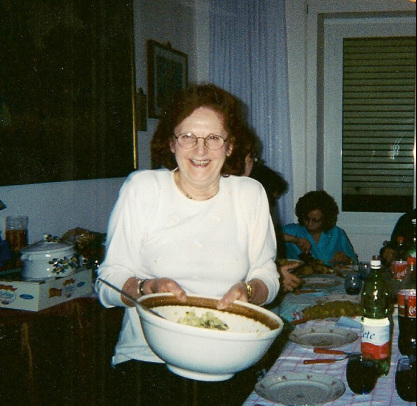
Zia Lucia
Source
Zia Lucia's original 
In continuing on with my healthy/citrus craving lately, today I'm sharing with you Orange Cranberry Muffins. When I was on Weight Watchers back in 2011 I had an urge to bake something (shocking, I know!) so I went searching through their website for something healthy, convenient and practical. I came across these muffins and just loved them! They are filled with dried cranberries and have a nice orange flavor. They are topped off with granulated sugar, which gives them the texture of a nice cake doughnut. The top is definitely my favorite part! I make a full batch of these and usually enjoy one fresh from the oven and freeze the rest. Once they are frozen I'll either grab one to go (they thaw out in about a half hour or so) or throw one in the microwave for 20-30 seconds. A muffin and some hot coffee - a perfect start to my day! Orange Cranberry Muffins Makes approximately 15 standard-sized muffins 2 cups all-purpose flour 2/3 cup granulated sugar, divided 1/2 cup sweetened, dried cranberries 2 teaspoons orange zest 2 teaspoons baking powder 1 teaspoon pumpkin pie spice 1/2 teaspoon baking soda 1/4 teaspoon salt 1 cup low-fat (1%) buttermilk ** 2 tablespoons salted butter, melted 1 egg, lightly beaten **If you don't have buttermilk on hand you can make a quick substitution by putting 1 tablespoon of acid (lemon juice, white vinegar, cider vinegar or white wine vinegar) in a measuring cup. Fill the rest of the cup with 1% or skim milk to make 1 full cup of liquid. Let sit 5 minutes. Stir and proceed to use in the recipe. Preheat oven to 400° F. Spray 15 muffin cups with nonstick cooking spray. Set aside.
Combine flour, 1/2 cup of sugar, cranberries, orange zest, baking powder, pumpkin pie spice, baking soda and salt in a large bowl. Whisk to combine. In a separate bowl mix together buttermilk, melted butter and egg. Add wet ingredients to the dry ingredients and mix until just combined. Spoon batter in prepared muffin tins. Sprinkle the remaining sugar over the tops of the muffins. Bake for 15 minutes, or until a toothpick inserted in the center comes out clean. Allow to cool in the pans a few minutes before transferring to a wire rack to cool completely. Source Weight Watchers 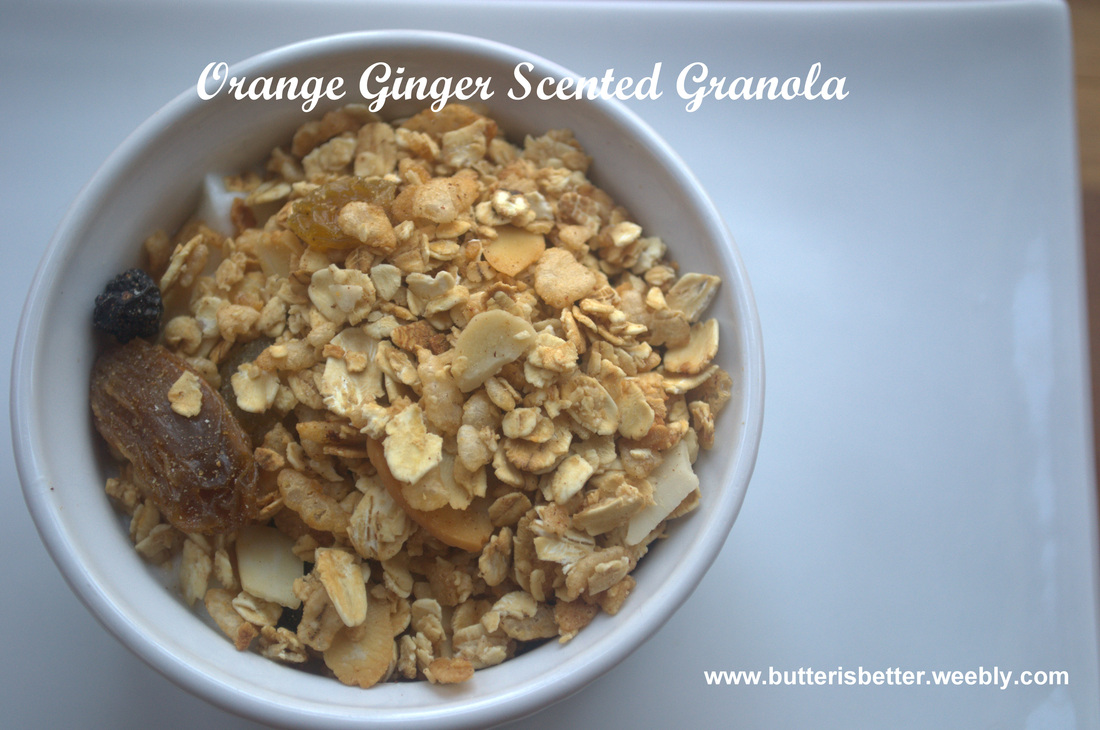
So, I've been on a major health-kick since the start of 2013. Back in January 2011 something clicked in my brain and I started Weight Watchers and stuck to it for 3 months. I lost 15 pounds and I felt amazing! I was happy with my weight so I let some of the good habits slide a bit. Then at the beginning of 2012 I was starting my blog and training for the Pittsburgh Marathon Relay. I tried half-heartedly to eat the Weight-Watcher-Way but just couldn't make it happen with all the yummy things coming out of my kitchen! This wasn't a big deal because I was running more than usual so my weight pretty much stayed the same. Enter the 2nd half of 2012. All bets were off. We went on a 3-week vacation (running was minimal...eating was plentiful), moved out of our townhouse, into my parents' townhouse and FINALLY into our new home. After getting settled in the new house we were faced with Halloween candy, Thanksgiving dinner (and leftovers) and lots and lots of Christmas goodies. That brings me to January 2013. This year I am back on Weight Watchers and I'm doing a great job so far! I'm also training for 2 half-marathons (that's 13.1 miles, people!). I'm also trying very hard to incorporate fun food and baking into my daily life in a healthy way. I'm going to do my best to bring you healthy and delicious recipes as well as the occasional sinful treat! Oh, one more thing, you should be forewarned, I've been craving LOTS of citrus and oatmeal lately! Today I bring you a Weight Watcher inspired Orange Ginger Scented Granola. Orange juice and ground ginger are both used in this granola, but I feel the flavor is delicate, not overpowering. I have been enjoying this granola served over plain, nonfat yogurt. It's great for a light breakfast or a mid-afternoon snack. You could also serve it in a bowl with some milk, or just grab a handful as a quick snack on the go. 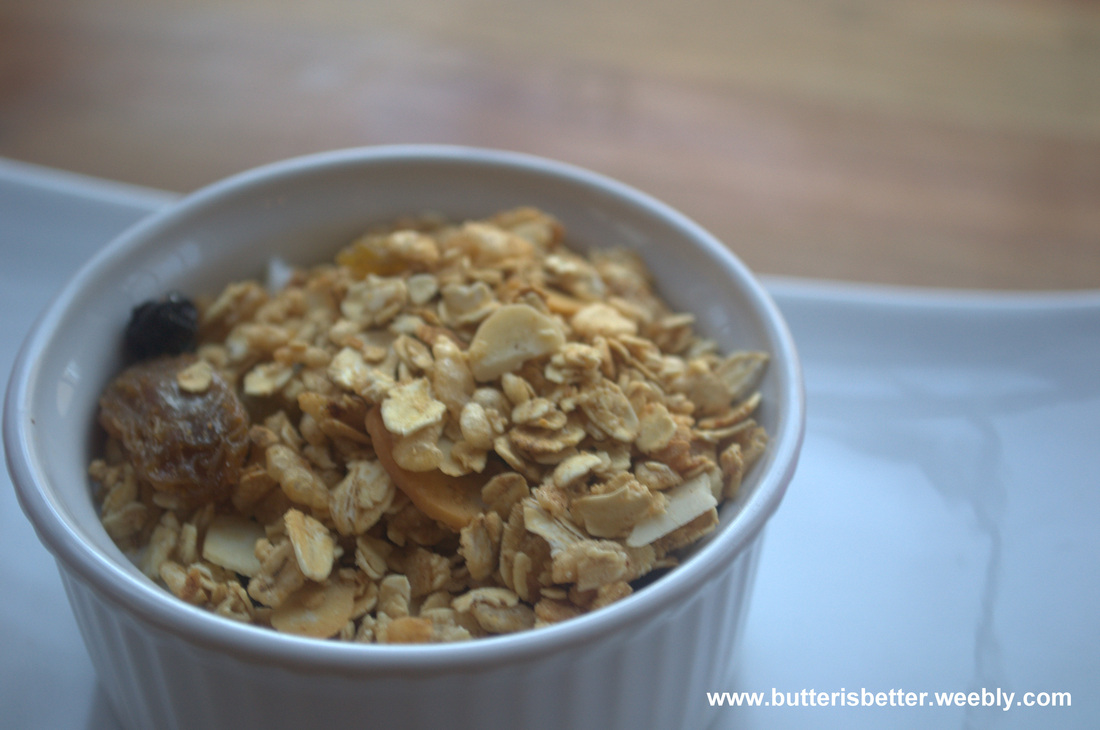
Orange Ginger Scented Granola
2 cups quick oats 1 cup old fashioned oats 2 cups puffed rice cereal, such as Rice Krispies 6 tablespoons honey 1 teaspoon canola oil 1/4 cup orange juice 1/2 teaspoon cinnamon 1/2 teaspoon ground ginger 1/2 teaspoon vanilla extract 1/4 cup sliced almonds 1/2 cup mixed raisins Preheat oven to 350° F. Mix oats and puffed rice cereal together in a large bowl. Spread evenly onto a rimmed, non-stick baking sheet. Bake for 10 minutes, stirring once. Remove from oven. Allow to cool slightly. While the cereals are baking, combine the honey, canola oil, orange juice, cinnamon, ground ginger and vanilla extract into a 2-cup measuring cup. Mix well. Set aside. Place slightly cooled cereal back in the large bowl. Stir in the almonds. Pour the liquid mixture into the bowl. Mix until well incorporated. Spread evenly onto the rimmed baking sheet again. Bake for 20 minutes or until the cereal starts to brown, stirring every 5 minutes. Remove from the oven, stir in the raisins and allow to cool. Once granola is cool, store in an airtight container. Adapted from Weight Watchers 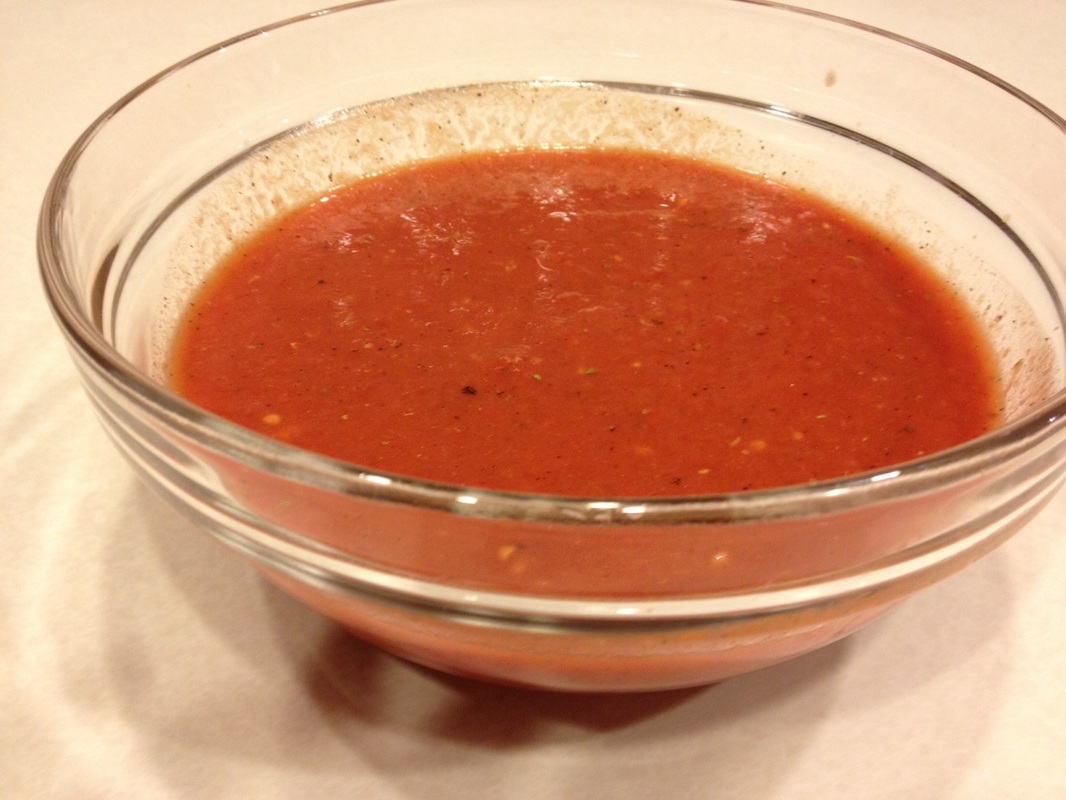
So, I've been making my own pizza for years - sometimes with a pre-baked crust from the store, sometimes with one of those refrigerated pizza crusts and sometimes with my own dough. Through the goods and the bads of pizza dough I always found one consistently bad thing - the sauce! I am not a fan of the store bought pizza sauces that come in jars and bottles, so I've tried half-heartedly to make my own pizza sauce time and time again. Sometimes I would use straight marinara sauce - didn't quite cut it. The next time I'd doctor-up my marinara sauce with a little oregano - still not quite right. To my surprise, internet searches for a pizza sauce recipe yielded nothing! In the end I'd resort to going back to store bought sauce because I just couldn't 'get it'. FINALLY, about a year ago I came across this recipe on Annie's Eats (I know I've said it before, but this girl's blog has seriously changed my life!) and it happened - I finally 'GOT IT'! This pizza sauce is ridiculously easy to make! If you have 5 minutes and a food processor you can probably whip up a batch out of your pantry right now! I find that this recipe makes enough to cover at least two pizzas. When I make a batch I usually use half and freeze the other half for another time. When using from frozen I suggest you reheat it gently on the stove for a few minutes to thicken it up a bit. The sauce tends to be a bit watery when defrosted from frozen.
Give this one a try! I promise - you'll never buy store bought pizza sauce again!! DIY Pizza Sauce 28 ounce can whole peeled tomatoes, drained 1 tablespoon extra virgin olive oil 1 teaspoon red wine vinegar 1 teaspoon kosher salt 1 teaspoon dried oregano 1/4 teaspoon ground black pepper Combine all ingredients in a food processor and blend until smooth, about 30 seconds. Transfer to a bowl. Refrigerate (or freeze) until ready to use. Source: Adapted from Annie's Eats  Last Spring made a delicious Shaved Asparagus Pizza and I promised all of you that I would share the pizza dough recipe with you. Well, life happened, a move happened and...well, I'm sharing it with you now! Homemade pizza dough is nothing new to our kitchen. My husband has been our main "Pizza Dough Maker" for years. He seasoned his dough very well and the pizza always came out nicely. The only thing lacking was the crust - I mean, it was OK as a vehicle to deliver the delicious toppings to your mouth, but when the toppings were gone, I never really wanted to eat the crust. All that changed when I found this recipe from Annie's Eats. The crust is so amazing! There is never a time when a crust hits the garbage can - it's all devoured right along with all the other pizza yumminess! I've been making this recipe for about a year now and I've come a long way with my pizza making skills. Take a look at Annie's awesome pizza tips for some great pointers on how to get the best pizza ever! I've incorporated many of these tips into my own pizza making, however, currently I'm using a metal pizza pan instead of a stone. I've had stones for years and years but lately we keep breaking them! We can't figure out what we're doing wrong, so for now, a metal pizza pan it is! If you've never made your own pizza dough, I beg you to give it a try! It's really not that hard! Basic Pizza Dough 1/2 cup warm water (about 110° F) 1 envelope (2 1/4 tsp) instant yeast 1 1/4 cups water, room temperature 2 tbsp extra virgin olive oil 22 ounces (approximately 4 cups) bread flour, plus more for dusting 1 1/2 tsp kosher salt olive oil or nonstick cooking spray Place the warm water in a medium bowl, sprinkle the yeast over the warm water and let sit for about 5 minutes to allow the yeast to swell. Add the room temperature water and the olive oil. Set aside. Place the flour and kosher salt in the bowl of a stand mixer fitted with a paddle attachment. Mix briefly to combine. With the mixer on low speed, slowly add the water/yeast/olive oil mixture. Once all ingredients have come together, switch over to the dough hook and knead on medium speed until the dough is smooth and elastic, about 5 minutes. Form the dough into a ball and place in a deep, lightly oil bowl. Cover with plastic wrap and set in a warm place until the dough has doubled in size, about 1 1/2 to 2 hours. 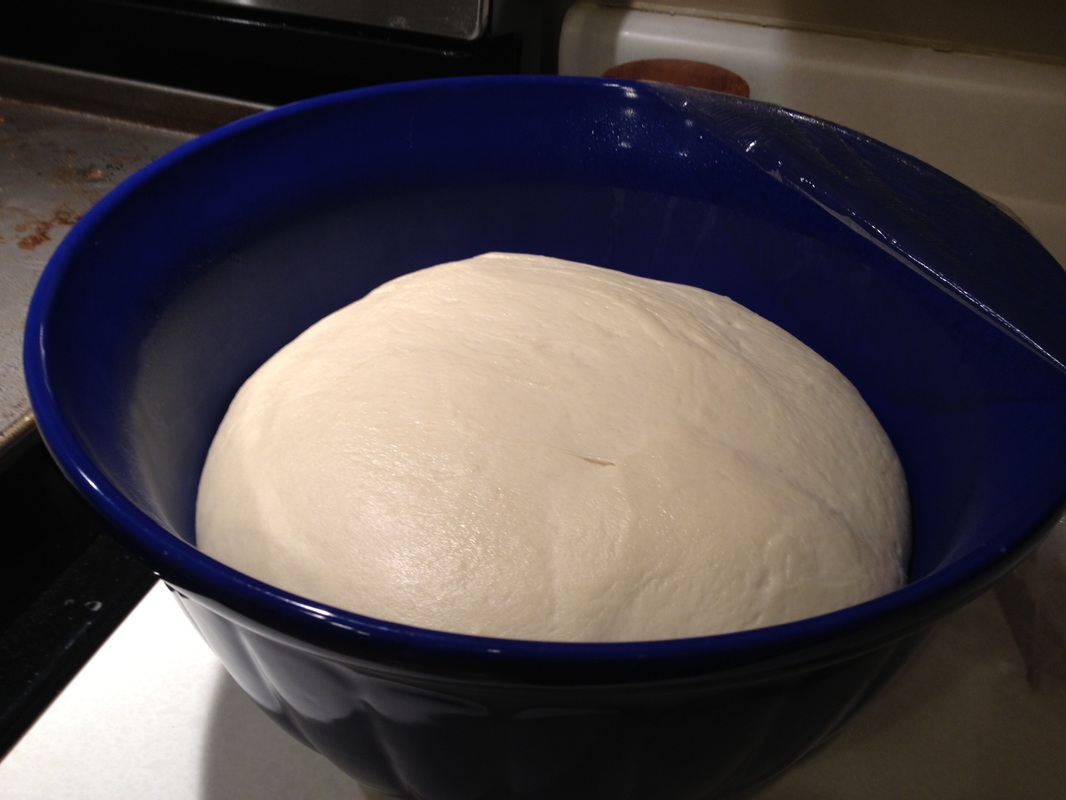 Punch down the dough and divide into 2 equal balls of dough. If you want to freeze the dough for future use, wrap in plastic wrap, then place in a freezer safe bag. When you are ready to use the frozen dough, defrost it in the refrigerator for 1 day prior to using it. On the day you are going to use it, let the dough come up to room temperature before shaping it.  If making a pizza, shape your dough to fit your pan, or pizza peel if using a stone. (I know you aren't really supposed to use a rolling pin when forming pizza dough, but I just haven't perfected my stretching technique yet!) You could also use the dough to make these crowd-pleasing pizza bites! 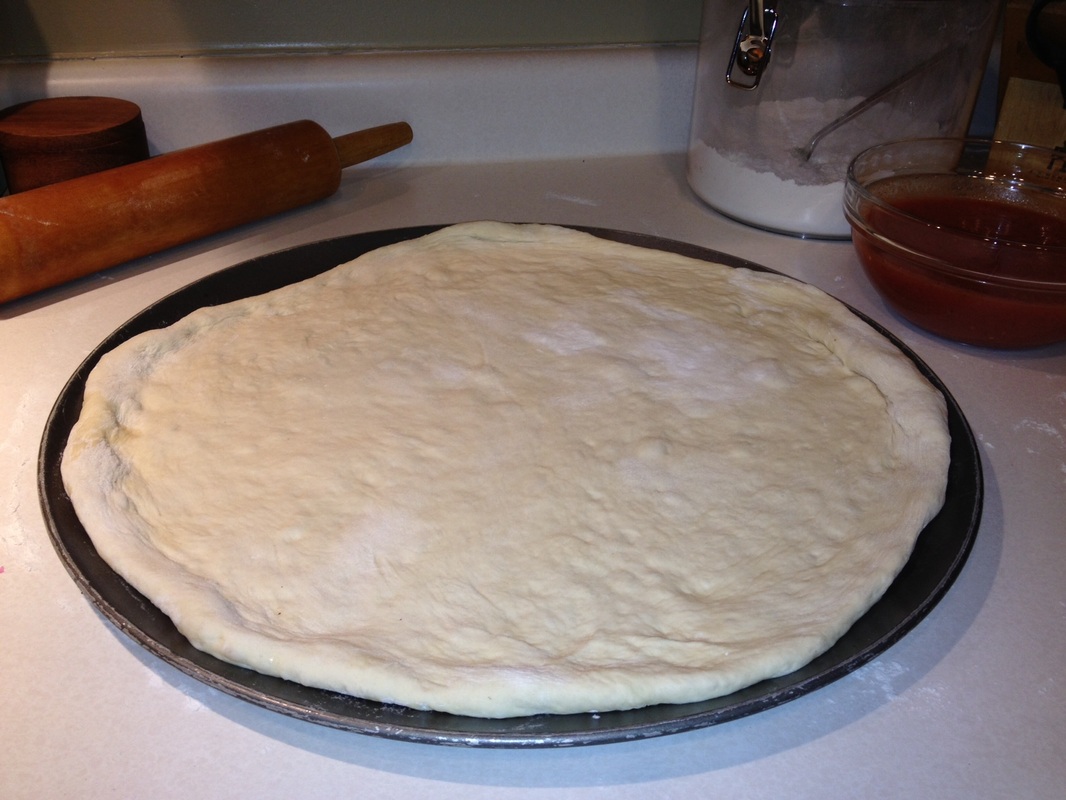 From here you can add your toppings and bake your pizza according to your own recipe. I like to cook mine at 450° F for about 10-12 minutes or until the crust is golden brown. Oh, see that sauce in the background? Best. Pizza. Sauce. Ever. Will share that soon!
Give it a try! Good luck! Source: Adapted from Annie's Eats 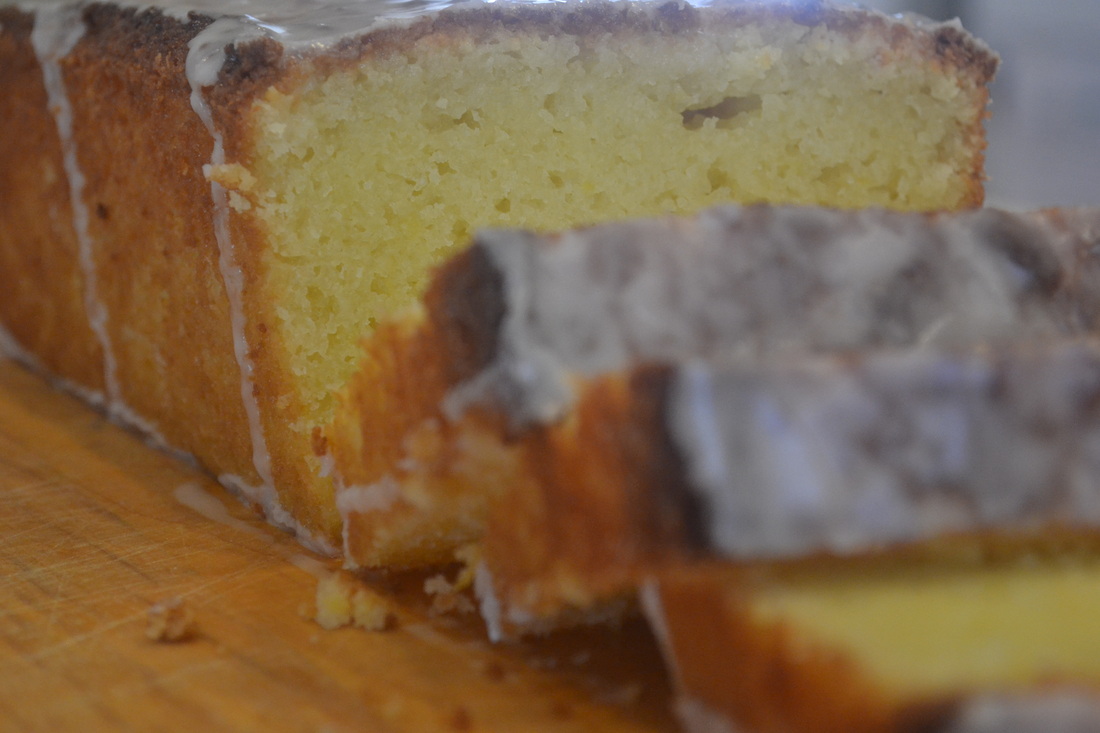
Hello and Happy New Year! Welcome back to the Butter Blog! After a very long break from blogging I've decided to start it up again and I'm very excited about it! There were so many things going on for me the 2nd half of last year that blogging took a backseat to other priorities. We've been in the new house for 3 months and have celebrated 3 major holidays already. Happily, moving boxes and decoration boxes are now all clear from my living space and I can finally relax, cook, blog and enjoy life....ahhhh! For a short while I contemplated stopping blogging altogether, but then I remembered why I started it in the beginning a little over a year ago - to challenge myself to try become a better cook, to document my favorite recipes all in one place and to share those recipes with friends and family. To that end, I am committing myself to blog at least one time a week, so...here goes!! The first recipe I want to share with you is a heavenly Lemon Loaf Cake. I made this cake several months ago, only a few weeks after we moved in, and I can still remember the taste of the cake so well! It has a beautiful yellow color inside the unassuming brown crust. The lemon flavor was bright but not overpowering. And the texture was a little dense, almost like a ricotta-based cake (which I LOVE!) and oh-so-indulgent! After eating my weight in sugar during the month of December I've found myself really craving citrus foods right now. This Lemon Loaf is perfect for that craving! I can't wait to get in the kitchen this weekend and make another batch! 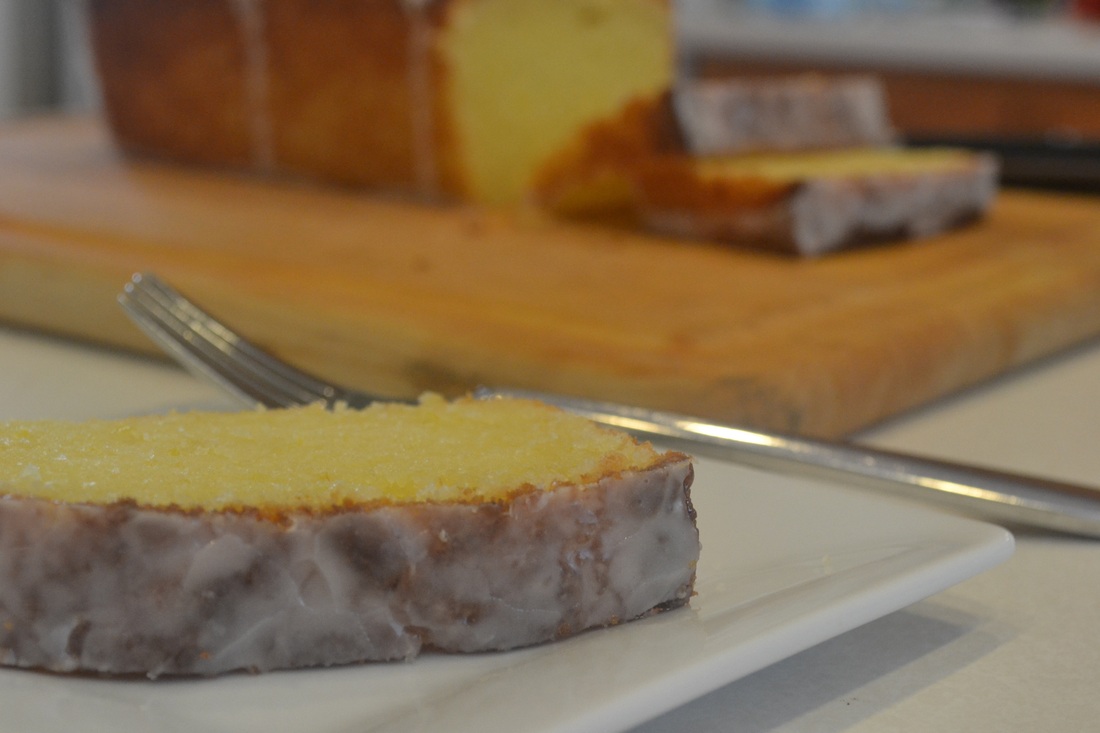
Lemon Loaf Cake
Makes 2 loaf cakes - approx 16 slices each For the cake 1 1/2 cups cake flour 1 1/2 cups all-purpose flour 2 teaspoons baking powder 1/4 teaspoon baking soda 1 teaspoon salt 2 1/4 cups granulated sugar 8 large eggs, at room temperature 1/4 cup lemon zest (approximately 2 lemons) 1/4 cup fresh lemon juice** 2 cups (4 sticks) unsalted butter, melted and cooled 1/2 cup sour cream 2 teaspoons vanilla extract **Tip: Zest your lemons while they are whole, before juicing. It is MUCH easier this way! For the lemon syrup 1/3 cup fresh lemon juice 1/3 cup granulated sugar For the lemon glaze 2 cups confectioner's sugar, sifted 4-6 tablespoons fresh lemon juice Preheat oven to 350° F. Butter sides and bottoms of 2 9-9-inch loaf pans. Line with parchment, then butter the parchment. Set aside. In a medium bowl, whisk together the cake flour, all-purpose flour, baking powder, baking soda and salt. Set aside. In the bowl of a stand mixer, fitted with a paddle attachment, combine the sugar, eggs, lemon zest and lemon juice. Mix on low speed until just combined. With the mixer running, slowing pour in the melted butter. Add the sour cream and vanilla and continue mixing until all ingredients are incorporated. Gradually add the flour mixture using a rubber spatula to gently fold in, being careful not to overmix. Divide the batter evenly between the prepared loaf pans. Bake on the middle rack for 20 minutes. Rotate the pans and reduce the oven temperature to 325° F. Continue baking for another 30-35 minutes, or until a toothpick inserted in the center of the cake comes out clean. Allow to cool in the pans for about 15 minutes. While the cakes are baking, prepare the lemon syrup. Combine the lemon juice and granulated sugar in a small saucepan over medium heat. Stir until the sugar is completely dissolved. Cook for approximately 3 more minutes. Remove from heat and set aside. Remove the cakes from the pans and place on a parchment or Silpat lined baking mat. Using a toothpick, poke holes in the tops and sides of the cakes. Brush with the lemon syrup, allow to soak in and brush again. Allow the cakes to cool for approximately 30 minutes. When the loaves are cool, prepare the lemon glaze. In a small bowl, whisk together the confectioner's sugar and 4 tablespoons of the lemon juice. The glaze should be thick, but pourable. Add more lemon juice, if needed, to reach desired consistency. Pour the glaze over top of each loaf (it will drip down the sides). Let sit for about 15 minutes, or until the glaze hardens, before serving. When I made this recipe I 'halved' it to only make one loaf. My loaf kept well, unsliced, in Tupperware until it was gone (about 5 days). I plan on making the full recipe the whole way through to the glaze and cutting and freezing it by the slice. I'm not sure how this will come out but I'm going to give it a try. It sure would be convenient to grab a yummy slice to go on busy mornings! Source: As seen on Cook Like a Champion, originally from Baked: New Frontiers in Baking 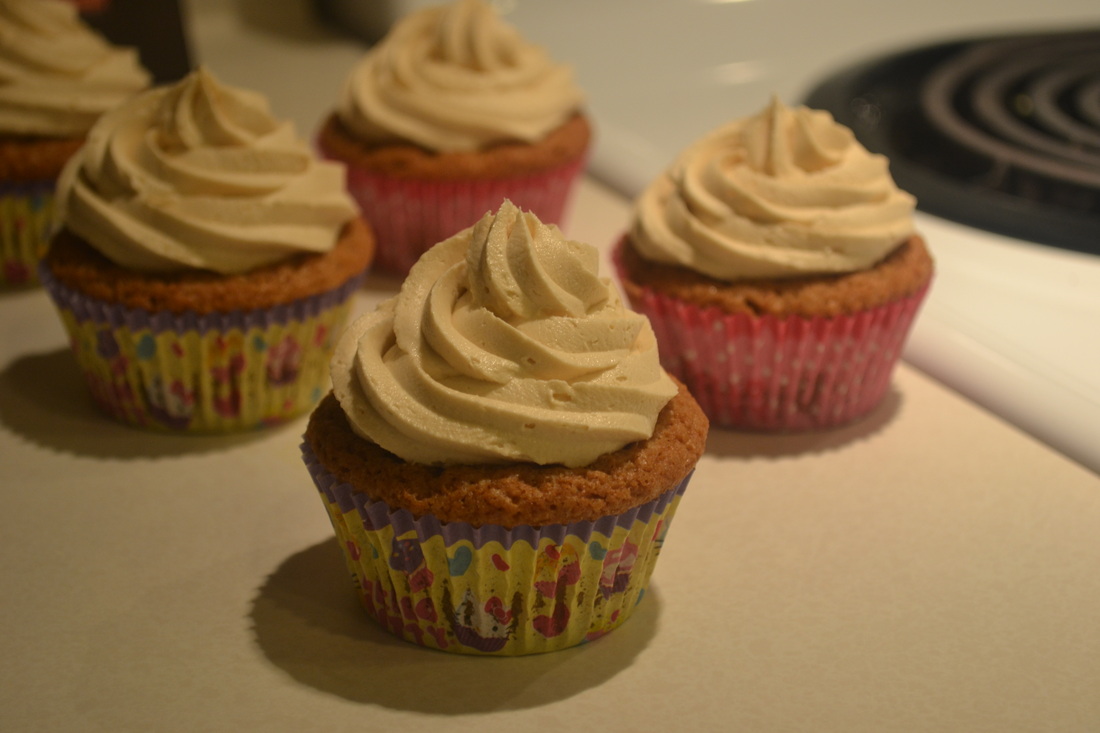
I realize that in many things in life I'm a bit late to the party. Skinny jeans. Ugg boots. Any TV series that actually makes it past the first season. Heck, I just recently discovered Food Blogs! So it's no surprise that I'm late on discovering Biscoff spread. Have you heard of this stuff??? Or better yet, have you tried it??? I have been seeing it featured in a lot of recipes lately and I just couldn't understand the fascination. I was lucky enough to try a sample at my local grocery store and I was hooked! The flavor is a little tough to describe, but it reminds me of a graham-cracker peanut-butter-type spread. I knew as soon as I tried it that I would have to been baking something up soon and since I just moved to my new house and haven't made cupcakes in a while....well...here you go! Biscoff cupcakes!! These are super easy to throw together. The texture of the cupcake itself came out a little like banana bread. They may have been a tad over-baked. (I'm still learning this new-to-me base model oven. The only good thing about it is that I get to go oven shopping. Yaaay!) The frosting was absolutely amazing! As usual, I used Plugra European Butter and the taste and texture were perfect! These were gone quickly - even my super-picky 7-year-old loved them! 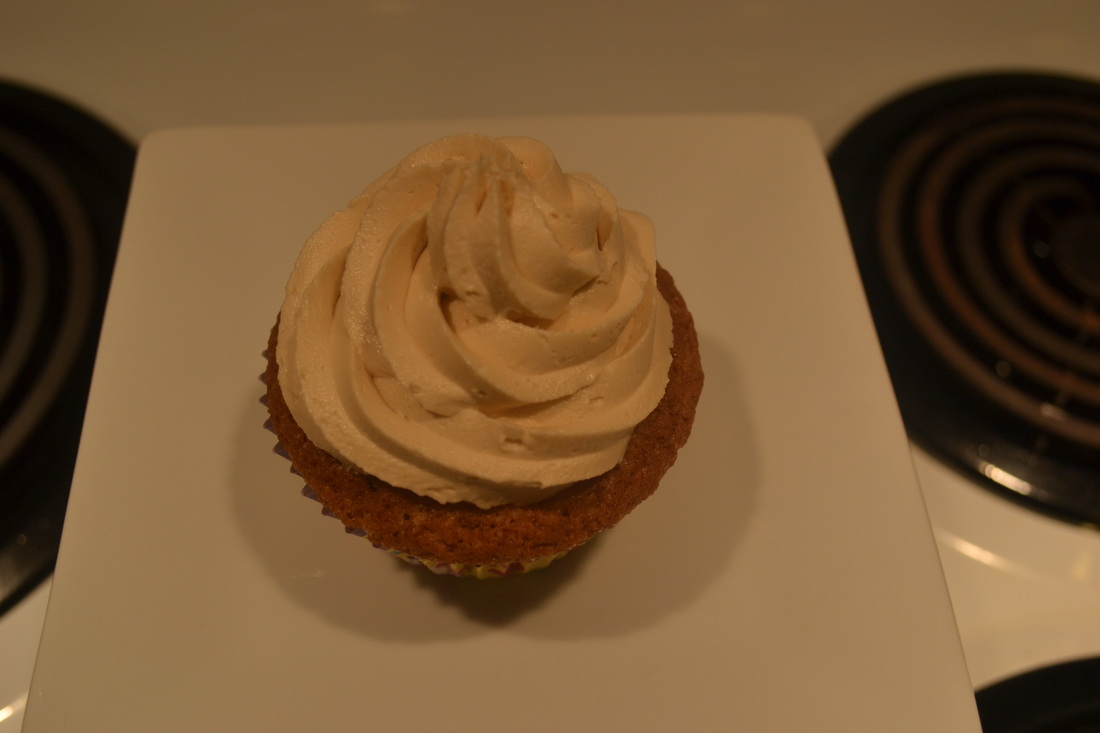
Biscoff Cupcakes
Makes 12 cupcakes For the cupcakes 1 cup all-purpose flour 1 cup granulated sugar 1/2 teaspoon kosher salt 1/2 teaspoon baking soda 1/2 cup canola oil 1/2 cup sour cream 1/2 cup Biscoff spread 2 large eggs 2 teaspoons vanilla extract Preheat the oven to 350. Line a standard cupcake pan with 12 liners. Set aside. Sift flour, sugar, salt and baking soda in a medium bowl. Whisk together. Set aside. In the bowl of a stand mixer fitted with the paddle attachment, place the oil, sour cream, Biscoff spread, eggs and vanilla. Mix on medium speed until well-combined. Slowly add the dry ingredients to the mixer bowl and mix on low until just combined. Fill the cupcake liners about 2/3 full. Bake for 18-22 minutes until a toothpick inserted in the middle comes out clean. Remove from oven and allow to cool in the pan for about 5-10 minutes. Remove from pan and allow to cool completely on a cooling rack before frosting. For the buttercream 2 sticks unsalted butter, room temperature 1/4 cup Biscoff spread 4-5 cups confectioner's sugar, sifted 2 tablespoons milk Place butter and Biscoff spread in the bowl of a stand mixer fitted with the paddle attachment. Cream together on medium-high speed until light and fluffy, about 5 minutes. Turn the mixer to low and gradually add the sugar. Once all the sugar has been added, beat in the milk. Turn the mixer back on high and beat until light and fluffy once again, about 5 minutes, Transfer the frosting to a pastry bag and swirl onto cupcakes. **I PROMISE I will figure out how to use my camera!! I apologize for all the shadowy pictures! Source: Barely adapted from Picky Palate |
AuthorPittsburgh area mom striving to provide clean, healthy, REAL food for her family! Categories
All
Archives
September 2014
|
 RSS Feed
