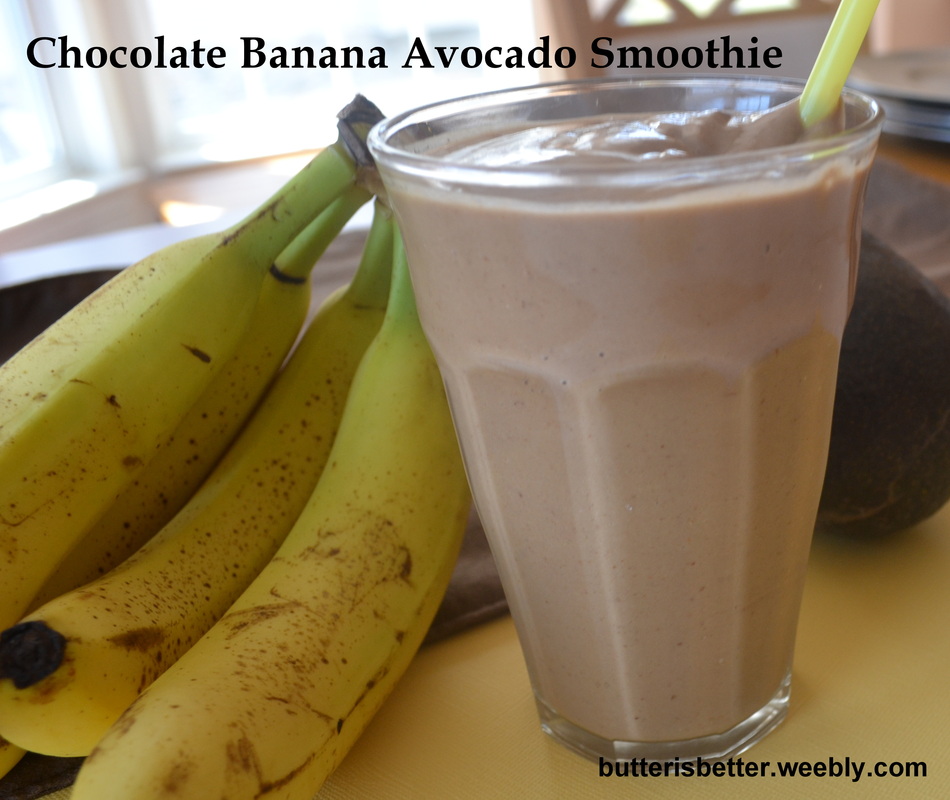
Happy Monday! I hope everyone had a great weekend! If you overindulged a bit (and don't we all?) I have the perfect recipe for you! This is another recipe that features my very favorite fruit: the avocado. Over the past few years I have developed a lower and lower tolerance to milk (and sadly, milkshakes), so I've been enjoying less and less smoothies and milkshakes. I had read many times that avocados are a great addition to shakes and smoothies to get the creaminess that is missing from non-dairy versions. I had never actively searched for a recipe but once I came across this recipe on Pinterest and knew this was one to try! Lots of smoothies look healthy but are secretly filled with tons of sugar and calories. What I like about this smoothie is that it is dairy-free (yaaay!), contains 1 1/2 servings of fruit, is sweetened with honey, not sugar and has tons of protein. This drink totally disguised itself as a chocolate milkshake to my two princesses! JP liked it and Bean loved it. My little Bean definitely acquired Mommy's avocado obsession :) It's chocolate-y and creamy and sweet, but not too sweet. The avocado is there, but I swear you can barely taste it. It's a great way to sneak a lot of healthy things into your kids! 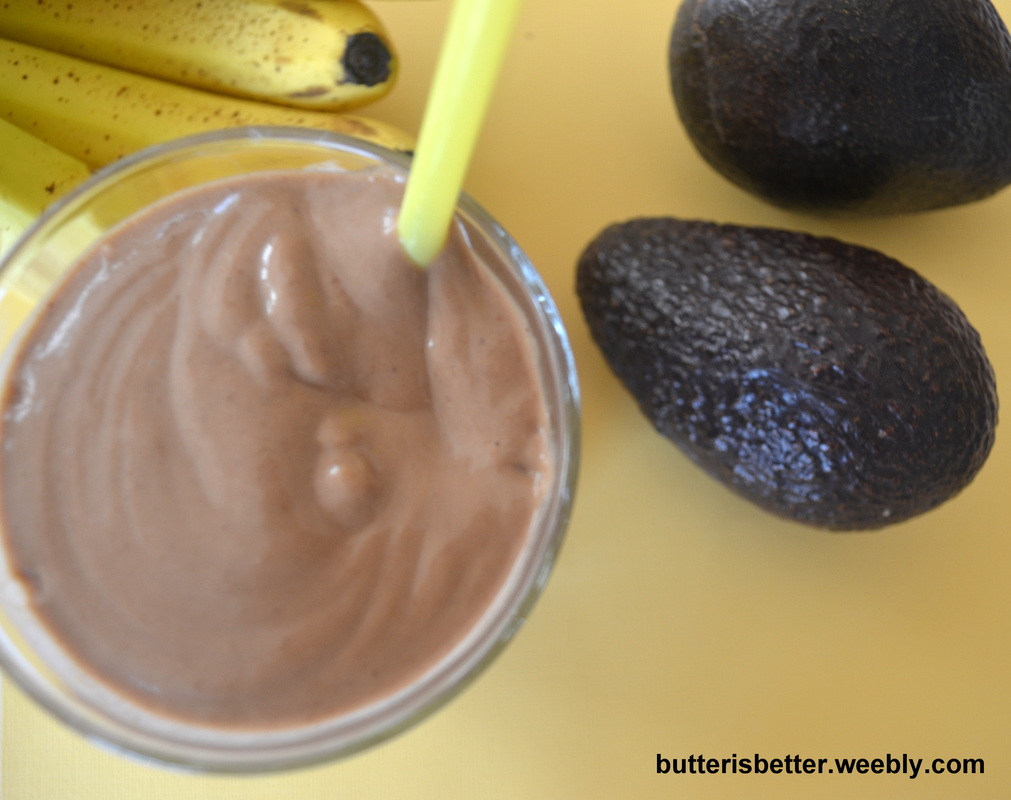
Chocolate Banana Avocado Smoothie Serves 2 1 cup unsweetened almond milk 1/2 cup crushed ice 1 ripe banana 1 tablespoon honey (you can use dates if you want to make this vegan) 1/2 ripe avocado 2 tablespoons natural cocoa powder 2 tablespoons almond butter (make your own here!) 1 1/2 teaspoons ground flax seed Combine all ingredients in a blender until smooth, about 30 seconds. Source:
Adapted from Against All Grain
0 Comments
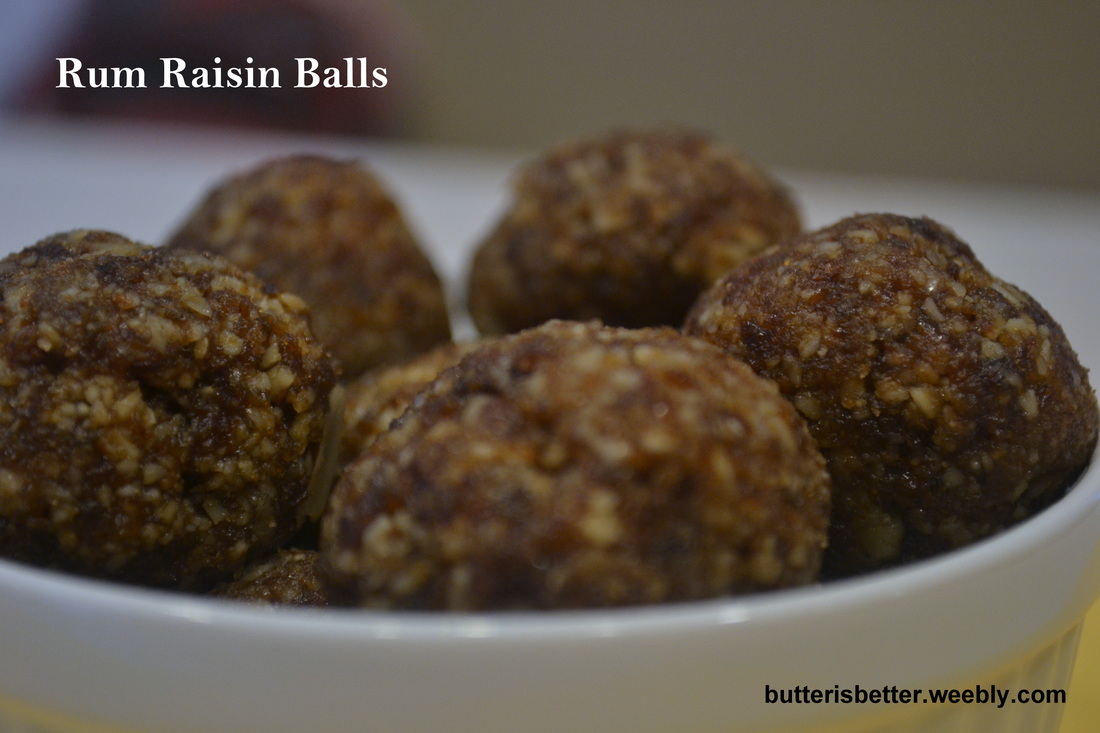
My current food focus these days is healthy, easy and tasty. Portability never hurt, either. I'm also trying to cut back on my consumption of meat, sugar and dairy. I will NEVER cut these things out of my life entirely - I simply love food too much - but I'm doing my best to pick mostly whole foods for most meals and snacks. Last summer I came across these Energy Bites on Pinterest and they were a huge hit! However, they contain chocolate chips and sweetened coconut, which are fine, but in trying to limit my sugar I decided to avoid making them for a little while. So I kept searching. Thank you to all of you bloggers out there who do "Best of" posts at the end of each year! Thanks to Anne at fannetastic food I found these tasty little morsels as well as inspiration for lots more healthy meals in the months to come! This particular recipe is as easy as they get. You will need a food processor to get the best results. You simply combine almonds and raisins together in the food processor to form a paste, then flavor the paste and form into balls or bars. That's it! Anne's original recipe flavored the balls with ground cinnamon but I used a little imitation rum extract for the rum raisin flavor I was looking for. Anne's recipe is gluten-free and vegan. To the best of my knowledge I believe the addition of the imitation rum extract does not change this fact. If anyone out there knows otherwise, I would love some education on the matter! As you can imagine, these are highly customizable. You could use vanilla extract in place of the rum extract or you could swap out the nut/fruit combo. I plan to try an cashew/date version soon to simulate my favorite LARABAR! 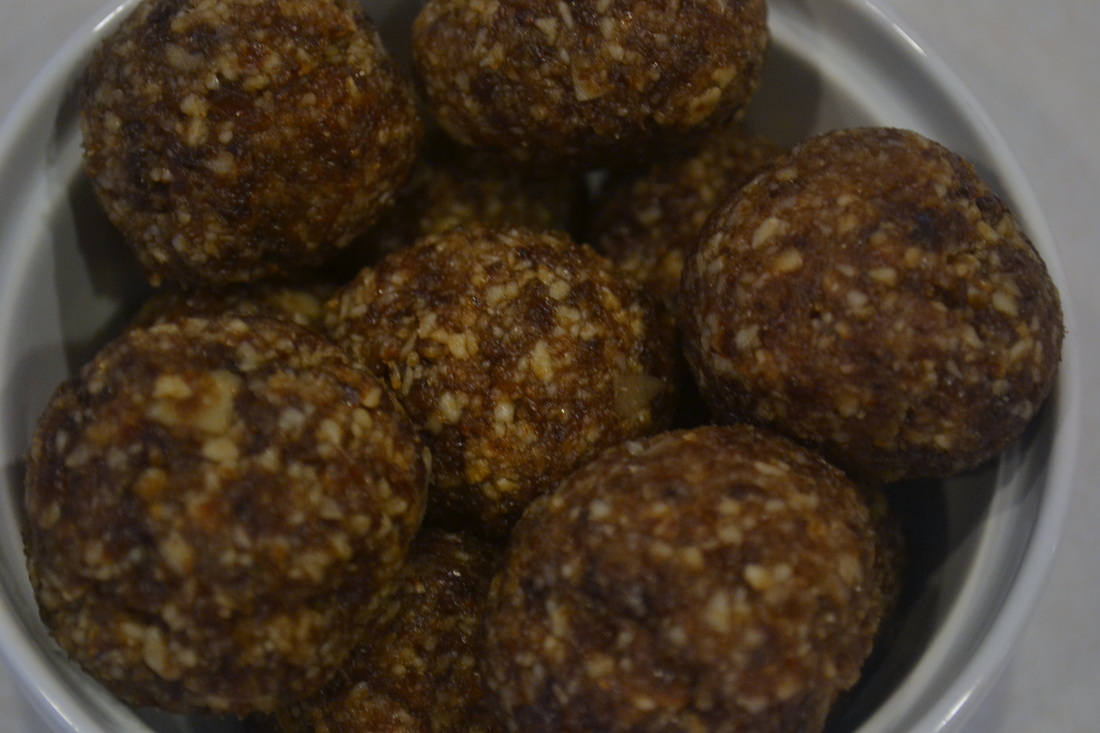
Rum Raisin Balls Makes 12 balls or 6 bars 1 cup slivered almonds 1 cup raisins 1/2 teaspoon rum extract 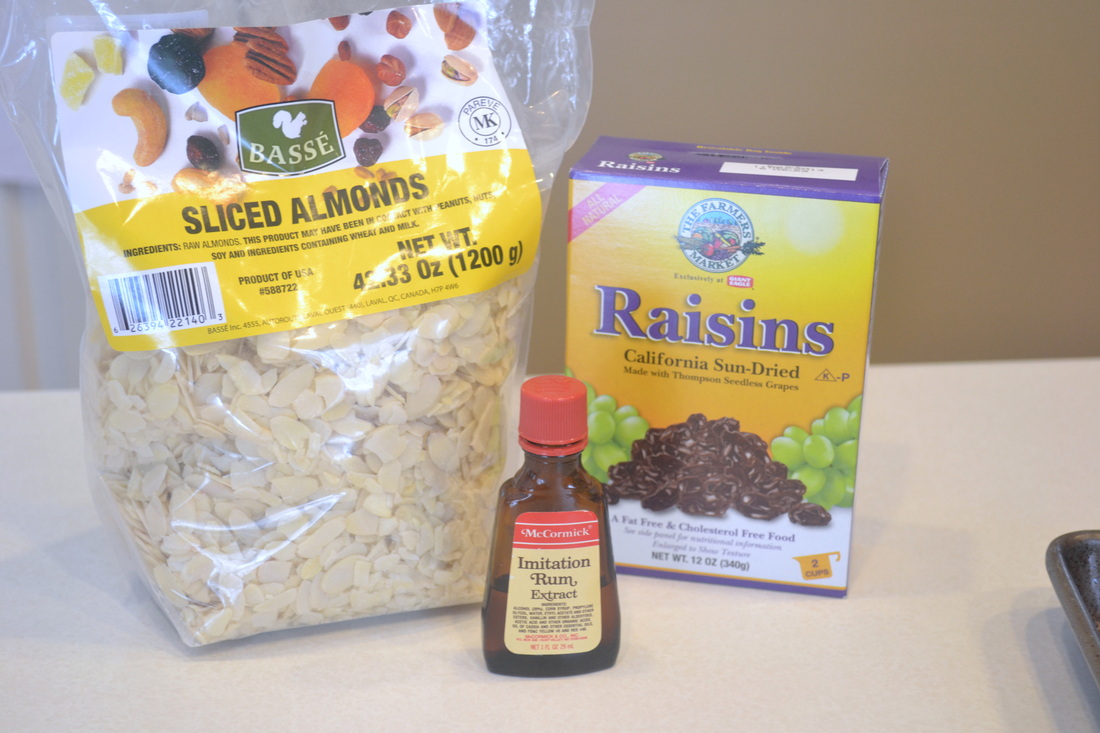
Put almonds and raisins in a colander and rinse with water. Drain. Place wet almonds and raisins in the bowl of a food processor. Blend until a thick paste has formed, about 30 seconds. 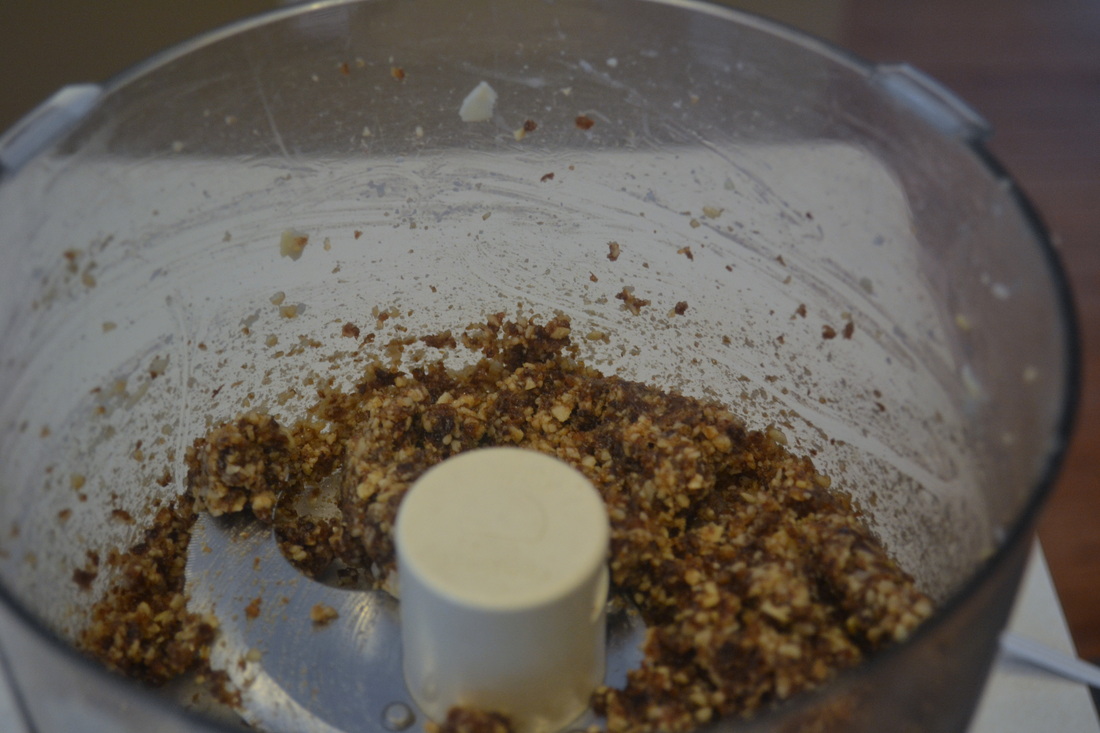
Form into 12 balls or 6 bars. Store in an airtight container in the refrigerator. 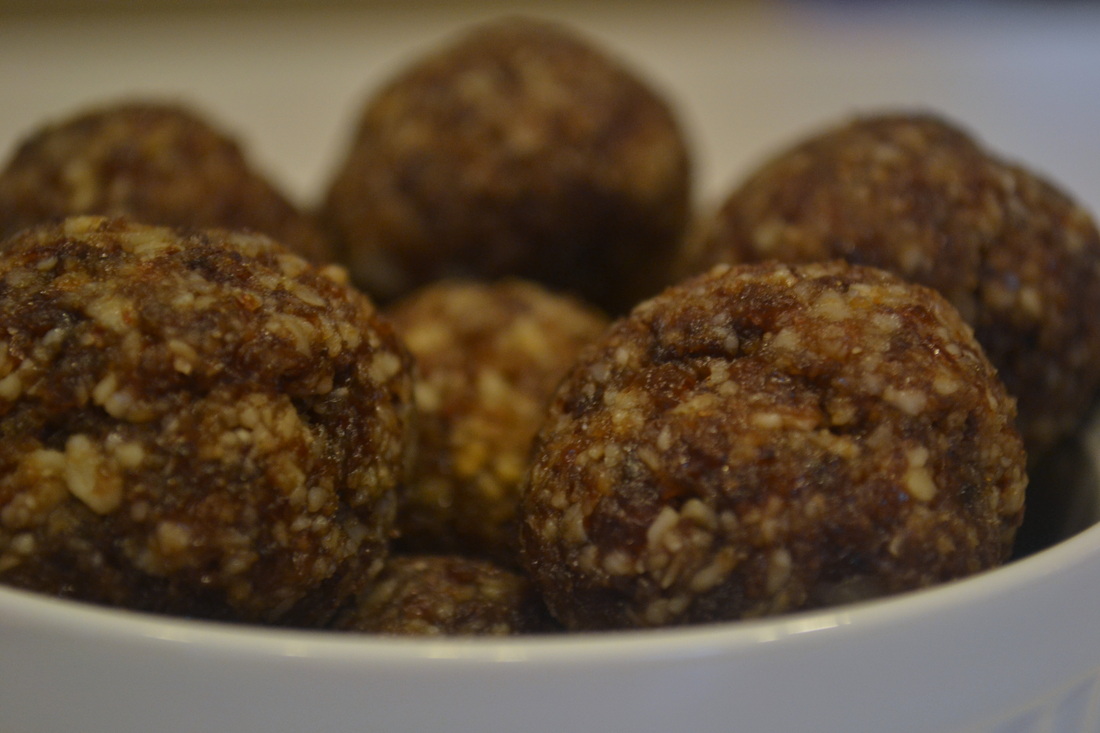
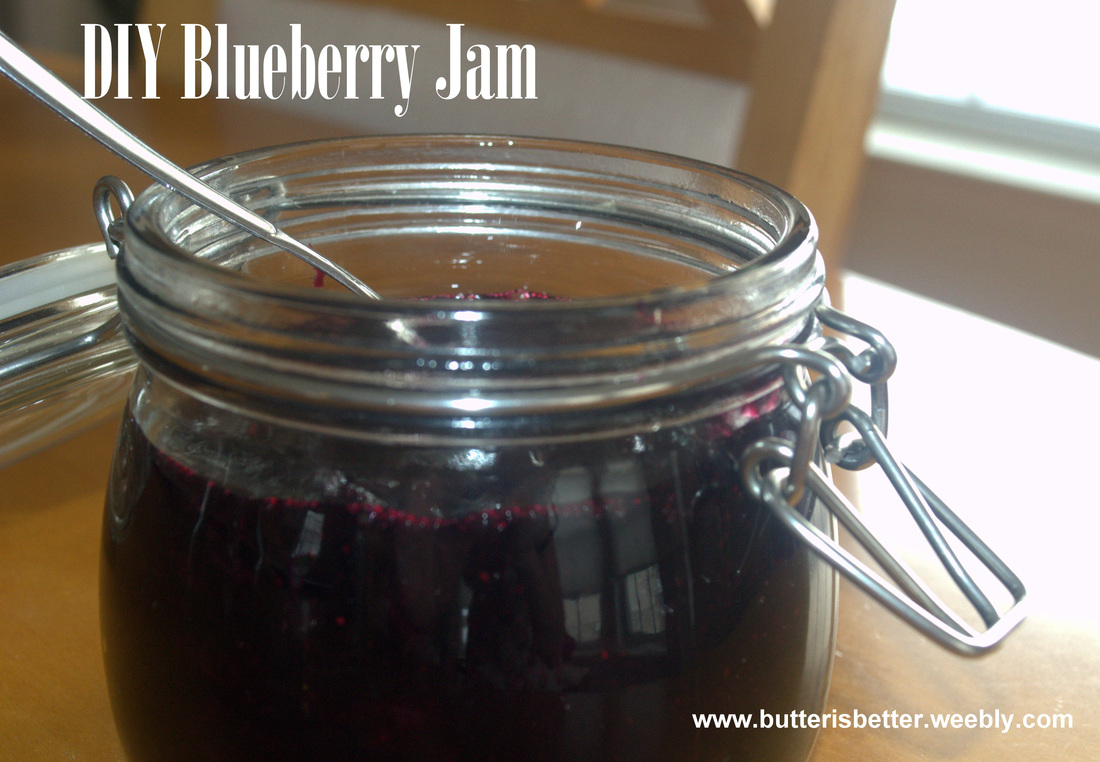
Here we are, almost halfway through the school year and I've accomplished a big feat! My 2nd grade daughter has been a fan of school lunches and, for the price, I never minded her buying them. At a little over $2 a day she can get a pretty decent, balanced, kid-friendly lunch. Well, the problem with that is, well....she doesn't! I surprised her during lunch one day last April and I caught her eating an ice cream cone while her otherwise healthy lunch items sat there on her tray untouched! When I questioned her about it she had a perfectly logical answer: "I have to eat the ice cream first Mommy. It would melt if I didn't." Doh! How many times had she done this? I couldn't be too upset, she was only 6 after all. After a doctor's visit over the summer I'd discovered the my petite little girl had gained a whopping TEN pounds in first grade! Whoa! Time to 'Mom Up' and start packing lunches for her. We have a little system in place to keep mommy and daughter happy. Some things have worked, some haven't. A few things that are a constant are 1 fruit, 1 veggie, 1 sandwich and 1 'junk' each day. Thankfully, she DOES eat those fruits and veggies so when she was asking for a jelly sandwich every single day I kind of let it slide. About a month ago I started reading labels more carefully. Yep, as suspected, high fructose corn syrup in her little jelly sandwich (cut out in the shape of a heart these days!). Time to make another change and give DIY jam-making a try. How simple! Just combine some fresh fruit, sugar and lemon juice and let it thicken up a bit and you have jam! This is only a small batch so you don't have to worry about getting into the canning game - I'm certainly not there yet! This recipe produced a nice, thick, fresh tasting blueberry jam. It tastes like summer on a spoon! Anything that tastes like summer is much needed in Pennsylvania these days. Ugh...don't even get me started on how much I hate winter and how I feel like it's never going to stop snowing or if I'll ever see my toes again.... Anyhow, I digress! This jam takes about a half hour of your time and makes about 2 cups. The only downside to this recipe is that it only lasts in your refrigerator about 3 weeks. But that shouldn't be too much of a problem. Just pair it up with some homemade almond butter and reinvent your PB&J for a yummy throwback lunch! 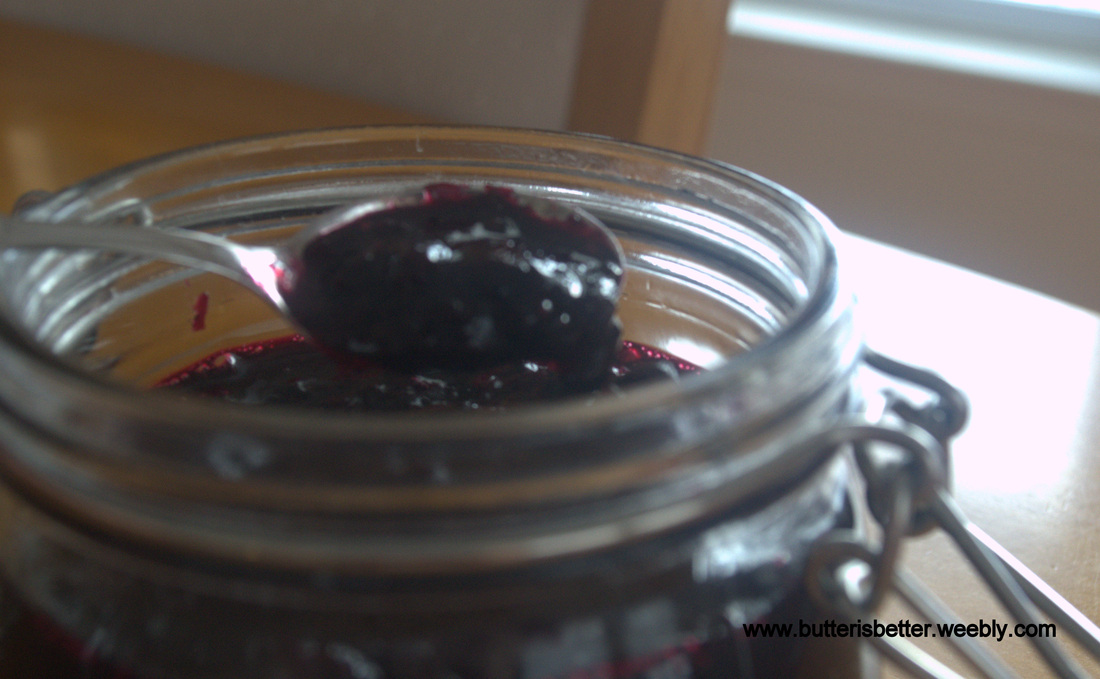
DIY Blueberry Jam
Makes about 1 1/2 cups 1 pound blueberries 3/4 cup granulated sugar 2 tablespoons lemon juice Place a metal spoon in the freezer to chill. Combine blueberries, sugar and lemon juice in a medium saucepan. Bring to a boil over medium-high heat. While bringing the mixture to a boil mash the blueberries with a potato masher or a fork to release the pectin of the fruit. Once the mixture is boiling, reduce to medium. Simmer vigorously until the mixture thickens and is jamlike, about 8-12 minutes. To test for consistency, remove the spoon from the freezer and dip into the jam. Allow the jam to run off the spoon. Jam should fall off the spoon slowly, in one thick clump. If it does this, it is done. Remove from heat and allow to cool to room temperature. If the jam is too thin, continue simmering another 2-4 minutes until it reaches desired consistency. Once jam has cooled to room temperature place in an airtight container and refrigerate for up to 3 weeks. Source: Adapted from The America's Test Kitchen DIY Cookbook 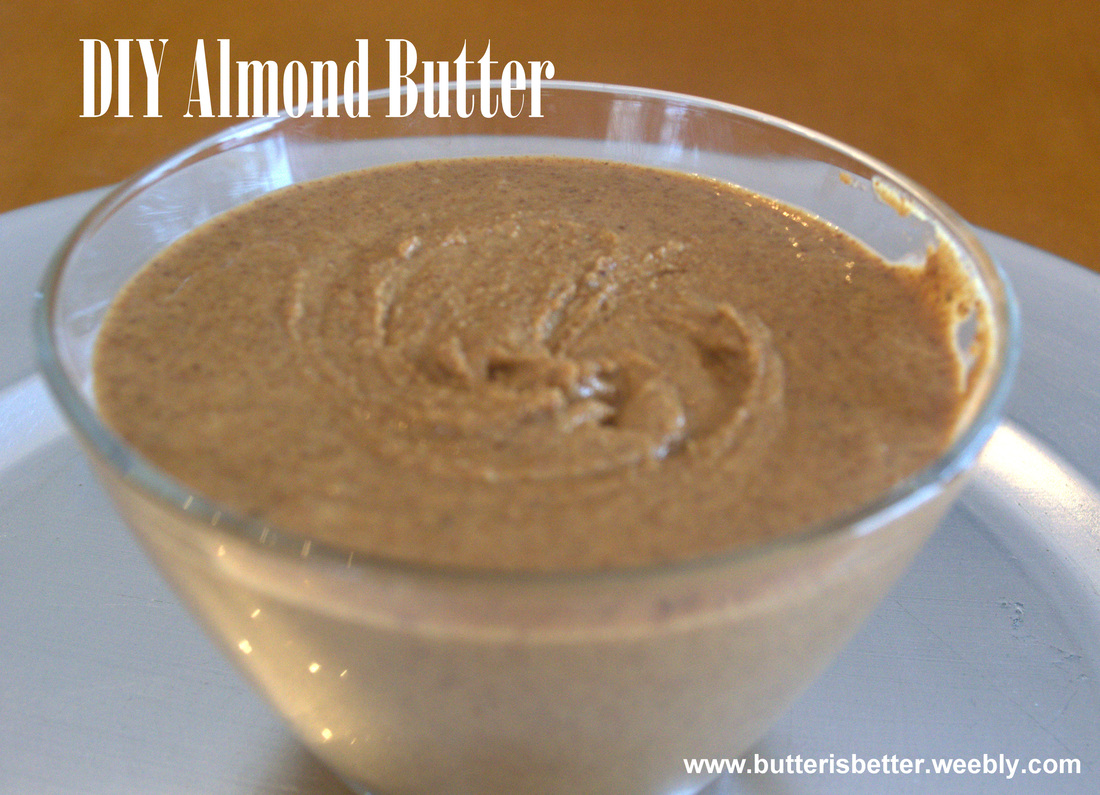
Have you all heard about the current almond butter craze? I've known that almond butter has existed for years and though I love it, I've always steered away from buying it simply because of the cost. With my health kick/lifestyle change over the past month I've been reading some health & fitness blogs in addition to my running magazines and can I tell you something? Almond butter is EVERYWHERE!! It's packed with vitamins, minerals, fiber and protein and tastes great in place of peanut butter on a sandwich, celery or pretzels or even in a smoothie. I decided to just suck it up and buy a tiny, overpriced jar of this awesomeness during my next grocery run. As I stood there in the nut butter aisle I pondered my choices. I could either buy a $10 jar of almond butter, or the cheaper $8 alternative. I went with the $8 choice. I had it in my hand. I put it in my cart. Then, it hit me! I recently bought myself some new cookbooks and I had remembered seeing a super easy recipe for making almond butter at home!!! I immediately put the little jar back on the shelf and hauled butt over to the nut aisle where I found a 1 pound bag of roasted almonds for $5! Score! Let's give this a try!!! I made a few modifications to this recipe. The most notable being using already roasted almonds instead of raw. Since the recipe stresses the importance of having warm almonds when processing to bring out the oils I decided to still throw them in the oven for a few minutes. If you use raw almonds, roast for 10-12 minutes until they are fragrant and slightly darkened. DIY Almond Butter
Makes about 1 1/2 cups 1 pound whole, roasted almonds 3/4 teaspoon kosher salt Adjust an oven rack to the middle position. Preheat oven to 375° F. Spread the almonds on a rimmed baking sheet in a single layer. Roast about 6 minutes, until fragrant. (Be very careful with this step. It only takes a few seconds for nuts to go from perfectly roasted to burnt.) Remove from oven and allow to cool slightly, until they are cool enough to handle - about 15-20 minutes. Place almonds in a food processor for about 1 minute, until they resemble coarse meal. Scrape down the sides of the bowl. Continue processing. After another minute or two you will have a very firm mass. It will be difficult to scrape down the bowl at this point - that's perfectly ok. Continue processing for another 2-3 minutes. The oils in the nuts will begin to break down and the mixture will start to look like a paste. Stop to scrape down the bowl. It should be pretty easy to do at this point. Add the salt to the nuts and process for about another 30 seconds. This whole process should take about 5-7 minutes. What you will be left with is gorgeous, tasty, pure almond butter!! Store in an airtight container. It can be kept at room temperature or refrigerated for up to 2 months. Source: Adapted from The America's Test Kitchen DIY Cookbook 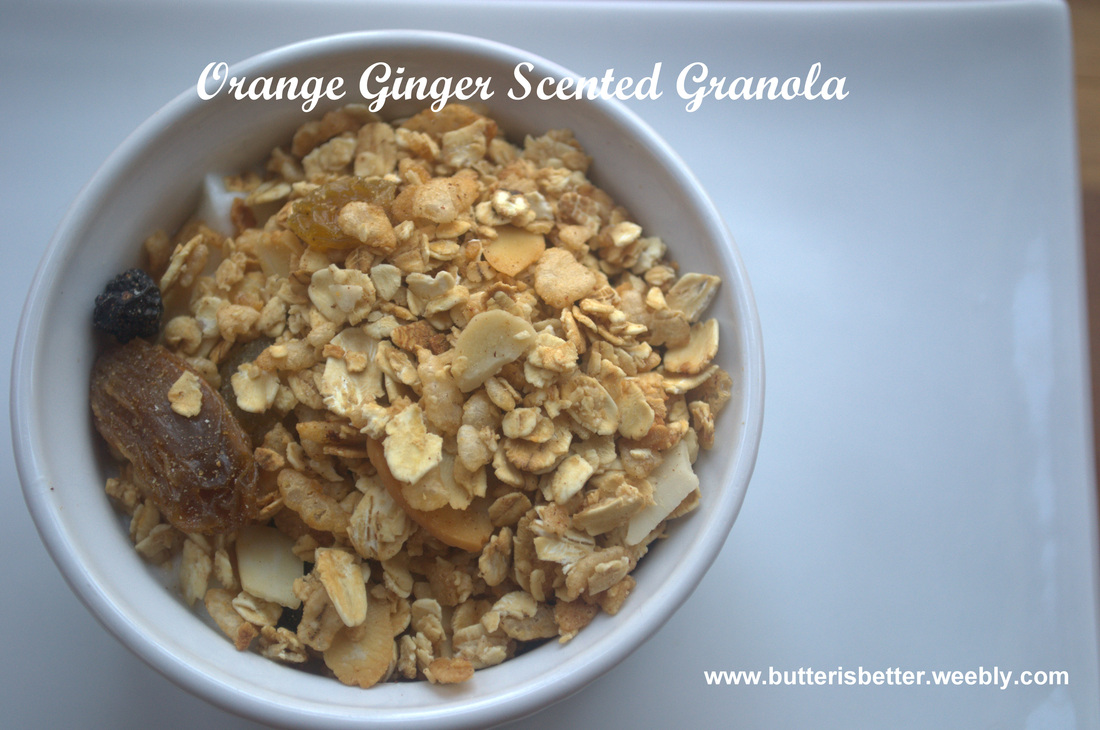
So, I've been on a major health-kick since the start of 2013. Back in January 2011 something clicked in my brain and I started Weight Watchers and stuck to it for 3 months. I lost 15 pounds and I felt amazing! I was happy with my weight so I let some of the good habits slide a bit. Then at the beginning of 2012 I was starting my blog and training for the Pittsburgh Marathon Relay. I tried half-heartedly to eat the Weight-Watcher-Way but just couldn't make it happen with all the yummy things coming out of my kitchen! This wasn't a big deal because I was running more than usual so my weight pretty much stayed the same. Enter the 2nd half of 2012. All bets were off. We went on a 3-week vacation (running was minimal...eating was plentiful), moved out of our townhouse, into my parents' townhouse and FINALLY into our new home. After getting settled in the new house we were faced with Halloween candy, Thanksgiving dinner (and leftovers) and lots and lots of Christmas goodies. That brings me to January 2013. This year I am back on Weight Watchers and I'm doing a great job so far! I'm also training for 2 half-marathons (that's 13.1 miles, people!). I'm also trying very hard to incorporate fun food and baking into my daily life in a healthy way. I'm going to do my best to bring you healthy and delicious recipes as well as the occasional sinful treat! Oh, one more thing, you should be forewarned, I've been craving LOTS of citrus and oatmeal lately! Today I bring you a Weight Watcher inspired Orange Ginger Scented Granola. Orange juice and ground ginger are both used in this granola, but I feel the flavor is delicate, not overpowering. I have been enjoying this granola served over plain, nonfat yogurt. It's great for a light breakfast or a mid-afternoon snack. You could also serve it in a bowl with some milk, or just grab a handful as a quick snack on the go. 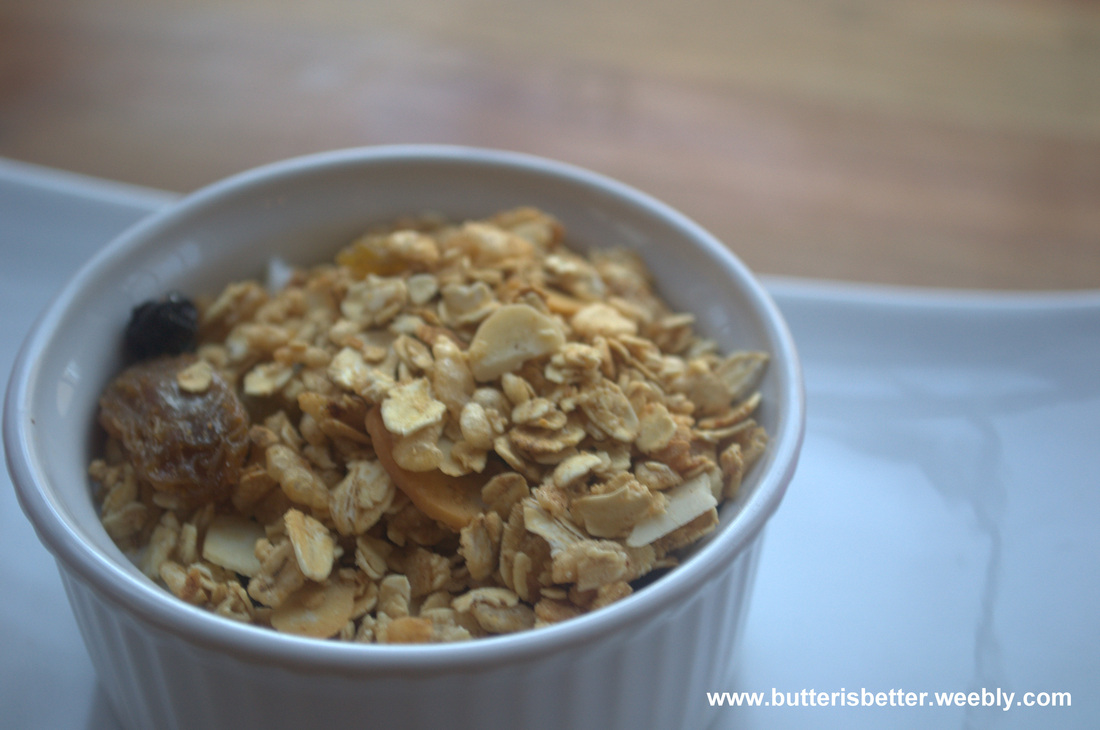
Orange Ginger Scented Granola
2 cups quick oats 1 cup old fashioned oats 2 cups puffed rice cereal, such as Rice Krispies 6 tablespoons honey 1 teaspoon canola oil 1/4 cup orange juice 1/2 teaspoon cinnamon 1/2 teaspoon ground ginger 1/2 teaspoon vanilla extract 1/4 cup sliced almonds 1/2 cup mixed raisins Preheat oven to 350° F. Mix oats and puffed rice cereal together in a large bowl. Spread evenly onto a rimmed, non-stick baking sheet. Bake for 10 minutes, stirring once. Remove from oven. Allow to cool slightly. While the cereals are baking, combine the honey, canola oil, orange juice, cinnamon, ground ginger and vanilla extract into a 2-cup measuring cup. Mix well. Set aside. Place slightly cooled cereal back in the large bowl. Stir in the almonds. Pour the liquid mixture into the bowl. Mix until well incorporated. Spread evenly onto the rimmed baking sheet again. Bake for 20 minutes or until the cereal starts to brown, stirring every 5 minutes. Remove from the oven, stir in the raisins and allow to cool. Once granola is cool, store in an airtight container. Adapted from Weight Watchers 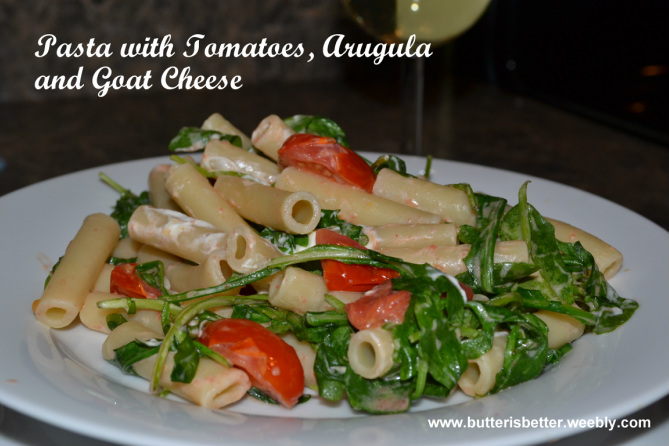 So, I remember years ago, it was Thanksgiving 2004. My parents and sister decided to join my husband and me at my in-law's house for Thanksgiving dinner. After dinner my parents, sister and I drove to King of Prussia for some Black Friday shopping while my husband spend a few days with his dad at a hunting camp. I was so excited to go to King of Prussia Mall again! A place I had yearned to go to for years, then when I lived in West Chester I was able to frequent often and became quite familiar with this beautiful mammoth. This trip was also exciting for me because my husband and I had just signed the papers to buy/build a new townhouse with a shiny new stainless steel kitchen! After spending 12 hours in a mall full of endless choices I found myself leaving with two small bags. One bag from Pottery Barn with a few Christmas ornaments. And one bag from Williams-Sonoma with a shiny new cookbook filled with healthy recipes! A brand new kitchen and a new cookbook filled with HEALTHY recipes!?!? I could hardly contain my excitement! This could be life-changing! Fast forward a few months to when we moved into our new house with the shiny kitchen. At that point life was pretty crazy. Not only were we in the middle of a move, but I was also a few months pregnant with sweet little JP! Cooking was the last thing on my mind. And so the cookbook sat....sat on a shelf, then in a closet and most recently in a box in the garage. Sure, I'd made one or two recipes from it but for the most part, this book just got pushed aside for something else. A few weeks ago when I'd realized I'd eaten a few too many cupcakes I was tempted to buy a new, healthy cookbook. Just then I remember this little gem and started to search for it. I found it in a plastic tote in the garage and I'm so happy I did! Looking through it now the recipes seem FAR less involved and complicated as I thought they were back in 2004. Maybe it's because I'm a much better cook than I was then, but I think alot of it is because so many ingredients are so widely available today compared to 2004 (Broccolini?? Goat Cheese??). Overall, this is one of the easiest dishes I've ever made. There is very little prep work, it comes together very quickly and it's a perfect pasta dish for the warm summer months up ahead. If you don't usually salt your pasta water make sure you do AND make sure you use the recommended 2 tablespoons. You'll thank me later!! 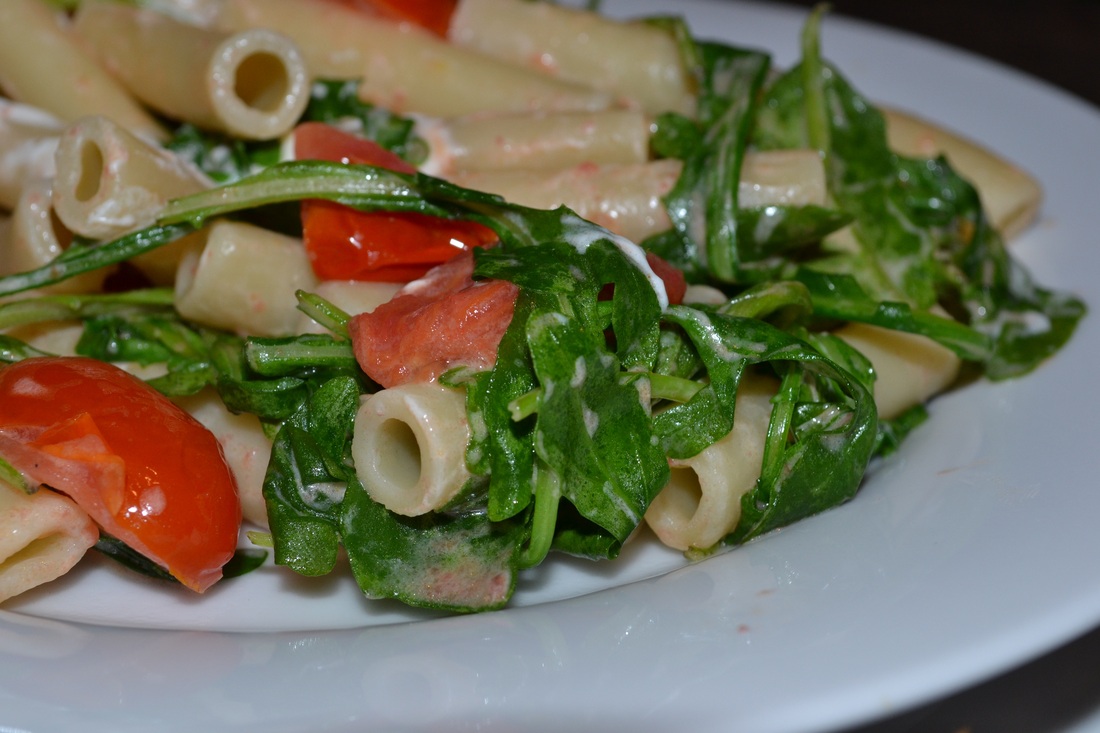 Pasta with Tomatoes, Arugula & Goat Cheese
3/4 pound ziti, fusilli or cavatappi 2 tablespoons plus 1/2 teaspoon kosher salt, divided 2 cups loosely packed arugula 1 tablespoon extra virgin olive oil 2 cups grape tomatoes, halved 1 garlic clove, minced 1/4 cup (1 ounce) fresh goat cheese, crumbled Bring a large pot of water to a boil. Add 2 tablespoons of salt to the boiling water before adding the pasta. Cook pasta according to package directions until al dente. Before draining pasta, reserve 1/4 cup of the cooking water. Drain pasta, mix in arugula and place in a warm bowl. While the pasta is cooking, add olive oil to a large skillet over medium-high heat. Once oil heats up add tomatoes to the pan and saute for 1-2 minutes. Add the garlic and saute an additional 1-2 minutes. Remove from heat, season with 1/2 teaspoon kosher salt. Place over warm pasta. Add crumbled goat cheese, tossing to combine all ingredients. Add a little of the reserved pasta water if the dish is a bit dry. Season with fresh ground pepper to taste. 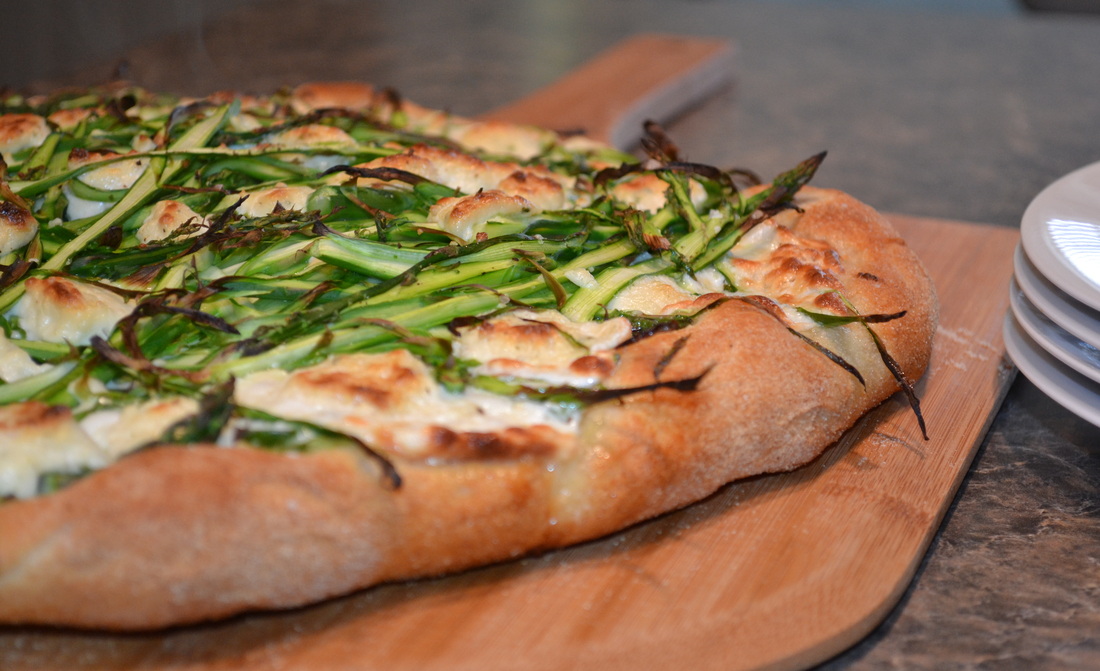 So, I told my family yesterday that we were having pizza for dinner. Naturally, they were all happy about that. Then, when this Shaved Asparagus Pizza arrived at the table boy did they ever change their tune. My 6-year-old refused to eat it: "Are you kidding me? No sauce?" This was totally expected from her. My hubby looked a little skeptical, but he is always my biggest supporter and will try every single thing I make. Me? I like asparagus, but I felt defeated before my first bite by everyone's reaction. No one was geared up about dinner. And then....WOW! By the first bite this pizza really blew me away!! The asparagus cooked down nicely and some of it was even a little crunchy. The Boursin cheese was filled with creamy herbs and the fresh mozzarella was just perfect! The crust is a real treat in itself. You can use your favorite pizza dough recipe or even store bought if that's your thing. I'll share this crust recipe with you in a few days. In the end Hubby agreed that this was a pretty amazing pizza! It was hard not to devour the whole pie last night but we managed to save some for lunch today. We just threw it back on the pizza stone for a few minutes and it was just as good as last night. I know this will be making an appearance on our menu again very soon. I just HAD to get this recipe out to you so you can make this pizza soon and enjoy all that asparagus out there!! 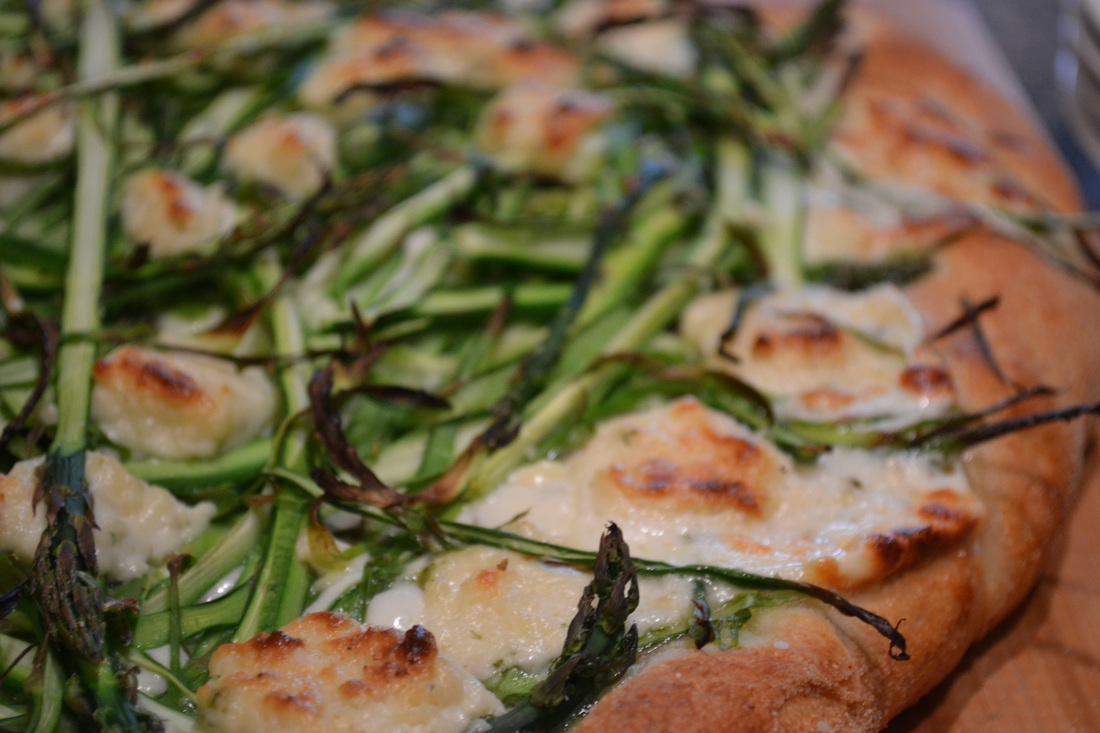 Shaved Asparagus Pizza
Pizza dough Extra virgin olive oil, for brushing 1 lb asparagus spears 4 oz fresh mozzarella, thinly sliced 5 oz spreadable garlic herb cheese, such as Boursin Kosher salt and pepper, to taste Preheat oven and a pizza stone at 500 for at least 30 minutes. Allow pizza dough to come to room temperature during this time. After 30 minutes roll out the pizza dough to a 12-14 inch round and place on a pizza peel generously covered with cornmeal or semolina. Lightly brush dough with extra virgin olive oil. Cut the tough stems off the end of the asparagus spears. Using a vegetable peeler, shave each spear into thin ribbons. This looks like a LOT of asparagus, but it cooks down nicely. Place the sliced mozzarella on the pizza dough in an even layer. Pile shaved asparagus on top of mozzarella. Dot the top of the pizza with chunks of the Boursin cheese. Sprinkle with kosher salt and freshly ground black pepper. Transfer pizza to pre-heated pizza stone. Having enough cornmeal on your pizza peel is crucial for the pizza to slide smoothly off of the peel and onto the stone. Bake about 12-14 minutes or until the cheese is bubbly and the crust is brown. Remove from the oven. Allow to cool slightly before serving. 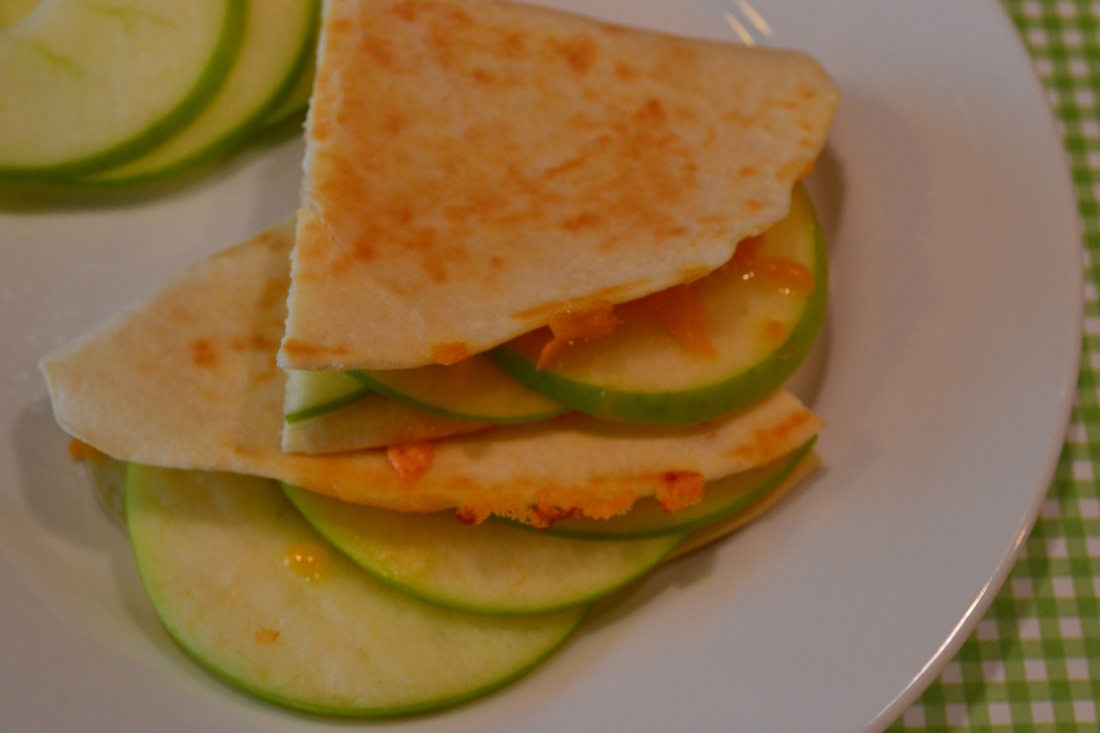 Lately I've been trying to healthy-up my diet a bit. I haven't fully committed to Weight Watchers again (I just can't find the motivation) but I'm trying to add more fruits and veggies into my diet. This recipe is great because you can whip it up in about 5 minutes when you're rushing to get out of the house for work and school The crispy tartness of the apples and the creamy sharpness of the cheddar makes it feel like a very indulgent meal but when you're done eating it you feel really good about what you just ate - no guilt here! So, now that you have those flour tortillas in your fridge, you have no excuse not to enjoy a healthy start to your tomorrow! 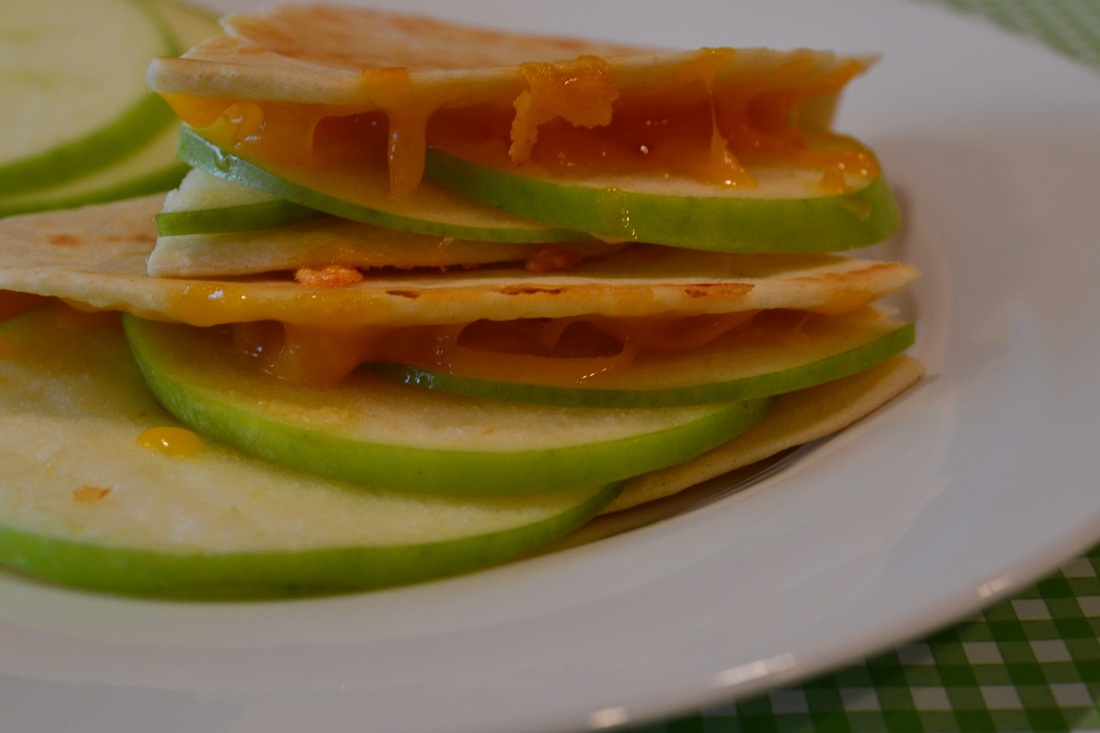 Apple Cheddar Quesadillas
Makes 4 1 Granny Smith apple, cored and thinly sliced 4 small tortillas - about 8-9 inches in diameter 4 ounces sharp cheddar cheese, grated Preheat a nonstick skillet over medium-high heat. Place one tortilla in the pan. Take 1/4 of the apple slices and fan out over one half of the tortilla. Sprinkle 1 ounce of cheese over the apples. Fold the tortilla in half over the cheese and apples. Weigh down the tortilla with a small heavy skillet or an ovenproof plate topped with a heavy can. Cook until the cheese melts and tortilla is golden brown, about 1-2 minutes per side. Repeat with remaining tortillas. Cut in half and serve warm. 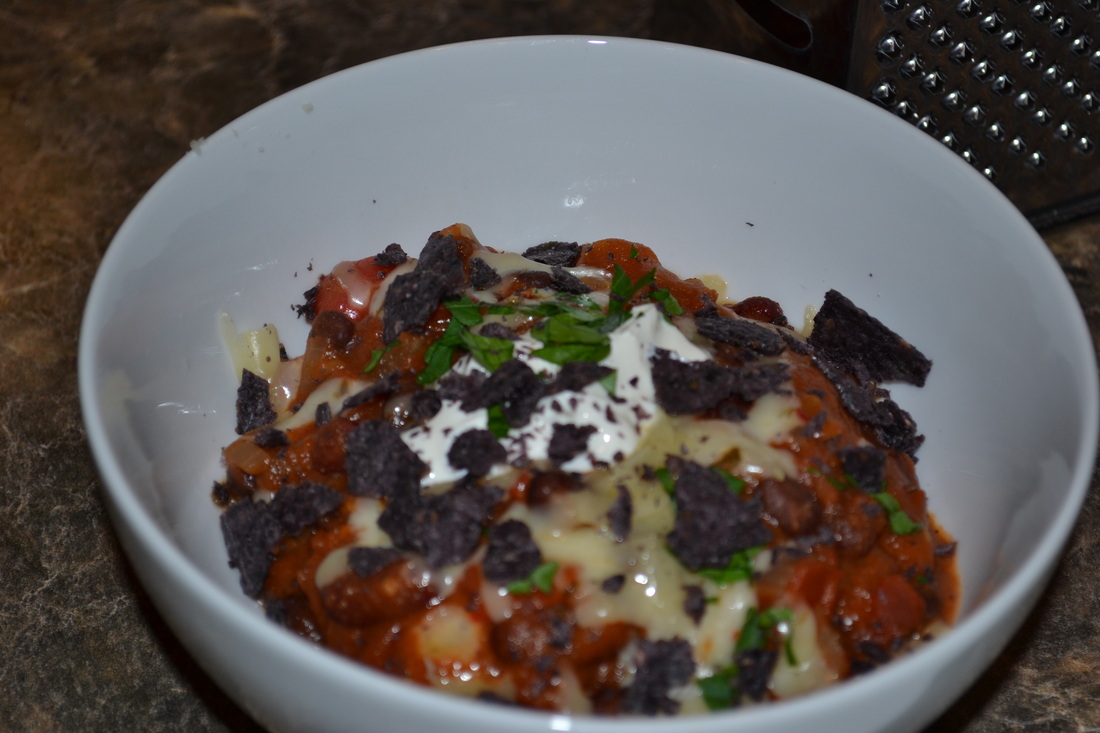 Happy Spring! With today being the first day of Spring (and feeling like more like the first day of Summer!) you wouldn't think I'd be bringing you a recipe for chili, would you? Well, I have two very good reasons for posting this today: It's very kind to your waistline and shorts season is quickly approaching and it's super quick so you don't need to spend a lot of time in front of a hot stove to make this delicious dinner! OK, the real reason I'm posting this recipe today is because I LOVE this chili and I haven't had time to post it in the past few weeks when the weather was colder and more, well, chili-like. Hubby and I discovered this chili recipe almost 10 years ago and have made it many, many times. I actually have a confession to make - in my early days of cooking I wasn't too clear on the difference between certain ingredients. One of those ingredients was chili powder. I thought it was the same as ground red pepper! So, for a lot of years I made this dish WAY spicier than it's supposed to be! Even so, we still loved it! Now that I have kiddos with sensitive palates I tame down the heat and stick with the original recipe. Either way, I promise, you'll love this! Oh, one more reason this recipe rocks, it's super budget-friendly! Enjoy! Vegetarian Three-Bean Chili Makes about 6 servings 2 tablespoons extra virgin olive oil 1 medium yellow onion, chopped 1 large red bell pepper, seeded and chopped 1 large jalapeno, seeded and diced 4 garlic cloves, minced 1 cup beer or vegetable broth (I used a home-brew English ale) 1 28-ounce can crushed tomatoes 1 14-ounce can black beans, rinsed and drained 1 14-ounce can dark red kidney beans, rinsed and drained 1 tablespoon ground cumin 2 tablespoons chili powder 1 teaspoon kosher salt 1 14-ounce can vegetarian refried beans For the topping: Grated pepper jack or cheddar cheese Crumbled blue corn tortilla chips Sour Cream Chopped cilantro In a medium stock pot over medium-high heat, add oil, onion, peppers and garlic. Saute about 5 minutes to soften vegetables. Deglaze the pan with beer (or broth). Add tomatoes, black beans, red kidney beans, cumin, chili powder and salt, stirring to combine. Mix in refried beans to thicken the chili. Simmer over low heat about 5-10 minutes. Serve with desired toppings.
|
AuthorPittsburgh area mom striving to provide clean, healthy, REAL food for her family! Categories
All
Archives
September 2014
|
 RSS Feed
