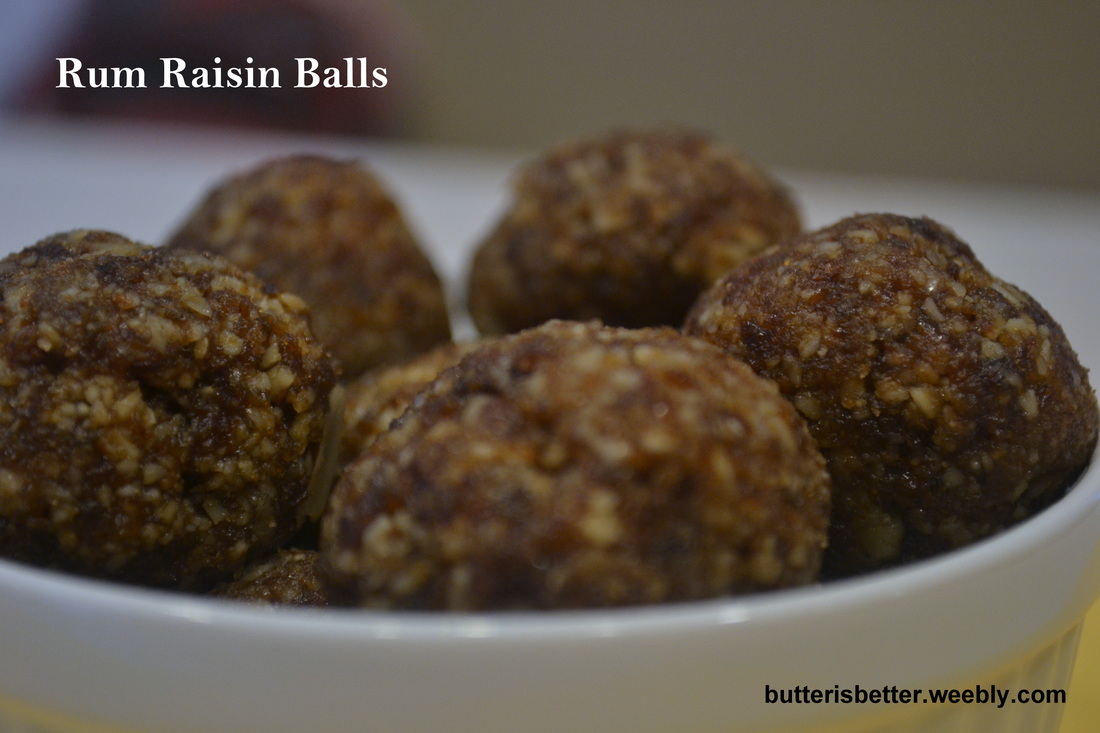
My current food focus these days is healthy, easy and tasty. Portability never hurt, either. I'm also trying to cut back on my consumption of meat, sugar and dairy. I will NEVER cut these things out of my life entirely - I simply love food too much - but I'm doing my best to pick mostly whole foods for most meals and snacks. Last summer I came across these Energy Bites on Pinterest and they were a huge hit! However, they contain chocolate chips and sweetened coconut, which are fine, but in trying to limit my sugar I decided to avoid making them for a little while. So I kept searching. Thank you to all of you bloggers out there who do "Best of" posts at the end of each year! Thanks to Anne at fannetastic food I found these tasty little morsels as well as inspiration for lots more healthy meals in the months to come! This particular recipe is as easy as they get. You will need a food processor to get the best results. You simply combine almonds and raisins together in the food processor to form a paste, then flavor the paste and form into balls or bars. That's it! Anne's original recipe flavored the balls with ground cinnamon but I used a little imitation rum extract for the rum raisin flavor I was looking for. Anne's recipe is gluten-free and vegan. To the best of my knowledge I believe the addition of the imitation rum extract does not change this fact. If anyone out there knows otherwise, I would love some education on the matter! As you can imagine, these are highly customizable. You could use vanilla extract in place of the rum extract or you could swap out the nut/fruit combo. I plan to try an cashew/date version soon to simulate my favorite LARABAR! 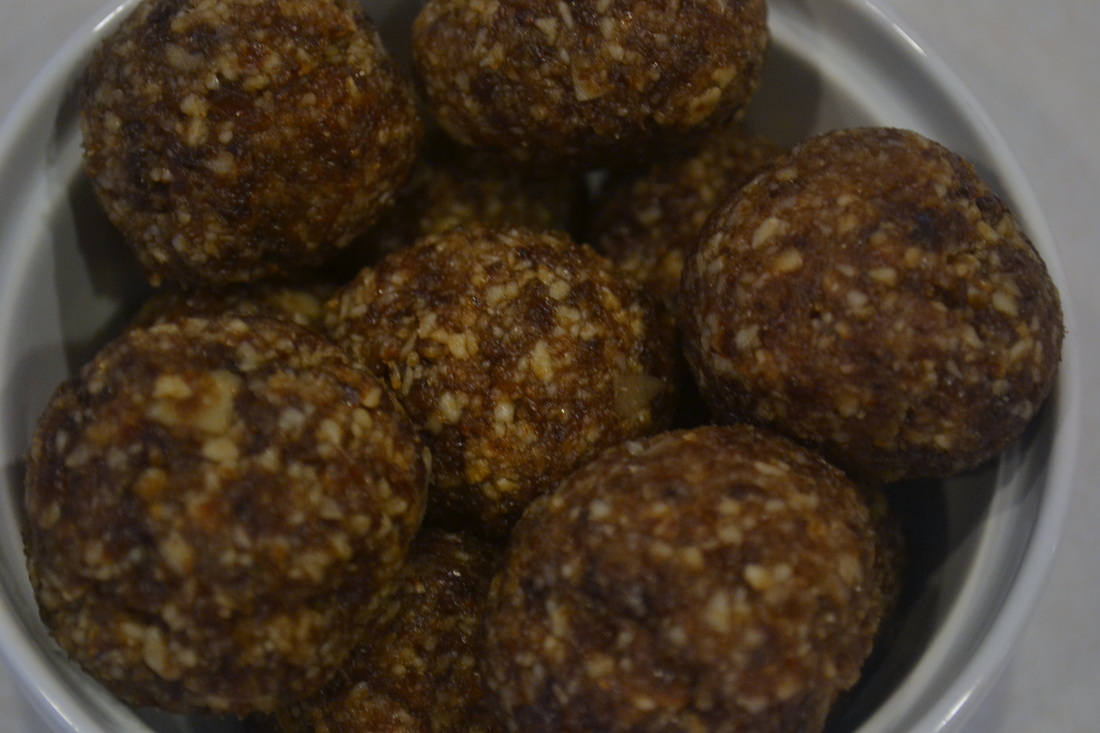
Rum Raisin Balls Makes 12 balls or 6 bars 1 cup slivered almonds 1 cup raisins 1/2 teaspoon rum extract 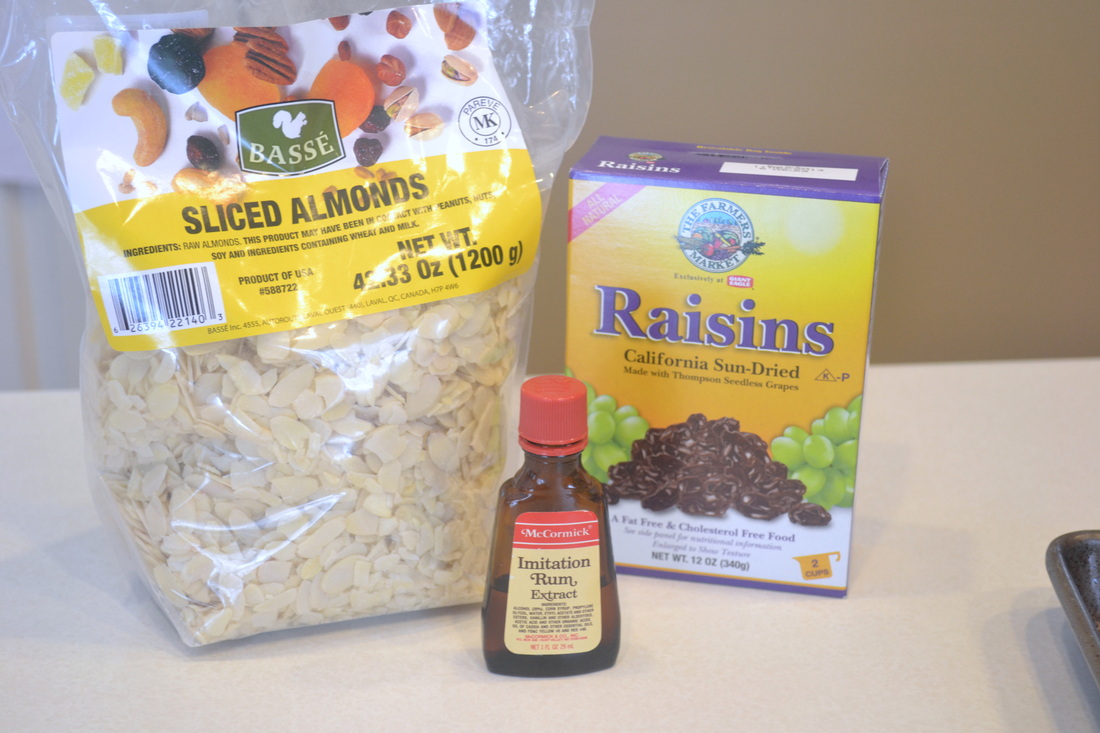
Put almonds and raisins in a colander and rinse with water. Drain. Place wet almonds and raisins in the bowl of a food processor. Blend until a thick paste has formed, about 30 seconds. 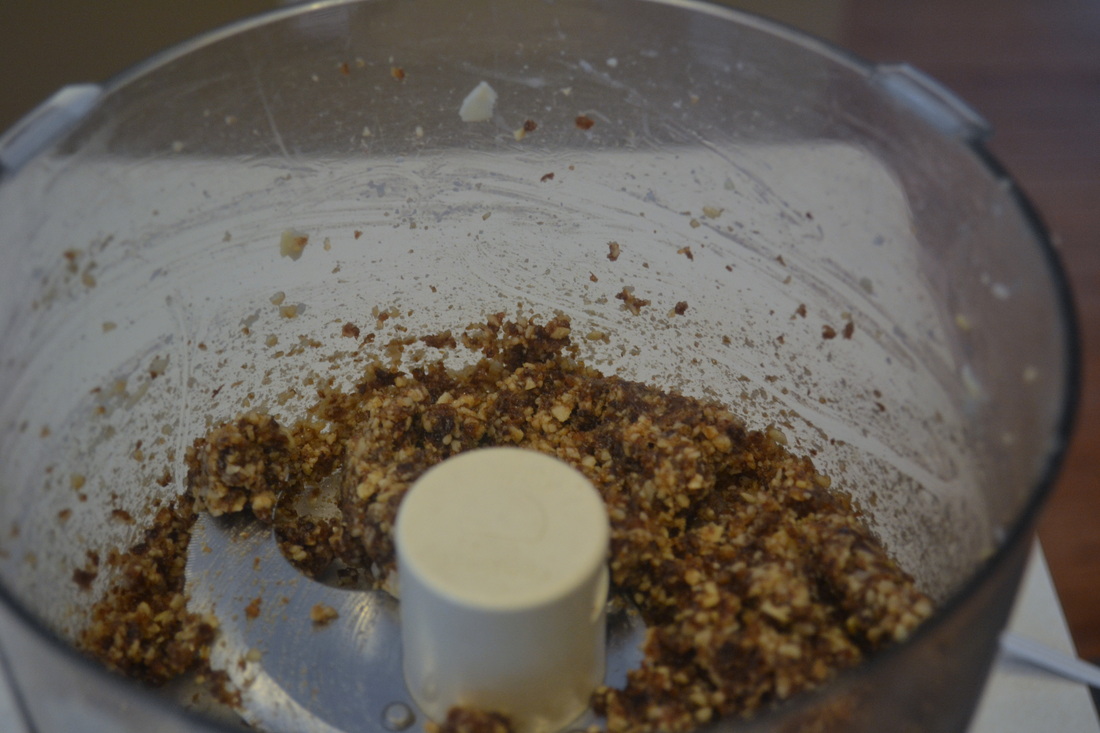
Form into 12 balls or 6 bars. Store in an airtight container in the refrigerator. 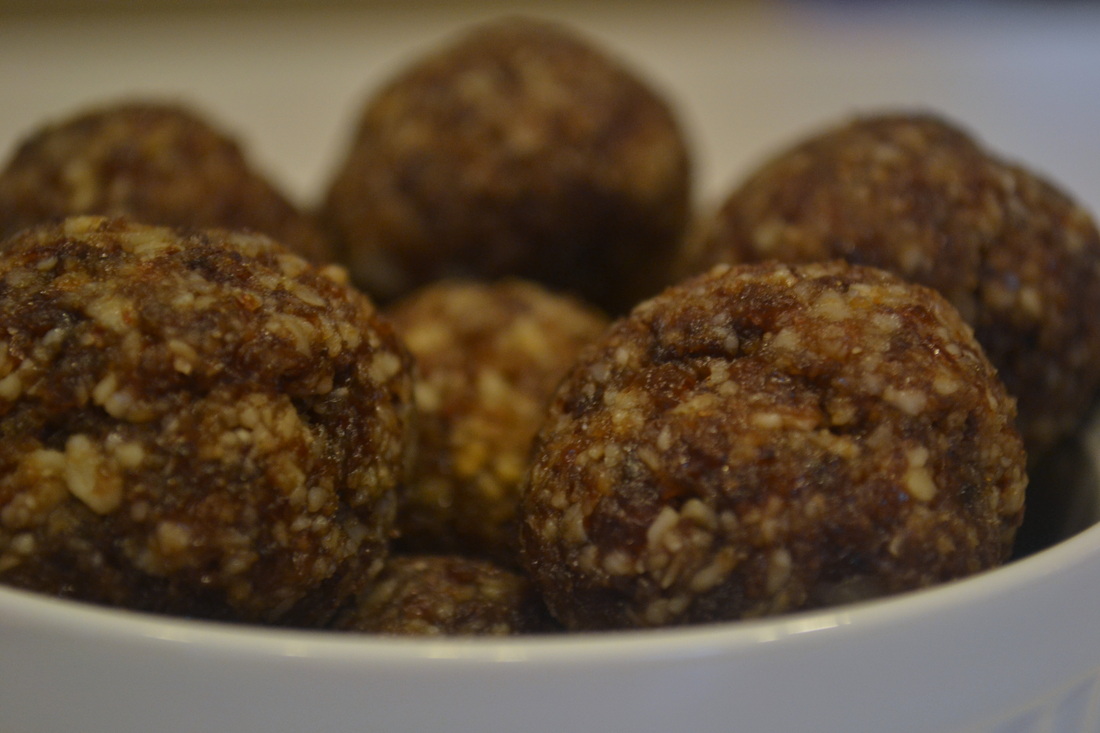
0 Comments
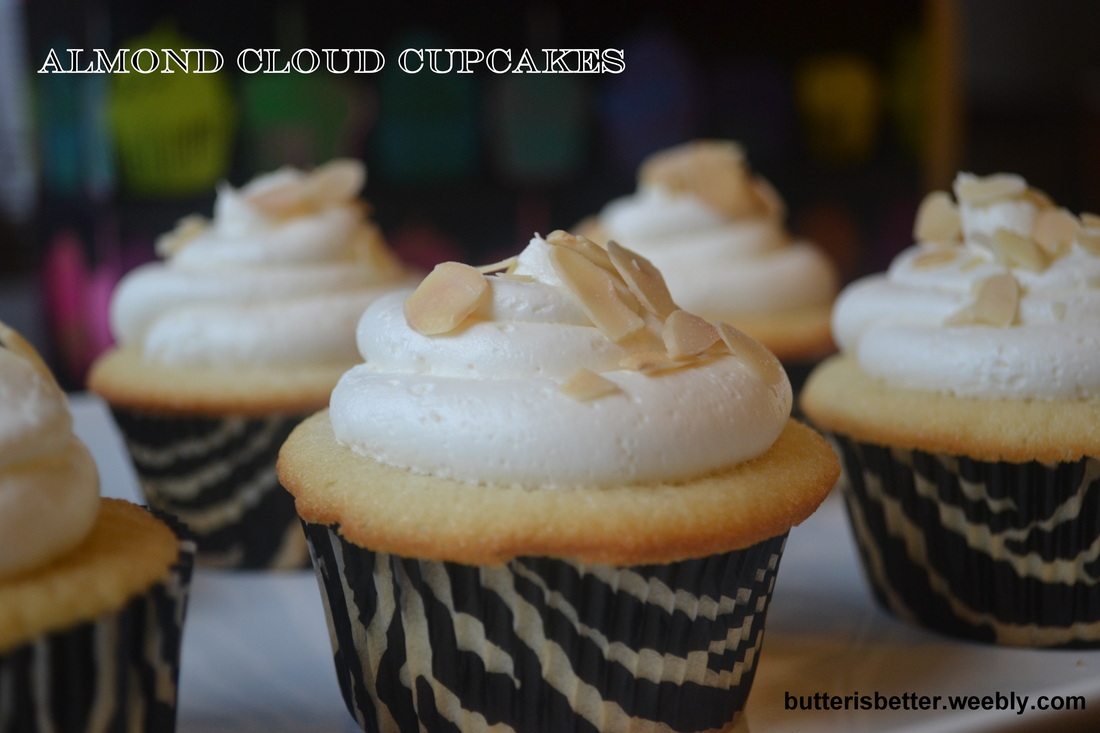
This past weekend I celebrated my 39th birthday. 39....a number that doesn't scare me or depress me, but rather baffles me. How? When? Wasn't I just 26 yesterday? I wonder where all the years have gone and think back to when my parents were 39 - I remember that time vividly. Am I really as grown-up now as they were then? Wow...I guess so? I have a home, a family and responsibilities so I guess that means I've been a grown-up for some time now. But...39? I guess the best part about turning 39 is not feeling 39! I feel happier and healthier than I ever have in my life before! Part of that is due to me trying to find inner peace and life and in parenting (that's a biggie). I attribute the other part to my dedication to fitness and exercise. I've always enjoyed exercising, but in my younger days I felt like it was a chore...something to check off of my To Do list. The last few years I've embraced exercise (especially running) as a way to have some time to myself or time with friends. A time to really push my body to its limits and a little bit farther. A time to work on achieving goals I could only dream about a decade ago. With all that being said, I'm working on a Birthday Resolution of sorts - I'm trying to stop worrying about the number on my scale and start paying attention to how good and strong my body feels when I treat it right! I plan to hit 40 happier and healthier than I hit 39!! BUT, before we do all that....LET'S EAT SOME CUPCAKES!! I, unapologetically, decided to bake myself cupcakes for my birthday again this year since I enjoyed last year's cupcakes so much. I had no plans on a party or a small gathering, I just wanted to enjoy baking my own birthday (cup)cake and eating more cupcakes than I want or need. I looked through lots of blogs and cookbooks trying to find this year's perfect cupcake. I ended up settling on this Almond Cloud Cupcake I had at a cooking class I took many years ago at Crate Cooking School. This was the perfect choice because it is a rather simple recipe - ie, I had most of the ingredients on hand and would be enjoying cupcake satisfaction in a very short amount of time. The cake itself is light and airy with a hint of almond flavor - the almond flavor really comes through in the icing. I decided to top it off with some toasted, slivered almonds which gives the perfect amount of crunch. 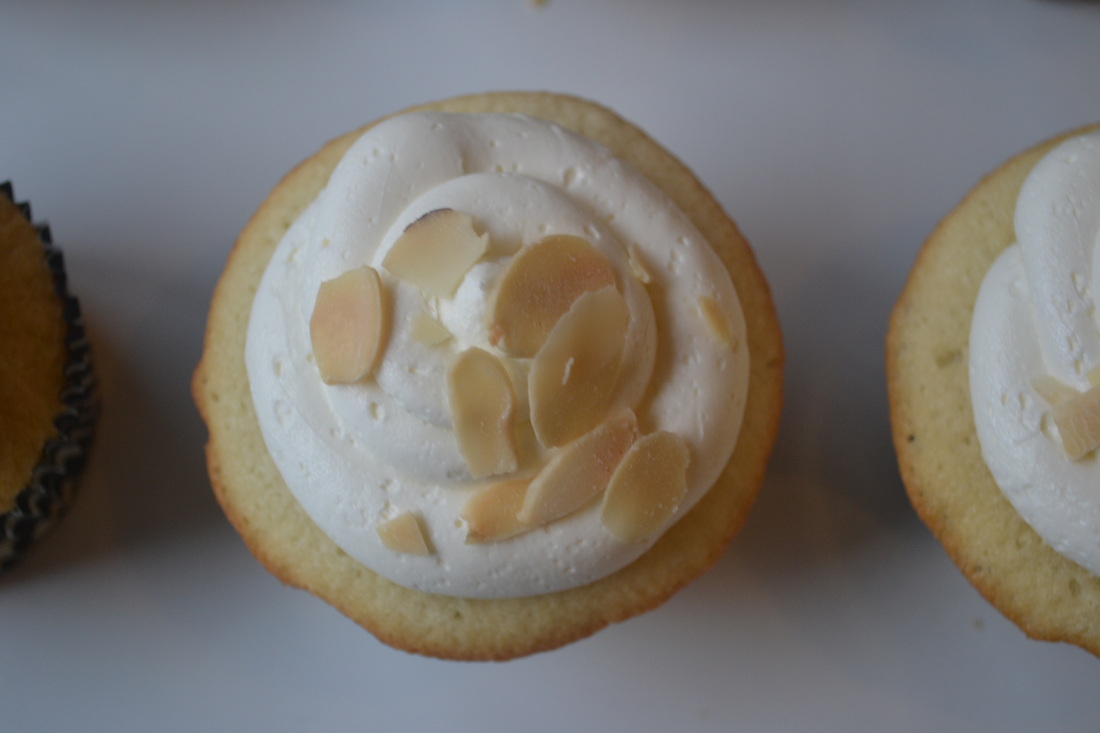
Almond Cloud Cupcakes Makes about 24 cupcakes For the cupcakes 2 1/4 cups all-purpose flour 1 2/3 cups granulated sugar 3 1/2 teaspoons baking powder 1 teaspoon salt 1 1/4 cups 2% milk 2/3 cup unsalted butter, at room temperature 1 teaspoon almond extract 5 egg whites Preheat the oven to 350° F. Line 2 standard cupcake pans with liners. Set aside. In the bowl of a stand mixer fitted with a paddle attachment add flour, sugar, baking powder, salt, milk, butter and almond extract. Beat on low sped for about 30 seconds to combine. Adjust the speed to medium-high and beat another 2 minutes, scraping the bowl as necessary. Add egg whites and beat on medium-high for another 2 minutes. Scoop the batter into the prepared liners, filling about 2/3 full. Bake for 18-22 minutes until a toothpick inserted in the center comes out clean. Allow cupcakes to cool in pans for about 5 minutes before transferring to a wire rack to cool completely. For the Almond Buttercream 16 tablespoons unsalted butter, at room temperature (I prefer Plugra, European butter) 4 cups confectioners' sugar, sifted 1 teaspoon almond extract 2 1/2 tablespoons cold water Place the butter in the bowl of a stand mixer fitted with a paddle attachment. Cream the butter for 1-2 minutes. Add 2 cups of confectioner's sugar and mix on low until well combined. Add almond extract and water, mixing for about 30 seconds. Add the remaining 2 cups of confectioner's sugar and mix until just incorporated. Increase mixer speed to medium-high and beat until light and fluffy, about 5-7 minutes. Transfer buttercream to a pastry bag fitted with a wide tip and frost cupcakes. Top with toasted, slivered almonds, if desired. 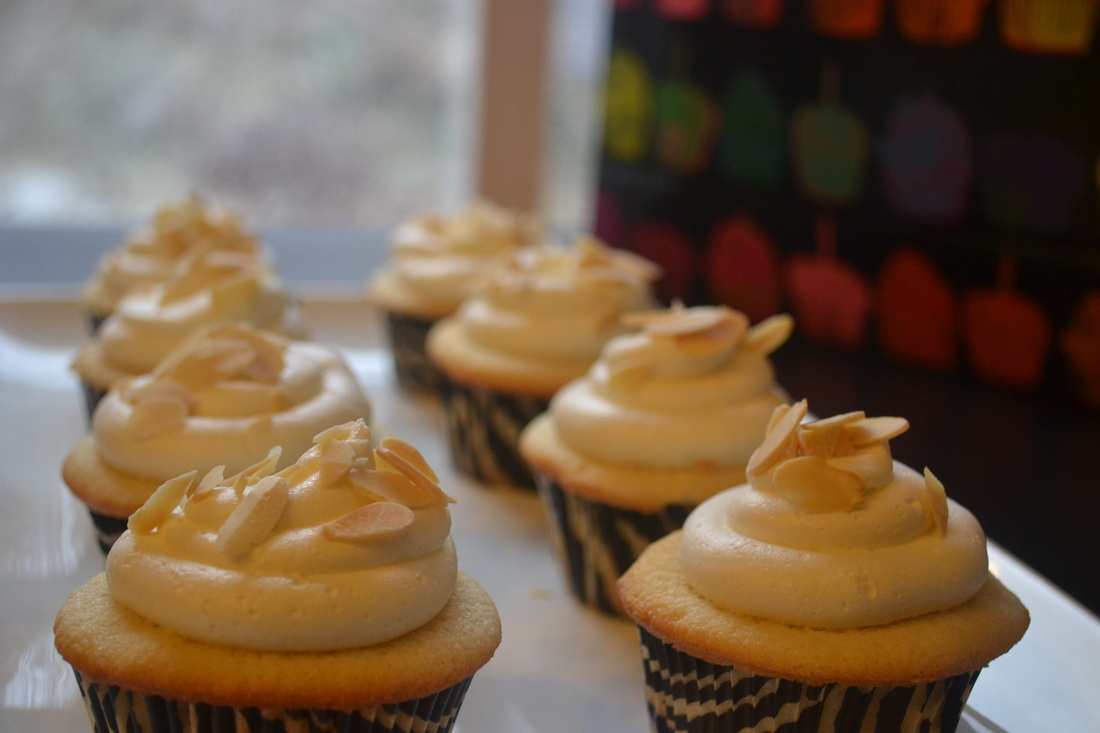
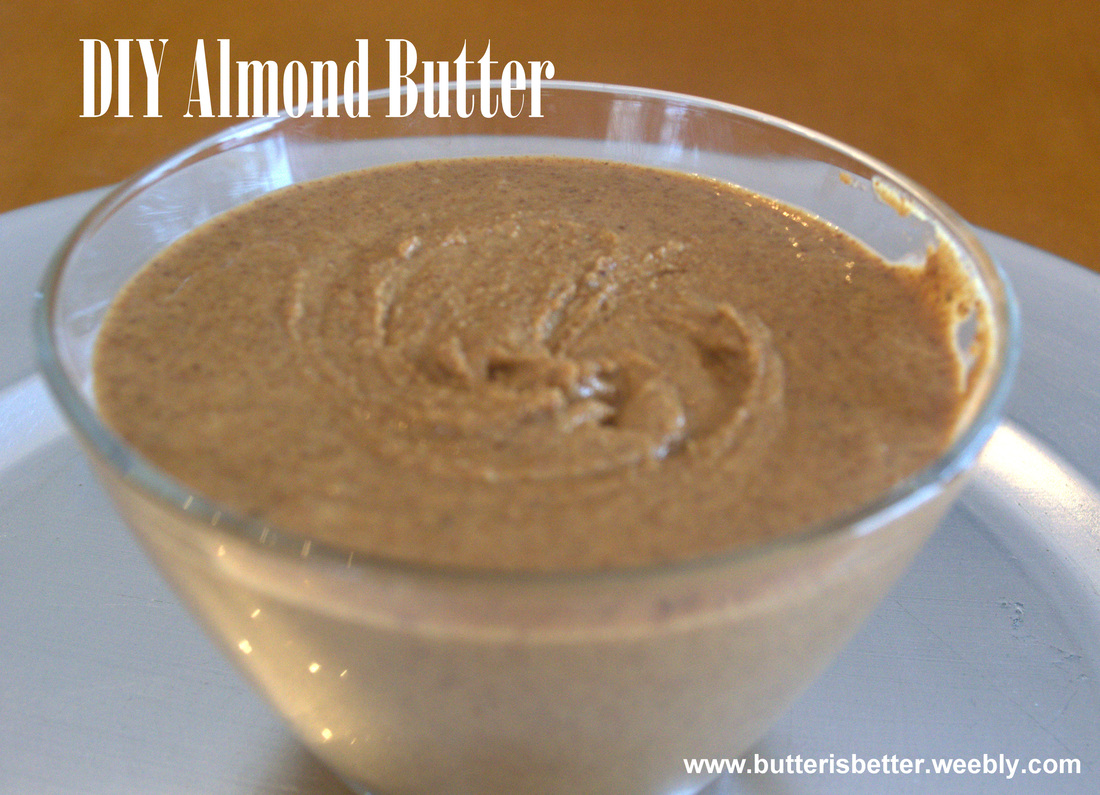
Have you all heard about the current almond butter craze? I've known that almond butter has existed for years and though I love it, I've always steered away from buying it simply because of the cost. With my health kick/lifestyle change over the past month I've been reading some health & fitness blogs in addition to my running magazines and can I tell you something? Almond butter is EVERYWHERE!! It's packed with vitamins, minerals, fiber and protein and tastes great in place of peanut butter on a sandwich, celery or pretzels or even in a smoothie. I decided to just suck it up and buy a tiny, overpriced jar of this awesomeness during my next grocery run. As I stood there in the nut butter aisle I pondered my choices. I could either buy a $10 jar of almond butter, or the cheaper $8 alternative. I went with the $8 choice. I had it in my hand. I put it in my cart. Then, it hit me! I recently bought myself some new cookbooks and I had remembered seeing a super easy recipe for making almond butter at home!!! I immediately put the little jar back on the shelf and hauled butt over to the nut aisle where I found a 1 pound bag of roasted almonds for $5! Score! Let's give this a try!!! I made a few modifications to this recipe. The most notable being using already roasted almonds instead of raw. Since the recipe stresses the importance of having warm almonds when processing to bring out the oils I decided to still throw them in the oven for a few minutes. If you use raw almonds, roast for 10-12 minutes until they are fragrant and slightly darkened. DIY Almond Butter
Makes about 1 1/2 cups 1 pound whole, roasted almonds 3/4 teaspoon kosher salt Adjust an oven rack to the middle position. Preheat oven to 375° F. Spread the almonds on a rimmed baking sheet in a single layer. Roast about 6 minutes, until fragrant. (Be very careful with this step. It only takes a few seconds for nuts to go from perfectly roasted to burnt.) Remove from oven and allow to cool slightly, until they are cool enough to handle - about 15-20 minutes. Place almonds in a food processor for about 1 minute, until they resemble coarse meal. Scrape down the sides of the bowl. Continue processing. After another minute or two you will have a very firm mass. It will be difficult to scrape down the bowl at this point - that's perfectly ok. Continue processing for another 2-3 minutes. The oils in the nuts will begin to break down and the mixture will start to look like a paste. Stop to scrape down the bowl. It should be pretty easy to do at this point. Add the salt to the nuts and process for about another 30 seconds. This whole process should take about 5-7 minutes. What you will be left with is gorgeous, tasty, pure almond butter!! Store in an airtight container. It can be kept at room temperature or refrigerated for up to 2 months. Source: Adapted from The America's Test Kitchen DIY Cookbook |
AuthorPittsburgh area mom striving to provide clean, healthy, REAL food for her family! Categories
All
Archives
September 2014
|
 RSS Feed
