As I've said a few times before, life in my house has gotten pretty chaotic over the past month. Sometimes I have so much fun creating my little DIY projects like almond butter and blueberry jam that I run out of time and totally bonk on dinner! Not good! I know casseroles can be a great time saver but I rarely find any that I like enough to make more than once. That all changed when I came across this chicken casserole from Weight Watchers. I first made this back in January for a Monday night dinner. Monday night is the night when my 2nd grader has CCD at the exact same time that my 4-year-old has gymnastics on opposites sides of town. Fun, right? A quick, easy and healthy dinner is a must on these nights and this casserole makes everyone happy! A few things about this casserole: the recipe calls for green beans as the veggie. I know corn might sound more logical in here (and you can certainly use it), but give the green beans a try! They are lower in calories and actually complement the dish very well. Also, you can totally use a rotisserie chicken from the grocery store, but I prefer to bake my own ahead of time and shred it in the Kitchen-Aid. If you haven't heard about this trick - well, it's mind blowing! I normally prepare the casserole a day before eating it and store it in the refrigerator, but you can also freeze it. I found two things when I froze it and baked it straight from the freezer: First of all, the cheese topping kind of got messed up. Next time I'll freeze the casserole without the cheese and add it just before baking. Second, I don't know why, but the frozen casserole seemed much spicier than the refrigerated ones. Not so spicy that it was inedible, just spicy enough that you had to add a little extra sour cream - fine by me! 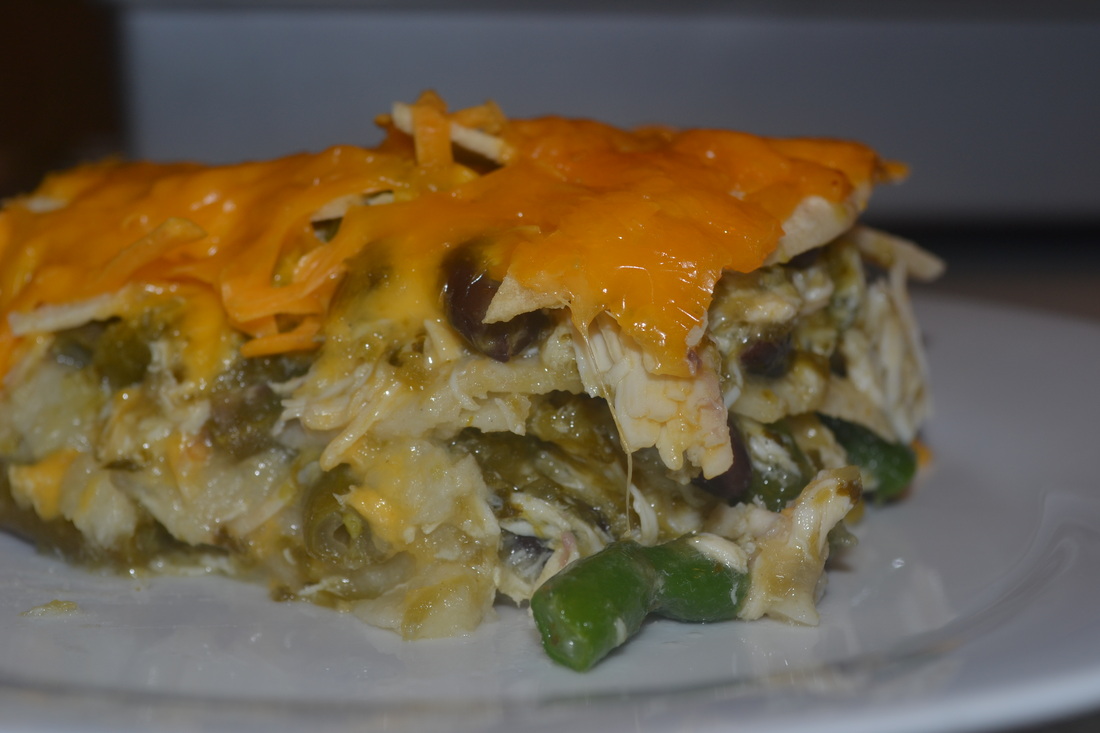
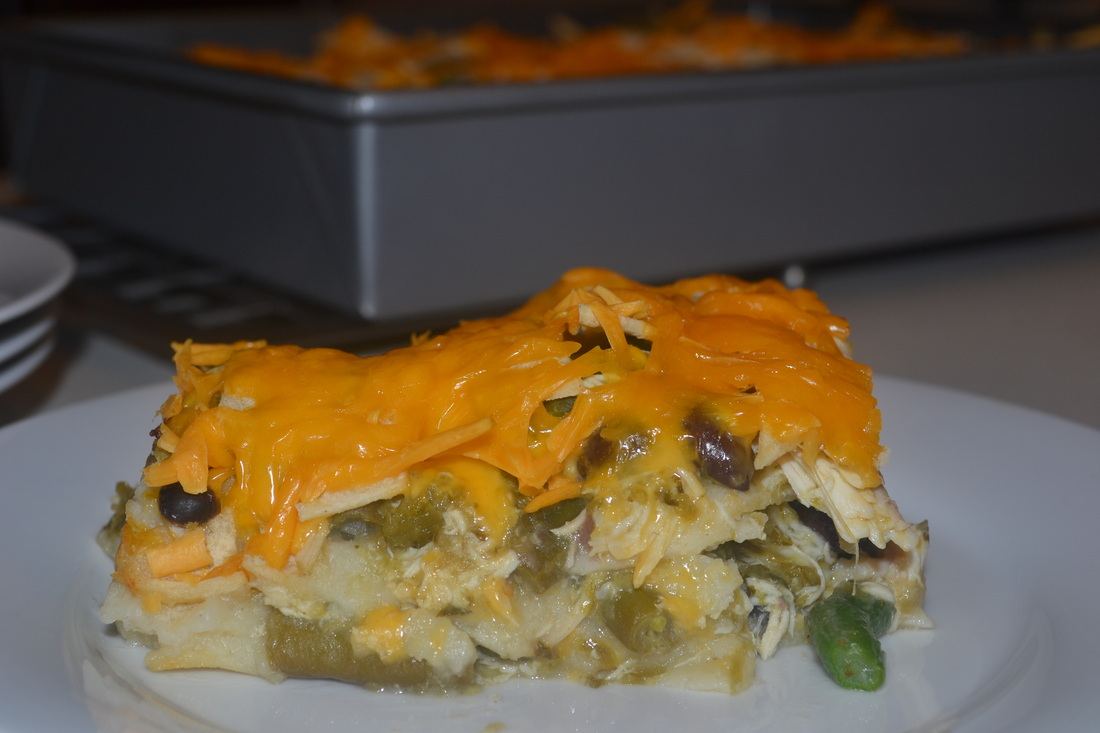
Southwestern Chicken Casserole
Serves 12 1 pound cooked, shredded chicken breast 35-36 ounces salsa verde 16 ounces frozen, chopped green beans 1 15.5 ounce black beans, drained and rinsed 16 6-inch corn tortillas, shredded or thinly sliced 8 ounces reduced-fat cheddar cheese, shredded In a large bowl mix together chicken, salsa, green beans and black beans. Spread 1/3 of the corn tortillas on the bottom of a 9 x 13 baking dish. Top with 1/2 of the chicken mixture. Spread another 1/3 of the tortillas on top of the chicken, then add the remaining chicken mixture. Top with the remaining tortillas. Sprinkle evenly with shredded cheese. Cover with aluminum foil. Store in the refrigerator for up to 2 days. (Freezer for up to 4 months.) When ready to bake, preheat the oven to 350° F. Bake for 20 minutes covered (30 minutes covered if baking from freezer). Remove aluminum foil and bake for another 30 minutes until bubbly and brown (45 more minutes if baking from freezer.) Allow to cool for about 10 minutes before serving. Source: Adapted from Weight Watchers
0 Comments
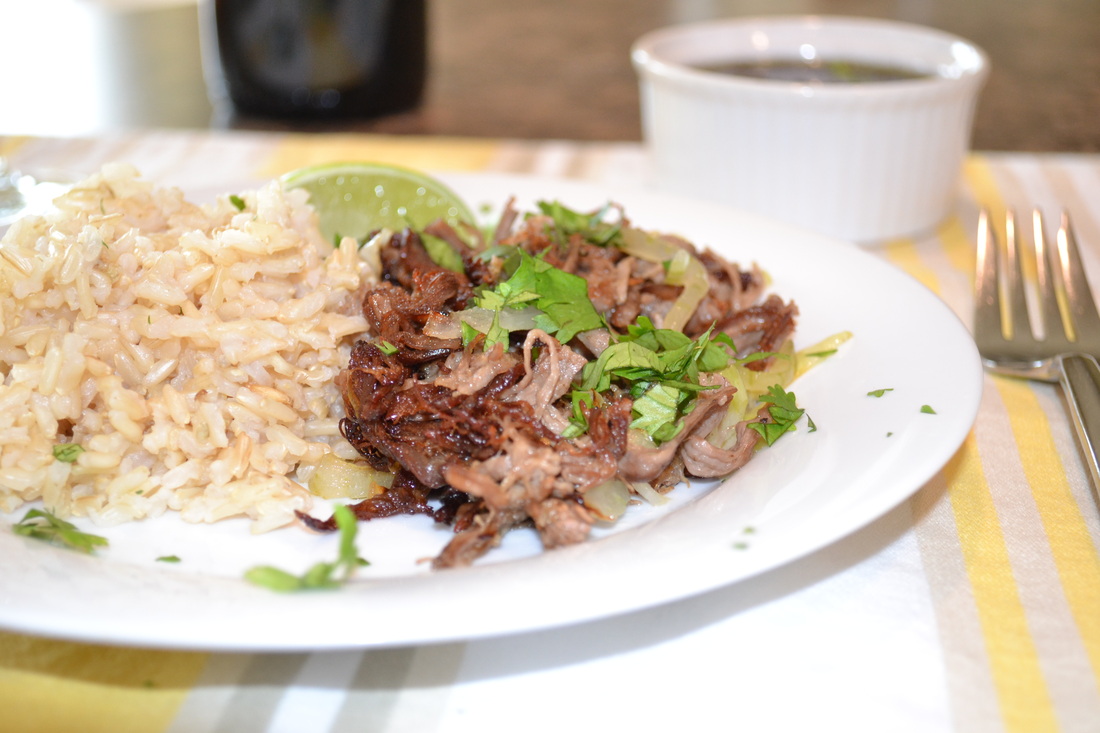
After nearly 3 weeks away from my home (and my kitchen) I'm trying to get back into the swing of things with cooking and blogging. I mean, I've been cooking for the past week, but pretty basic feed-the-family kind of stuff. Nothing terribly exciting. For some reason I always lack motivation and creativity in the summer. Now this dish is VERY exciting! I've been wanting to share this with you all for a while! It's absolutely mouth-watering and though it is time-consuming, it's actually pretty simple. The back story on this dish started in June. In preparation for our trip to Miami (and many other places!) I wanted to make an authentic Cuban dish. Living in Western Pennsylvania, Cuban food isn't something we come across very often. I had no idea where to begin. So, I touched base with my cousin Marla in Miami and asked her what her favorite Cuban dish was. She immediately responded with Vaca Frita - literally translated to fried beef!! She emailed me the recipe she uses from Memories of a Cuban Kitchen and I was on my way! I decided to make this dish for Hubby's birthday in June and I paired it up with some black beans and rice. Everyone LOVED the dish! Even my very picky 6 1/2 year old asked for more! The only thing I would do differently next time is make more! This recipe managed to feed 6 adults and 2 kids but we had to ration everyone's portions. No one complained though - it's seriously amazing stuff! While in Miami we were lucky enough to visit an authentic Cuban restaurant. I use the term 'restaurant' loosely because it was kind of like a cafeteria setting. The entire staff spoke only Spanish and the choices were plentiful and unusual. Luckily, my cousin's friend was there to help us out in ordering. We decided to order the same thing we had at home - Vaca Frita with Black Beans and Rice. It was delicious! I am proud to say my homemade Vaca Frita came close to this authentic version! The Black Beans and Rice were WAY better than what I made at home. As a treat we ordered a Coco Frio (Coconut Milk from a coconut) for the girls to share. JP is smiling, but that is BEFORE she tasted it! LOL! I guess coconut milk isn't for everyone! Here are some pictures from our trip taken with my iPhone. 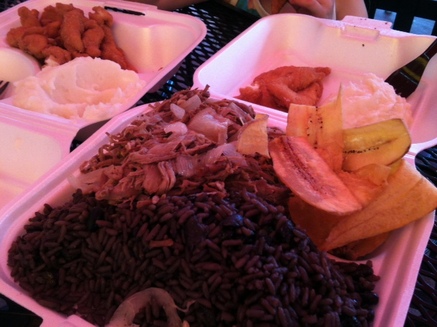
Black Beans and Rice, Vaca Frita and Fried Plantain Chips. In the back are the kid's Fish Fingers and Mashed Potatoes.
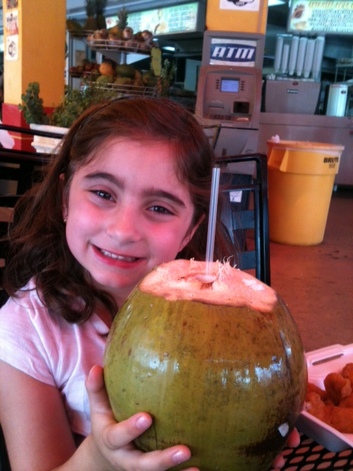
JP and the Coco Frio

Bean and the Coco Frio
Vaca Frita
2 1/2 pounds flank steak, cut in half 1 bay leaf 1/4 cup fresh lime juice 1/4 cup fresh lemon juice 3 cloves garlic, finely chopped Salt and pepper, to taste 1/2 cup pure Spanish olive oil (I used Arbequina) 1 large onion, cut in half and thinly sliced 2 tbsp fresh parsley, finely chopped Place the beef and bay leaf in a large saucepan, cover with salted water and cook over low heat, covered, until the meat is tender, 1 - 1 1/2 hours. Remove the meat from the pan and allow to cool to room temperature. When cool, cut into 2-inch chunks then shred beef with your fingers and place in a non-reactive bowl. Add the lime juice, lemon juice, garlic, salt and pepper. Cover with plastic wrap and refrigerate at least 1 hour, or overnight. ** I did this step the night before Remove the meat from the marinade and squeeze out the excess liquid. In a large skillet, heat the oil over medium-high heat until fragrant. Cook the beef 6-8 minutes, stirring often. Add onions and cook another 10 minutes, continuing to stir, until beef is crisp. Sprinkle with parsley and serve. Source: Memories of a Cuban Kitchen 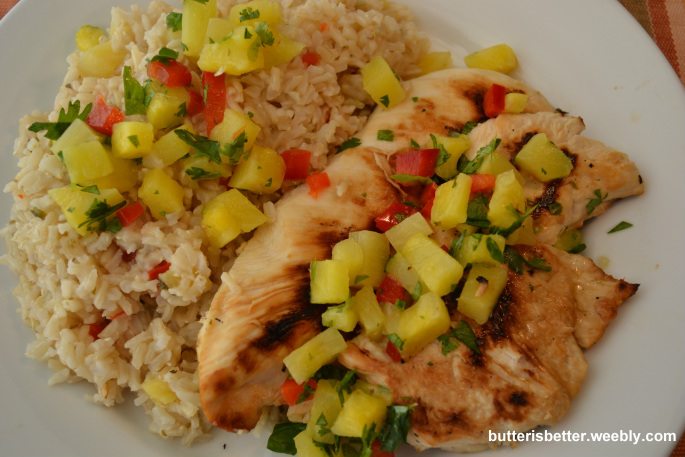 A few days ago it finally hit me. I finally figured out why I'm a less-inspired cook during the summer months. I'm not a huge fan of grilling. It's not that I don't LIKE grilled food, it's just that in our current living situation grilling in inconvenient, at best. Our grill actually ran out of propane in March and neither hubby or I are in a rush to refill it! In lieu of that we have a cast iron grill pan we use to sort of simulate real, outside grilling. It actually does a really nice job with the food (clean-up, on the other hand, is a whole different story!). The other day I had some chicken defrosted in the fridge and I was scouring the internet for a healthy, summer dish to use it in. I came across this recipe for Island Chicken on allrecipes and I had some of the ingredients on hand, but not all. So, let the improvising begin! I used fresh/frozen pineapple instead of canned, but you can use whatever you have on hand. I also skipped the hot peppers and replaced them with sweet red bell peppers and made a few other adaptations. It was a family pleaser for sure! We will definitely have this on the menu again. As for the rice, I honestly had no idea how much my kiddos love rice! I took some basic cooking techniques and developed the rice recipe right here in the Butter Is Better Test Kitchen. Enjoy! 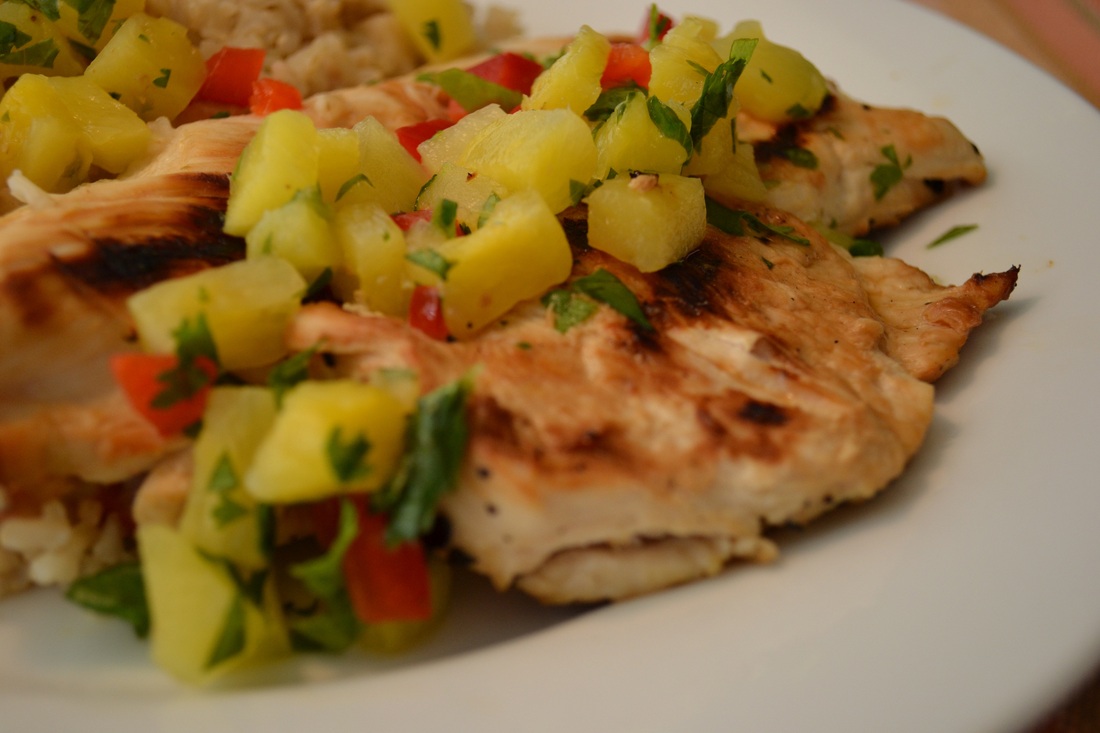 For the Chicken & Salsa Makes 4 servings 2 cups diced pineapple 1/4 cup reserved pineapple juice 1/2 cup diced red bell pepper Juice of 1 lemon - about 1/4 cup Juice of 1 orange - about 1/2 cup 1/3 cup chopped cilantro 1/4 spiced rum 1 pound chicken breasts (this would also be great with boneless, skinless, chicken thighs) In a bowl, combine pineapple, reserved pineapple juice, bell pepper, lemon juice, orange juice, cilantro and rum. Let stand for one hour to allow flavors to meld. After one hour, strain the juice from the salsa. Set the salsa aside for the rice. Place chicken and juice in a bowl to marinate. Cover with plastic wrap and refrigerate 2-6 hours. Preheat grill or grill pan. Grill chicken until juice run clear or internal temperature reaches 165 F. Remember to flip the chicken about halfway through - I apologize - I didn't keep track of time when doing this! Discard the marinade. Do not use it again! Once the chicken is done, serve it with Island Rice (see below) 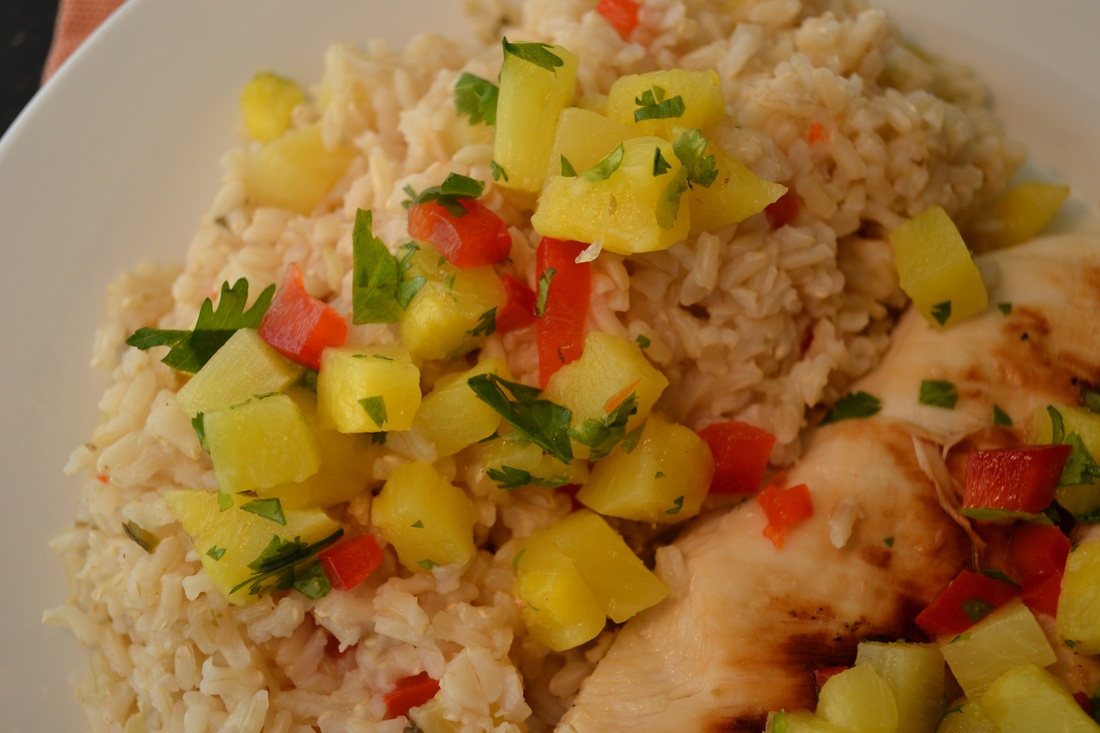 For the Island Rice
1 cup brown rice 1 3/4 cups water 1/2 cup pineapple salsa (see recipe above) 1 tsp kosher salt Combine all ingredients in a medium saucepan. Bring the water to a boil. Once the water boils, stir the mixture once, reduce the heat to a simmer and cover with a tightly fitting lid. Simmer for 50-55 minutes until the water is absorbed and the rice is nice and fluffy. Don't lift the lid or stir the rice until the timer goes off. 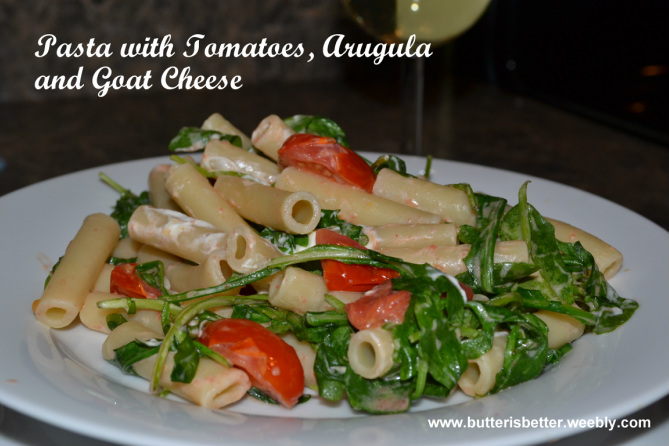 So, I remember years ago, it was Thanksgiving 2004. My parents and sister decided to join my husband and me at my in-law's house for Thanksgiving dinner. After dinner my parents, sister and I drove to King of Prussia for some Black Friday shopping while my husband spend a few days with his dad at a hunting camp. I was so excited to go to King of Prussia Mall again! A place I had yearned to go to for years, then when I lived in West Chester I was able to frequent often and became quite familiar with this beautiful mammoth. This trip was also exciting for me because my husband and I had just signed the papers to buy/build a new townhouse with a shiny new stainless steel kitchen! After spending 12 hours in a mall full of endless choices I found myself leaving with two small bags. One bag from Pottery Barn with a few Christmas ornaments. And one bag from Williams-Sonoma with a shiny new cookbook filled with healthy recipes! A brand new kitchen and a new cookbook filled with HEALTHY recipes!?!? I could hardly contain my excitement! This could be life-changing! Fast forward a few months to when we moved into our new house with the shiny kitchen. At that point life was pretty crazy. Not only were we in the middle of a move, but I was also a few months pregnant with sweet little JP! Cooking was the last thing on my mind. And so the cookbook sat....sat on a shelf, then in a closet and most recently in a box in the garage. Sure, I'd made one or two recipes from it but for the most part, this book just got pushed aside for something else. A few weeks ago when I'd realized I'd eaten a few too many cupcakes I was tempted to buy a new, healthy cookbook. Just then I remember this little gem and started to search for it. I found it in a plastic tote in the garage and I'm so happy I did! Looking through it now the recipes seem FAR less involved and complicated as I thought they were back in 2004. Maybe it's because I'm a much better cook than I was then, but I think alot of it is because so many ingredients are so widely available today compared to 2004 (Broccolini?? Goat Cheese??). Overall, this is one of the easiest dishes I've ever made. There is very little prep work, it comes together very quickly and it's a perfect pasta dish for the warm summer months up ahead. If you don't usually salt your pasta water make sure you do AND make sure you use the recommended 2 tablespoons. You'll thank me later!! 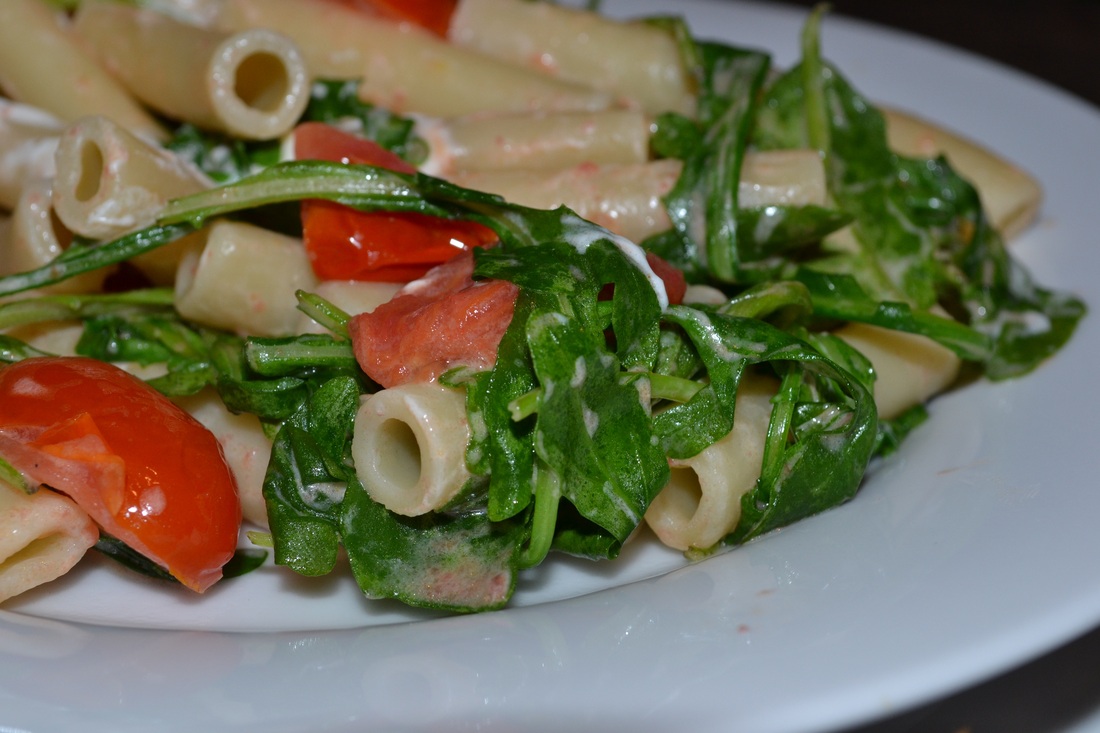 Pasta with Tomatoes, Arugula & Goat Cheese
3/4 pound ziti, fusilli or cavatappi 2 tablespoons plus 1/2 teaspoon kosher salt, divided 2 cups loosely packed arugula 1 tablespoon extra virgin olive oil 2 cups grape tomatoes, halved 1 garlic clove, minced 1/4 cup (1 ounce) fresh goat cheese, crumbled Bring a large pot of water to a boil. Add 2 tablespoons of salt to the boiling water before adding the pasta. Cook pasta according to package directions until al dente. Before draining pasta, reserve 1/4 cup of the cooking water. Drain pasta, mix in arugula and place in a warm bowl. While the pasta is cooking, add olive oil to a large skillet over medium-high heat. Once oil heats up add tomatoes to the pan and saute for 1-2 minutes. Add the garlic and saute an additional 1-2 minutes. Remove from heat, season with 1/2 teaspoon kosher salt. Place over warm pasta. Add crumbled goat cheese, tossing to combine all ingredients. Add a little of the reserved pasta water if the dish is a bit dry. Season with fresh ground pepper to taste. 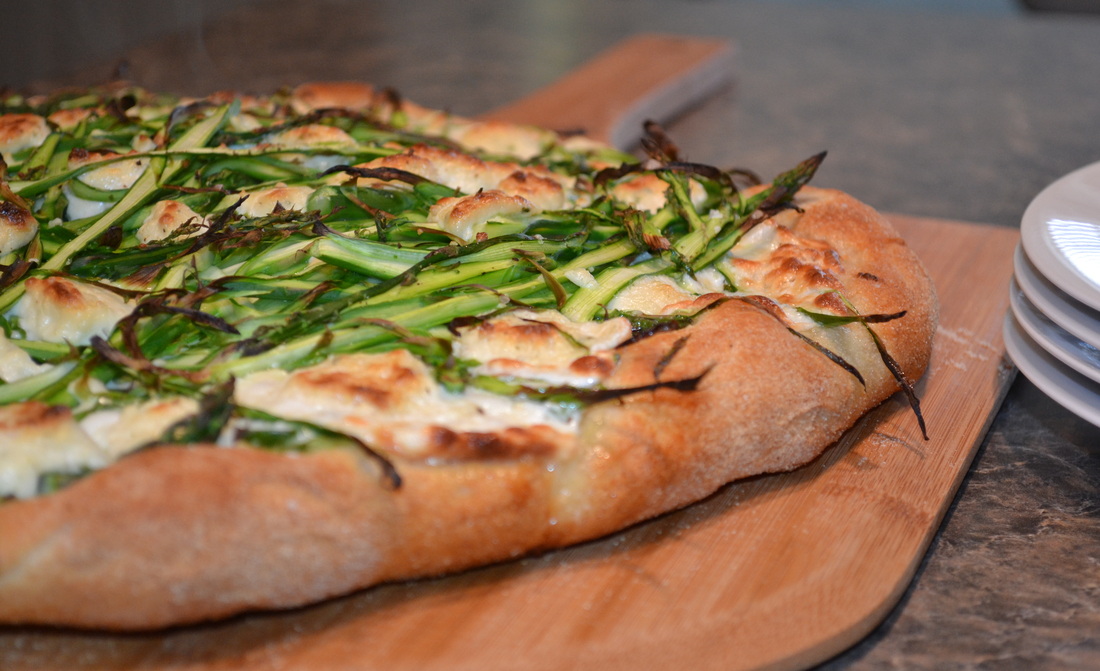 So, I told my family yesterday that we were having pizza for dinner. Naturally, they were all happy about that. Then, when this Shaved Asparagus Pizza arrived at the table boy did they ever change their tune. My 6-year-old refused to eat it: "Are you kidding me? No sauce?" This was totally expected from her. My hubby looked a little skeptical, but he is always my biggest supporter and will try every single thing I make. Me? I like asparagus, but I felt defeated before my first bite by everyone's reaction. No one was geared up about dinner. And then....WOW! By the first bite this pizza really blew me away!! The asparagus cooked down nicely and some of it was even a little crunchy. The Boursin cheese was filled with creamy herbs and the fresh mozzarella was just perfect! The crust is a real treat in itself. You can use your favorite pizza dough recipe or even store bought if that's your thing. I'll share this crust recipe with you in a few days. In the end Hubby agreed that this was a pretty amazing pizza! It was hard not to devour the whole pie last night but we managed to save some for lunch today. We just threw it back on the pizza stone for a few minutes and it was just as good as last night. I know this will be making an appearance on our menu again very soon. I just HAD to get this recipe out to you so you can make this pizza soon and enjoy all that asparagus out there!! 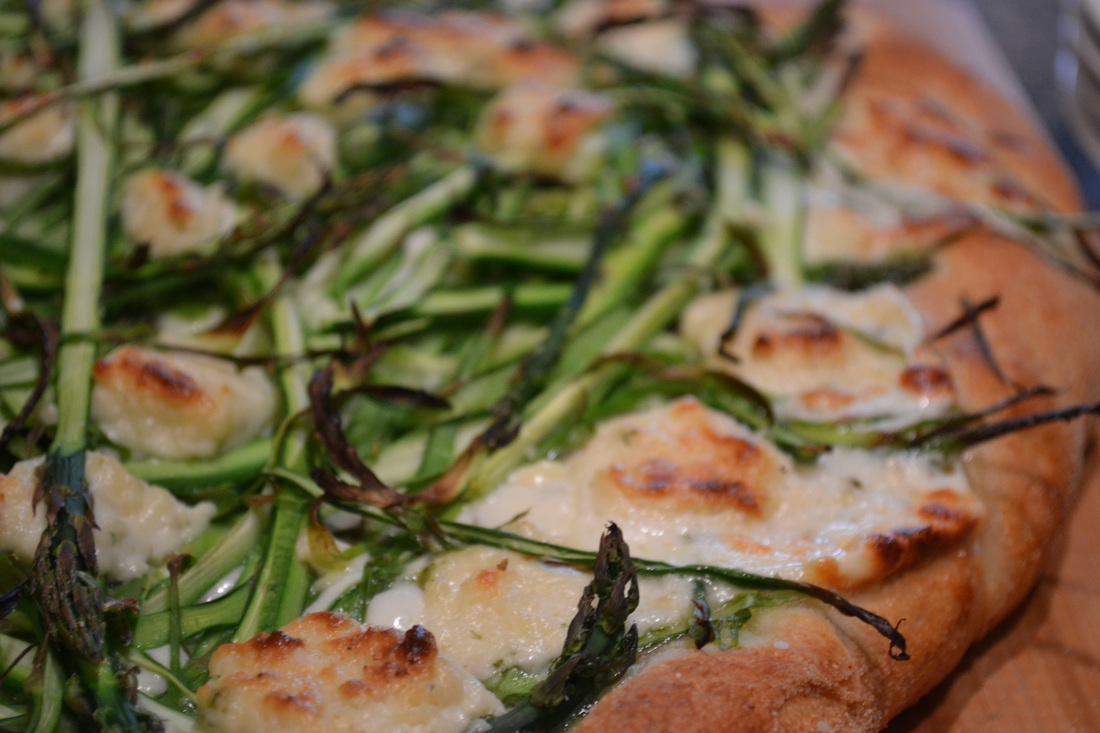 Shaved Asparagus Pizza
Pizza dough Extra virgin olive oil, for brushing 1 lb asparagus spears 4 oz fresh mozzarella, thinly sliced 5 oz spreadable garlic herb cheese, such as Boursin Kosher salt and pepper, to taste Preheat oven and a pizza stone at 500 for at least 30 minutes. Allow pizza dough to come to room temperature during this time. After 30 minutes roll out the pizza dough to a 12-14 inch round and place on a pizza peel generously covered with cornmeal or semolina. Lightly brush dough with extra virgin olive oil. Cut the tough stems off the end of the asparagus spears. Using a vegetable peeler, shave each spear into thin ribbons. This looks like a LOT of asparagus, but it cooks down nicely. Place the sliced mozzarella on the pizza dough in an even layer. Pile shaved asparagus on top of mozzarella. Dot the top of the pizza with chunks of the Boursin cheese. Sprinkle with kosher salt and freshly ground black pepper. Transfer pizza to pre-heated pizza stone. Having enough cornmeal on your pizza peel is crucial for the pizza to slide smoothly off of the peel and onto the stone. Bake about 12-14 minutes or until the cheese is bubbly and the crust is brown. Remove from the oven. Allow to cool slightly before serving. 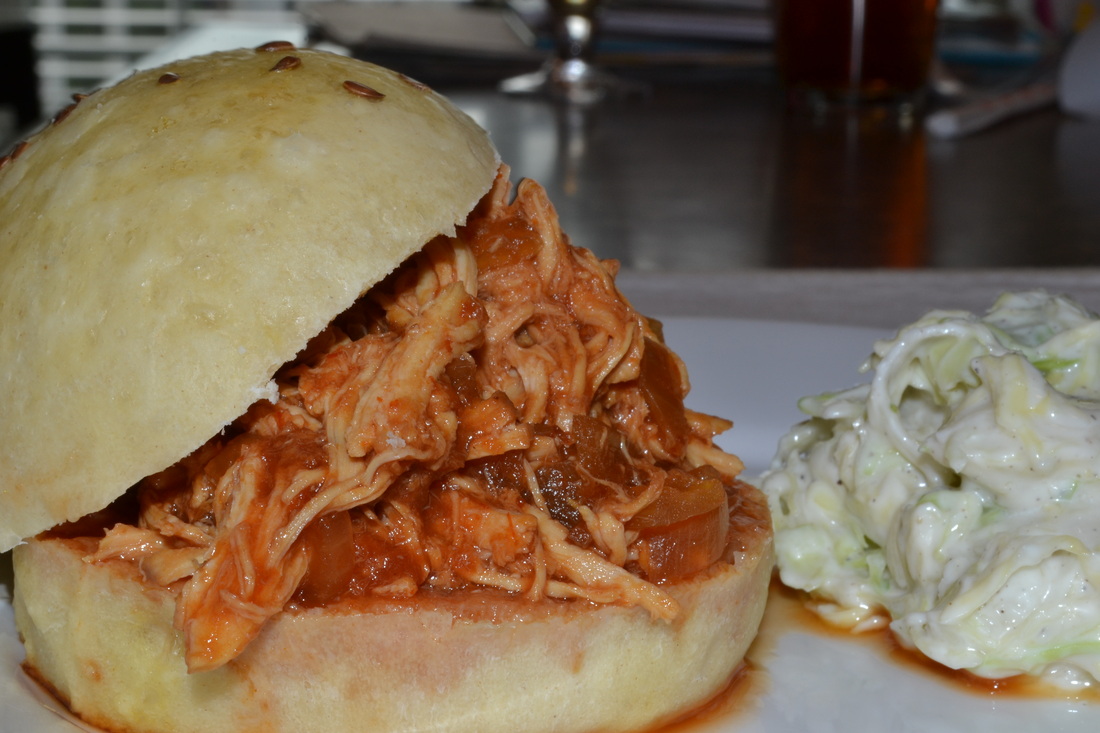
Today I want to share with you a newly discovered recipe from a cookbook I've had for a while. This recipe is a take on tasty, comforting pulled pork sandwiches, but it uses chicken instead. The original recipe called for a store-bought rotisserie chicken and a quick stove-top execution. I decided to make some modifications and give this a try in the crock pot using fresh chicken breast. To my excitement the meal came out amazingly tasty with perfectly balanced flavors! An added bonus is that both of my toughest critics (JP & Bean) gobbled up their dinner! We even had enough leftover to make sliders for lunch the next day! This sandwich paired with some lightened up coleslaw just screams summer to me. I am planning on doubling this recipe and taking it to some picnics this summer along with some homemade hamburger buns (which I swear by these days!) I'll be sharing those recipes with you all soon! 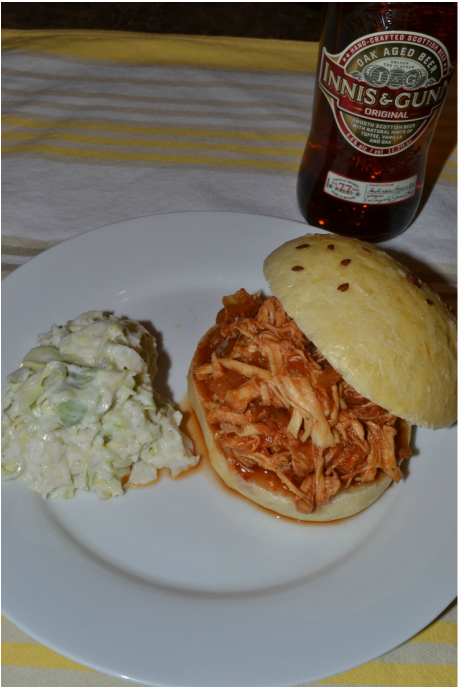
Pulled BBQ Chicken Sandwiches
Makes about 6 regular sized sandwiches or 10-12 sliders 1 lb boneless, skinless chicken breast 1 medium onion, chopped 3 garlic cloves, minced 1 15-ounce can tomato sauce 1/2 cup water 1/3 cup cider vinegar 5 tbsp molasses 1/4 cup tomato paste 1/2 tsp liquid smoke 1/4 tsp black pepper Place all ingredients in a slow cooker set to low. Cook for 5-7 hours. Remove chicken from slow cooker and shred on a plate with two forks. Return shredded chicken to slow cooker and stir to combine. Serve on hamburger buns. Source Adapted from So Easy, by Ellie Krieger 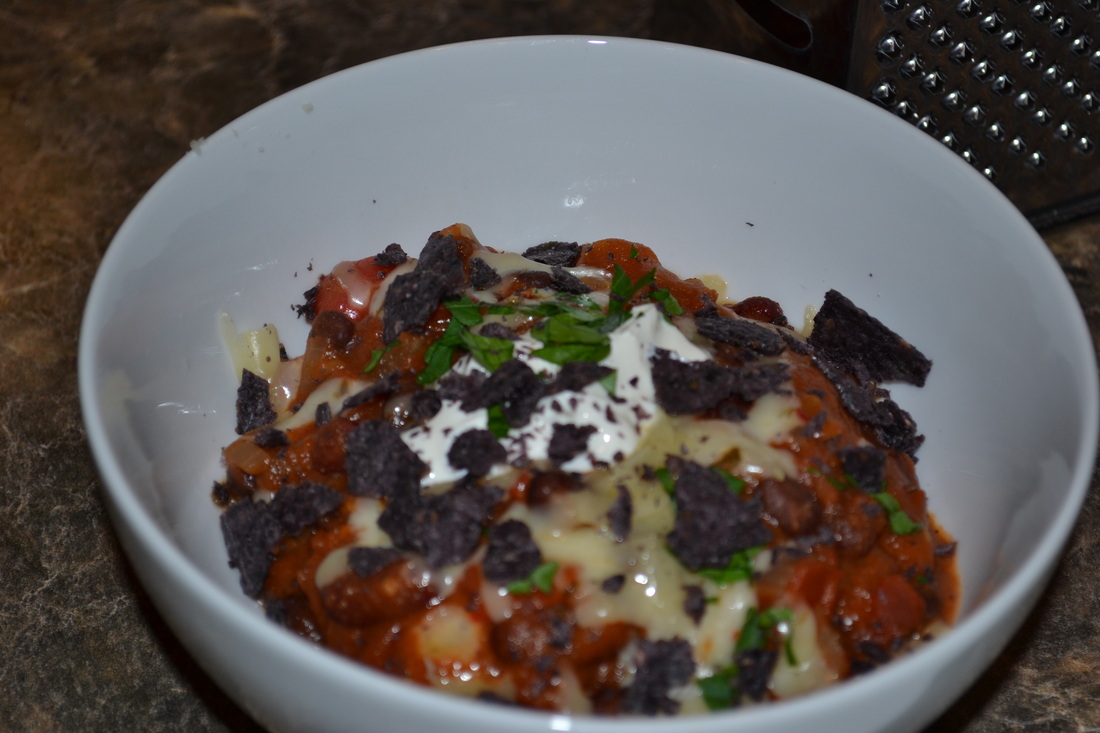 Happy Spring! With today being the first day of Spring (and feeling like more like the first day of Summer!) you wouldn't think I'd be bringing you a recipe for chili, would you? Well, I have two very good reasons for posting this today: It's very kind to your waistline and shorts season is quickly approaching and it's super quick so you don't need to spend a lot of time in front of a hot stove to make this delicious dinner! OK, the real reason I'm posting this recipe today is because I LOVE this chili and I haven't had time to post it in the past few weeks when the weather was colder and more, well, chili-like. Hubby and I discovered this chili recipe almost 10 years ago and have made it many, many times. I actually have a confession to make - in my early days of cooking I wasn't too clear on the difference between certain ingredients. One of those ingredients was chili powder. I thought it was the same as ground red pepper! So, for a lot of years I made this dish WAY spicier than it's supposed to be! Even so, we still loved it! Now that I have kiddos with sensitive palates I tame down the heat and stick with the original recipe. Either way, I promise, you'll love this! Oh, one more reason this recipe rocks, it's super budget-friendly! Enjoy! Vegetarian Three-Bean Chili Makes about 6 servings 2 tablespoons extra virgin olive oil 1 medium yellow onion, chopped 1 large red bell pepper, seeded and chopped 1 large jalapeno, seeded and diced 4 garlic cloves, minced 1 cup beer or vegetable broth (I used a home-brew English ale) 1 28-ounce can crushed tomatoes 1 14-ounce can black beans, rinsed and drained 1 14-ounce can dark red kidney beans, rinsed and drained 1 tablespoon ground cumin 2 tablespoons chili powder 1 teaspoon kosher salt 1 14-ounce can vegetarian refried beans For the topping: Grated pepper jack or cheddar cheese Crumbled blue corn tortilla chips Sour Cream Chopped cilantro In a medium stock pot over medium-high heat, add oil, onion, peppers and garlic. Saute about 5 minutes to soften vegetables. Deglaze the pan with beer (or broth). Add tomatoes, black beans, red kidney beans, cumin, chili powder and salt, stirring to combine. Mix in refried beans to thicken the chili. Simmer over low heat about 5-10 minutes. Serve with desired toppings.

Even though it feels like Spring outside lately, I've been on a major soup kick the past few weeks. I think what I love most about soup is that you can work once to make the recipe and enjoy it for weeks to come! This recipe made a few extra servings than the 4 (or 3 1/2!) we usually need so I froze the leftover in individual containers for a quick, yummy lunch during the week. I'm not a huge fan of green onions and chives, so I didn't use them but you can definitely add them to pump up the flavor! Baked Potato Soup Makes approximately 6 servings Ingredients: 4-5 russet potatoes 4 tbsp unsalted butter 1/2 cup all-purpose flour, divided 6 cups 2% milk 2 tsp kosher salt Freshly ground black pepper, to taste 3/4 cup shredded sharp cheddar cheese 1/3-1/2 cup sour cream For the topping: Sour cream Shredded cheddar cheese Crumbled bacon pieces Preheat oven to 400. Prick the potatoes with a fork. Place the potatoes on a baking sheet and bake for 1 hour. Remove from oven and let sit until cool enough to handle. Scoop the insides of the potatoes into a food processor, discarding the peels. Pulse until the pieces are broken into small chunks.
In a large stockpot or Dutch oven, melt the butter. Add 1/4 cup of flour to the pot and whisk into the butter. Cook, whisking constantly, until golden brown, about 2 minutes. Whisk in the milk and the rest of the flour. Cook until thick and bubbling, about 6-8 minutes. Mix in the potato chunks. Add the salt, pepper and cheddar cheese. Stir until cheese is melted. Remove from heat and stir in the sour cream. Serve immediately. Garnish with sour cream, shredded cheddar cheese and bacon pieces. 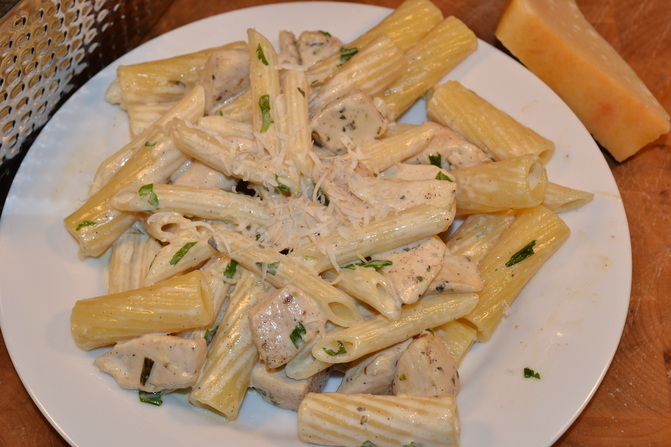 In our house Spaghetti Sunday is a tradition...a way of life. It wouldn't be Sunday without a yummy, indulgent spaghetti dish. This dish gives you just that! It's creamy yet light because of the lemon and parsley. Non-lemon lovers need not worry - the lemon flavor is very subtle. Our two girls both asked for seconds. A success!! 1 pound penne pasta 3 tablespoons extra virgin olive oil 1 pound boneless, skinless chicken breast, diced into 1-inch cubes 1 teaspoon herbs de Provence Pinch of salt, plus 1/2 teaspoon Pinch of black pepper, plus 1/4 teaspoon 1 cup chicken broth 2 cups heavy cream Zest of 1 lemon 1/8 teaspoon cayenne pepper 1/4 cup fresh parsley, chopped 1 tablespoon freshly squeezed lemon juice Bring a large pot of salted water to a boil over high heat. Add the pasta and cook until tender but still firm to the bite. Drain
Meanwhile, heat the oil in a large heavy skillet over medium-high heat. Season the chicken with herbs de Provence and a pinch of salt and pepper. Cook the chicken until golden brown. Using a slotted spoon, remove the chicken and set aside. Pour off any excess oil from the pan. Add the chicken broth to the pan and cook over medium-high heat. Using a wooden spoon, scrape the brown bits off the bottom of the pan. Add the cream, lemon zest and cayenne. Reduce the heat to medium-low and simmer for 10 minutes. Add the pasta, chicken, 1/2 teaspoon salt, 1/4 teaspoon pepper, chopped parsley and lemon juice. Toss to coat the pasta and chicken with the sauce and serve. Slightly adapted from Everyday Pasta by Giada De Laurentiis |
AuthorPittsburgh area mom striving to provide clean, healthy, REAL food for her family! Categories
All
Archives
September 2014
|
 RSS Feed
