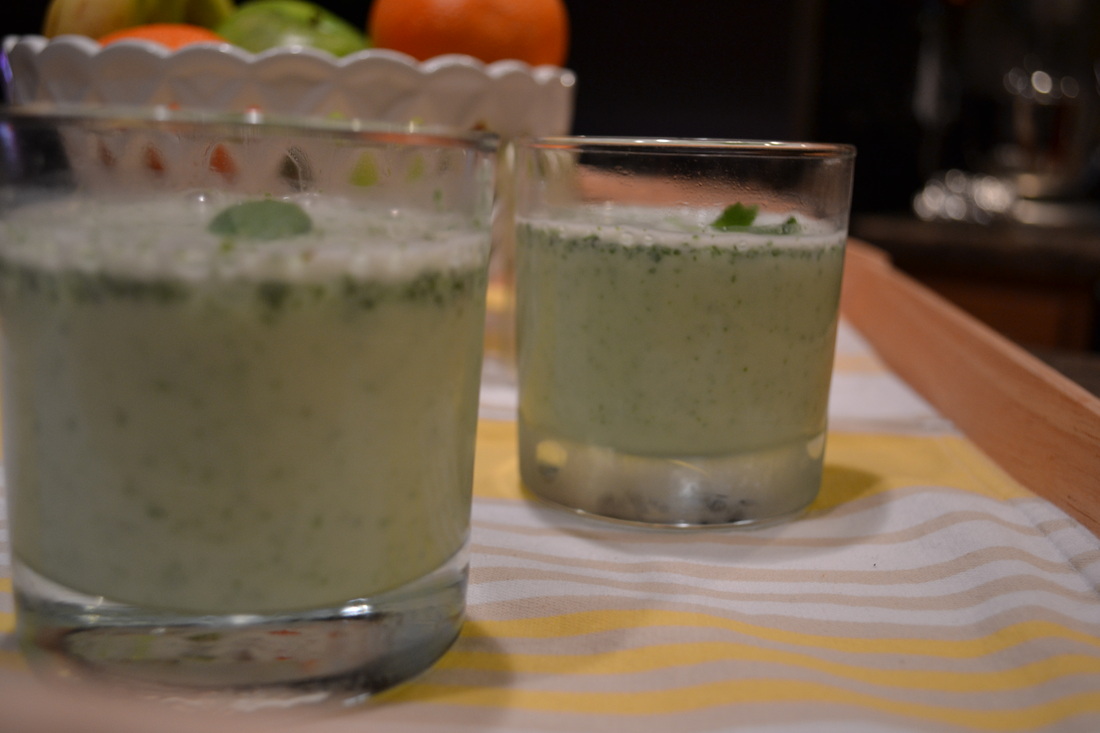
I’m back! What a crazy two weeks it’s been for me! I chaired the Book Fair at my daughter’s elementary school all last week. This is the third Book Fair for me in 11 months and each time I start the week out feeling pretty ok on Monday, but drag-my-feet-tired by Friday. Each time I have a Book Fair I start the week off so normally – keeping up with laundry & cleaning, staying on track with my running, keeping healthy and wholesome meals on the table. And each time I fail at each one of those things by Tuesday. This Book Fair was no different. I did manage to do my 4 ½ mile training run Tuesday night, but besides that, everything else fell to the wayside…including my beloved blog. In retrospect I would have loved to have shared something really cool with you yesterday to celebrate 3 years of being a stay-at-home-mom (hooray!) but it just didn’t happen. All that being said, I’m back! I’m excited to get back to my kitchen adventures and blogging! When I first saw this recipe I thought it looked refreshing and healthy. I had planned on making it Sunday morning for a nice, relaxing brunch at home, but with no groceries in the house, it had to stand in for a refreshing dessert. For those of you who have never used basil in a sweet dish I really encourage you to give it a try. Basil in anything just screams summer to me. I’ve had much success pairing it with strawberries and in this smoothie it works really nicely with the lemon simple syrup. Even though we had this as a dessert, this would make a fantastic breakfast smoothie or brunch accompaniment. To save time you can make the lemon simple syrup the night before and store it in the refrigerator until you are ready to use it. 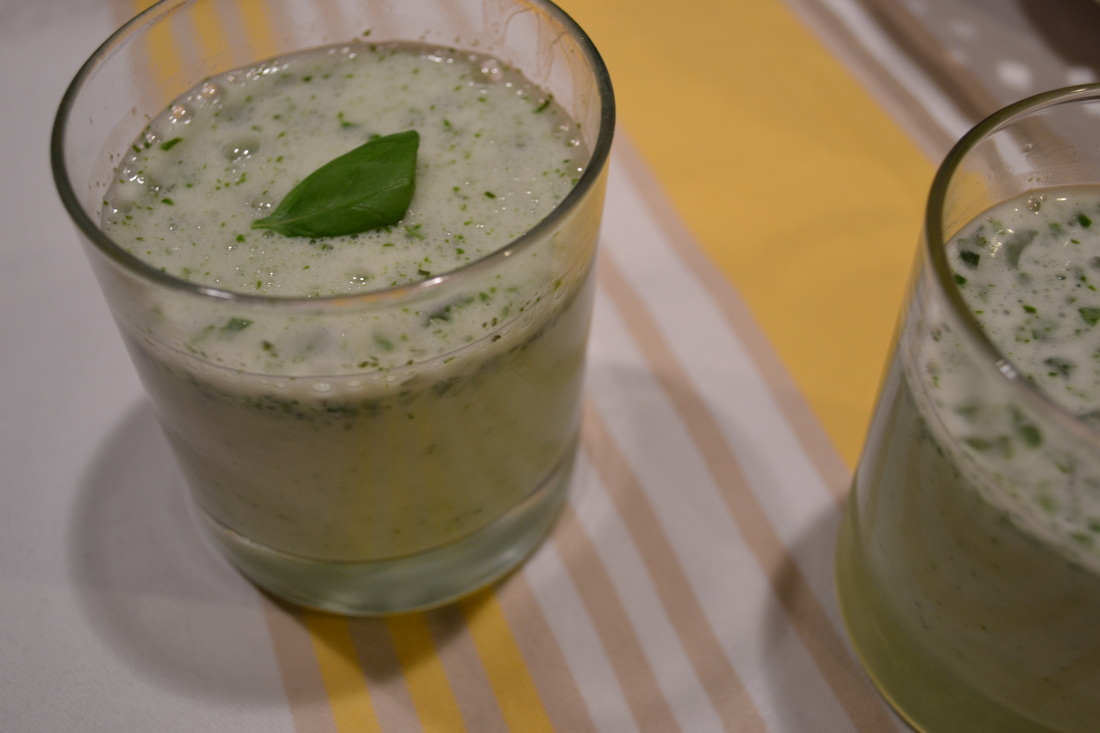
Lemon Zest Simple Syrup
Makes 1 1/2 cups 1 cup sugar Zest of 1 lemon 1 cup water In a small saucepan, combine sugar, water and lemon zest over medium heat. Bring to a boil, reduce heat and simmer for 5 minutes, stirring occasionally, until the sugar has dissolved. Remove from the heat. Allow to cool for at least 20 minutes. Strain through a fine mesh sieve lined with a cheesecloth or durable paper towel to remove lemon zest. If not using the same day, store in the refrigerator. Sweet Basil Smoothie Makes 4 6-ounce servings 1 1/4 cups plain non-fat Greek yogurt 1 cup packed basil leaves Lemon Zest Simple Syrup (entire recipe) 1 cup crushed ice Combine Greek yogurt, basil, Lemon Zest Simple Syrup and crushed ice in a blender. Puree until smooth and frothy. Pour into frosted glasses and serve immediately.
0 Comments
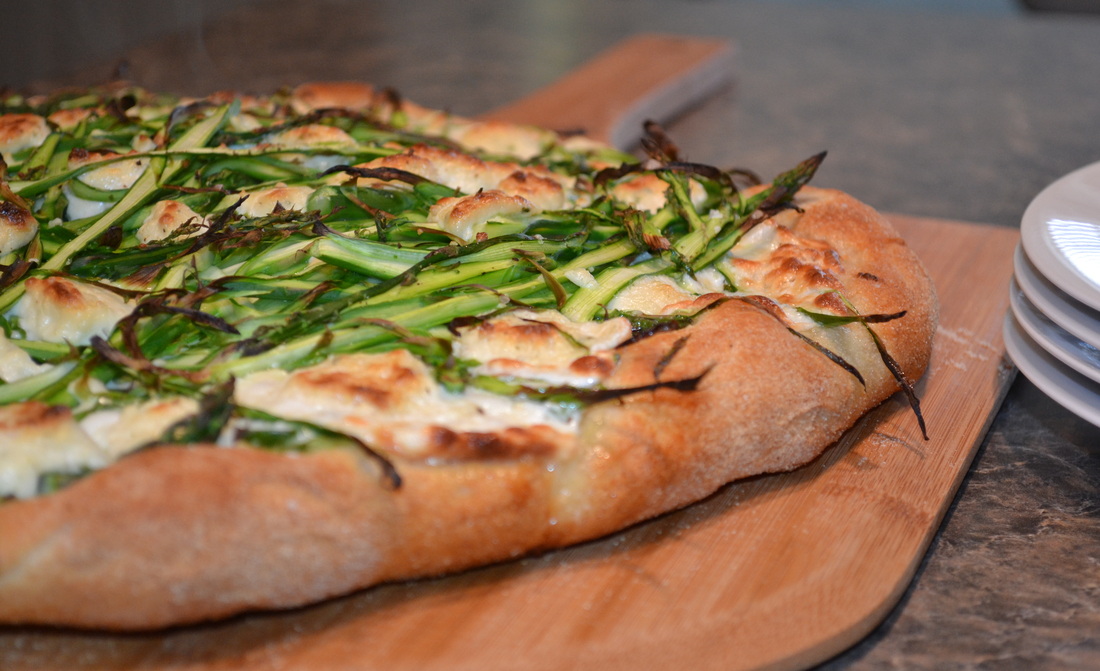 So, I told my family yesterday that we were having pizza for dinner. Naturally, they were all happy about that. Then, when this Shaved Asparagus Pizza arrived at the table boy did they ever change their tune. My 6-year-old refused to eat it: "Are you kidding me? No sauce?" This was totally expected from her. My hubby looked a little skeptical, but he is always my biggest supporter and will try every single thing I make. Me? I like asparagus, but I felt defeated before my first bite by everyone's reaction. No one was geared up about dinner. And then....WOW! By the first bite this pizza really blew me away!! The asparagus cooked down nicely and some of it was even a little crunchy. The Boursin cheese was filled with creamy herbs and the fresh mozzarella was just perfect! The crust is a real treat in itself. You can use your favorite pizza dough recipe or even store bought if that's your thing. I'll share this crust recipe with you in a few days. In the end Hubby agreed that this was a pretty amazing pizza! It was hard not to devour the whole pie last night but we managed to save some for lunch today. We just threw it back on the pizza stone for a few minutes and it was just as good as last night. I know this will be making an appearance on our menu again very soon. I just HAD to get this recipe out to you so you can make this pizza soon and enjoy all that asparagus out there!! 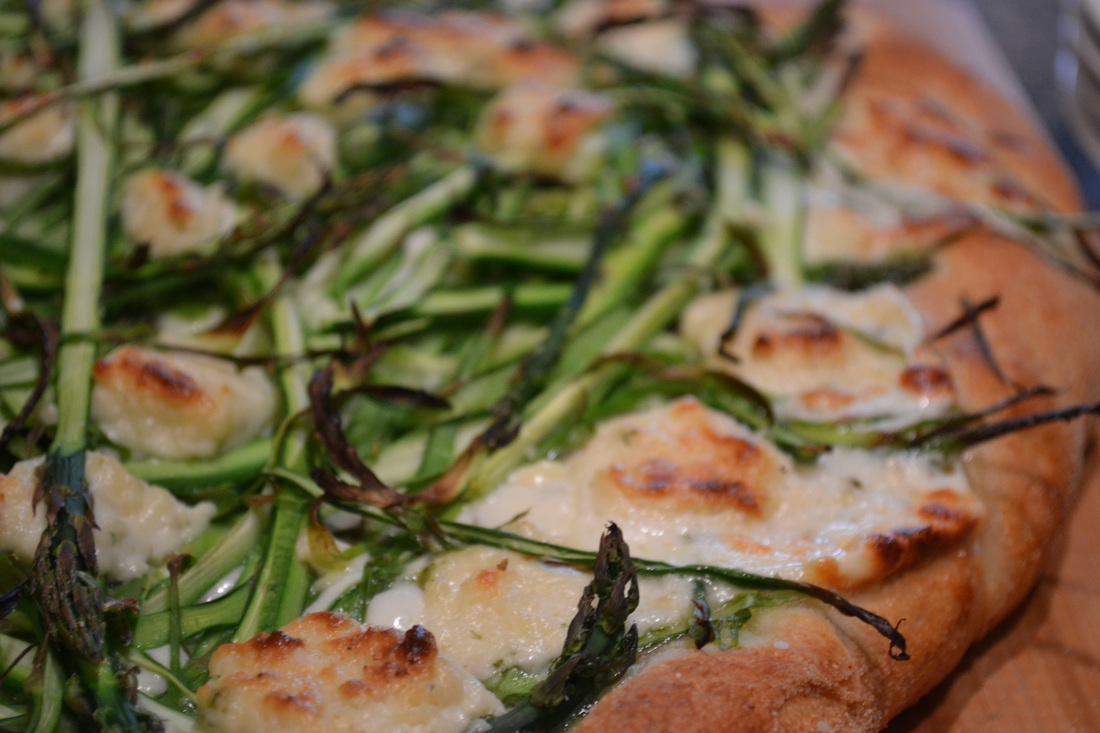 Shaved Asparagus Pizza
Pizza dough Extra virgin olive oil, for brushing 1 lb asparagus spears 4 oz fresh mozzarella, thinly sliced 5 oz spreadable garlic herb cheese, such as Boursin Kosher salt and pepper, to taste Preheat oven and a pizza stone at 500 for at least 30 minutes. Allow pizza dough to come to room temperature during this time. After 30 minutes roll out the pizza dough to a 12-14 inch round and place on a pizza peel generously covered with cornmeal or semolina. Lightly brush dough with extra virgin olive oil. Cut the tough stems off the end of the asparagus spears. Using a vegetable peeler, shave each spear into thin ribbons. This looks like a LOT of asparagus, but it cooks down nicely. Place the sliced mozzarella on the pizza dough in an even layer. Pile shaved asparagus on top of mozzarella. Dot the top of the pizza with chunks of the Boursin cheese. Sprinkle with kosher salt and freshly ground black pepper. Transfer pizza to pre-heated pizza stone. Having enough cornmeal on your pizza peel is crucial for the pizza to slide smoothly off of the peel and onto the stone. Bake about 12-14 minutes or until the cheese is bubbly and the crust is brown. Remove from the oven. Allow to cool slightly before serving. 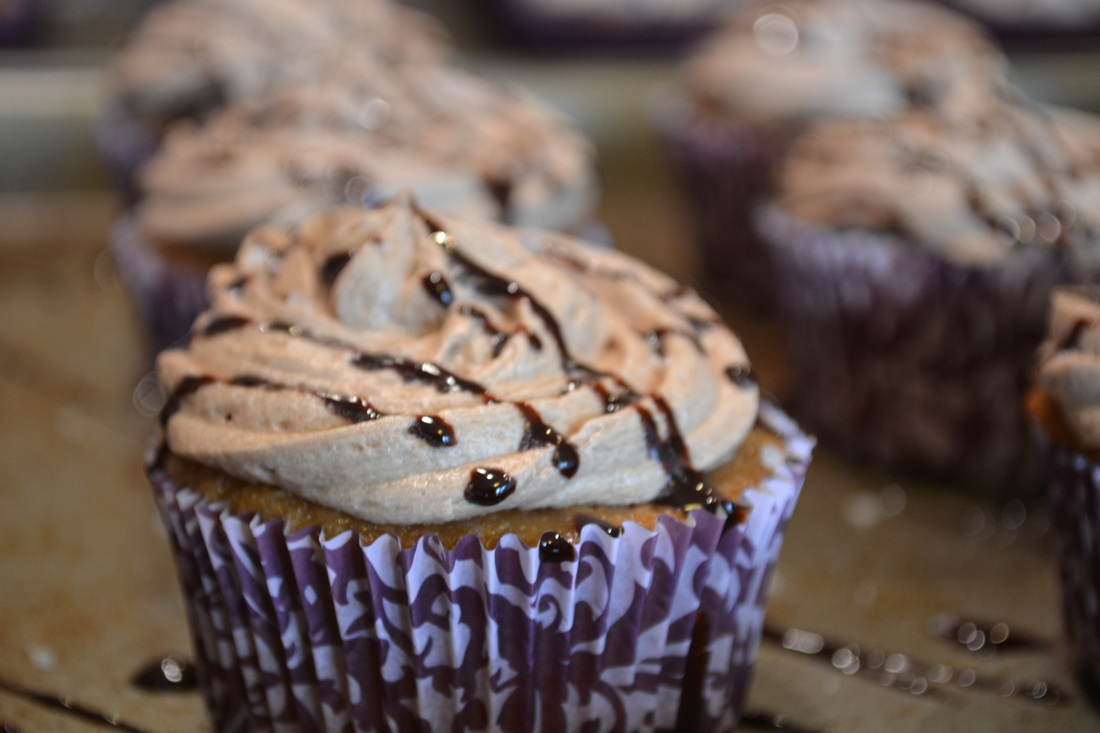 I'm about to make a confession. A confession that may get me beaten by 90% of the people I know. I don't like chocolate cake. There. I said it. It's out there. I like chocolate candy, chocolate pudding and sometimes chocolate ice cream, but not chocolate cake. That's why I'm super excited to share with you my little creation I call a Chocolate Milk Cupcake! It tastes like, well, chocolate milk! Super moist with a hint of chocolate in the cake topped with buttercream that not only has chocolate milk in it, but also chocolate syrup. To finish it off I top it with a bit of that fleur de sel that I love so much to give you that salty sweet satisfaction! When I first started getting serious about cupcake baking I came across an incredibly delicious eggnog cupcake on Annie's Eats. Everyone, everywhere loved these cupcakes. After the holidays passed I was wondering how I could tweak this recipe a bit and make it a year-round favorite. I swapped out the eggnog for chocolate milk, made some other additions and this little baby was born! 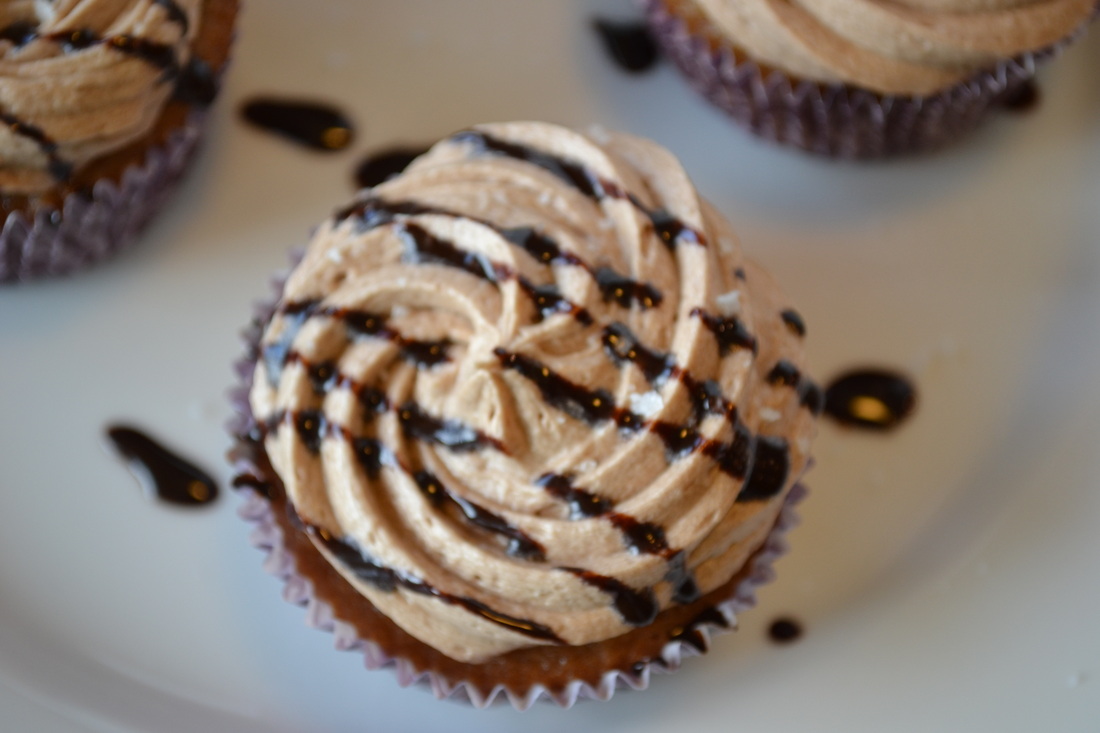 Chocolate Milk Cupcakes with Chocolate Milk Buttercream Makes 12-14 cupcakes For the cupcakes 1 1/3 cups all purpose flour ** 1/4 tsp baking soda 1/2 tsp baking powder 1/2 tsp salt 1/4 cup Creme de Cacao 1 cup chocolate milk - whole milk variety 1/4 cup canola oil 1 tsp vanilla extract 1 cup sugar Preheat oven to 350. Line a standard cupcake pan with cupcake liners. Set aside. In a medium bowl, sift together flour, baking soda, baking powder and salt. Set aside. In the bowl of a stand mixer fitted with a paddle attachment mix together Creme de Cacao, chocolate milk, canola oil, vanilla and sugar. Beat on medium speed until well blended. Gradually add dry ingredients and mix on low speed until just combined. Scoop the batter into cupcake liners filling them about 2/3 full. Bake for 22-24 minutes, or until a toothpick inserted in the center comes out clean. Allow to cool in the pan for about 5 minutes before transferring to a cooling rack to cool completely. ** These cupcakes can be made Gluten Free by using 1 1/3 cups high-quality Gluten Free Flour Mix. I use Gluuteny Basic Flour Mix from Gluuteny. For the Fleur de Sel Buttercream Makes enough to frost 12-14 cupcakes 1/2 cup unsalted butter, at room temperature (I use Plugra European butter) 2 cups powdered sugar, sifted 2 tbsp chocolate milk 1 tbsp vanilla 2 tbsp chocolate syrup 1/8-1/4 tsp fleur de sel Place the butter in the bowl of a stand mixer fitted with a paddle attachment. Cream the butter for about 1 minute. Add 1 cup of confectioner's sugar and mix on low until well combined. Add chocolate milk, vanilla, chocolate syrup and fleur de sel, mixing for about 30 seconds. Add the remaining 1 cup of confectioner's sugar and mix until just incorporated. Increase mixer speed to medium-high and beat until light and fluffy, about 5-7 minutes. Transfer frosting to a large pastry bag fitted with a large tip and swirl frosting onto cupcakes. Drizzle with additional chocolate syrup. 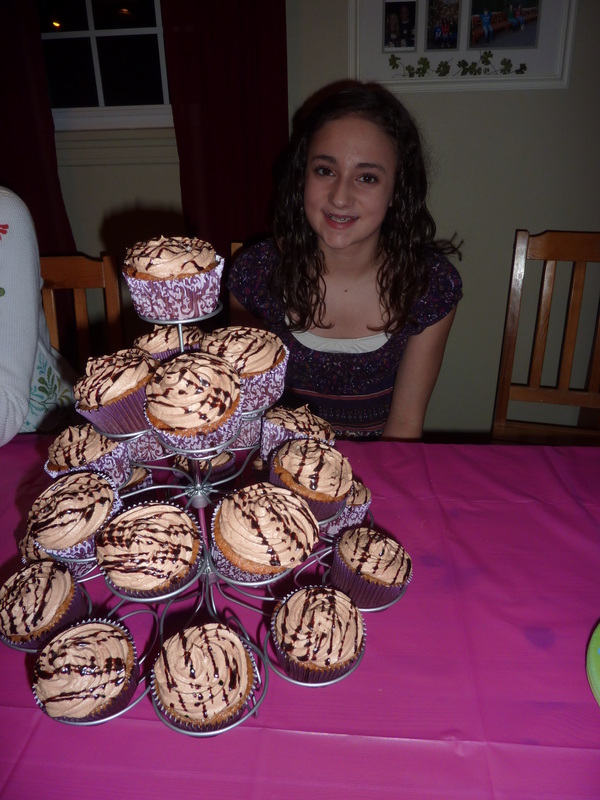 Sweet E - A happy recipient of Chocolate Milk Cupcakes for her 12th birthday! 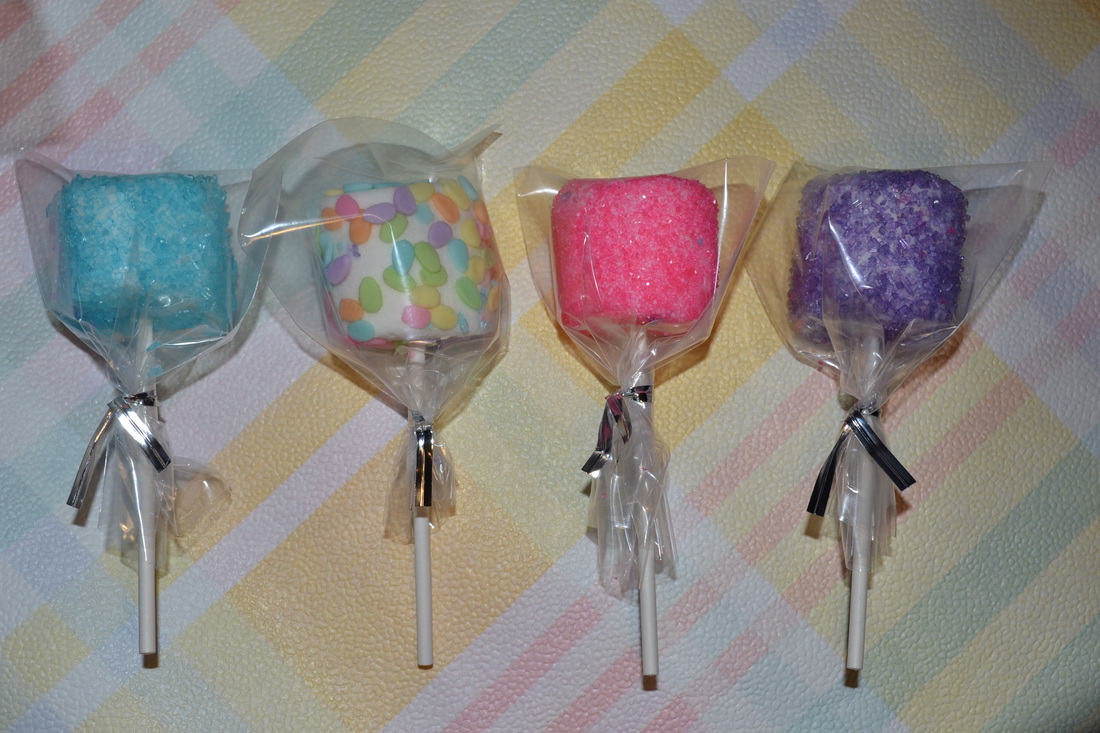
Check out these cute little marshmallow pops! Aren't they adorable?? I made these yesterday for my 6-year-old daughter's class party today. In the age of so many nut allergies you find yourself limited as to what you can give as party treats. These definitely fit the bill of being nut-free because they are sugar and sugar topped with more sugar! Kiddos love them! Parents...well, I'm sorry! These are so incredibly easy to make you have to give them a try! I used Easter colored sprinkles but you could whip these up for any event (baby showers, Halloween, Christmas, etc.) One suggestion I will make is to try to find the marshmallow bag with the most 'round' marshmallows in it. I had a good bit of oddly shaped, squashed ones. They worked out fine, but the rounder ones made for the prettiest pops. Here is what you need and what I did (Sorry, but I hesitate to call this a recipe because it's just so easy!) 
Marshmallow Pops
Marshmallows - regular size Lollipop sticks - you can find these at craft stores in the candy section Variety of colored sugar sprinkles Insert lollipop sticks into the marshmallows. Push the sticks almost to the top of the marshmallow. Dip the marshmallow in a bowl of water. Blot excess water off onto a paper towel. Hold marshmallow pop over a bowl of sprinkles. Using a spoon drop the sprinkles over the lollipop until it's completely coated. Prop up in a cup to dry. Source As seen in Food Network Magazine via Sugarlicious, Meaghan Mountford 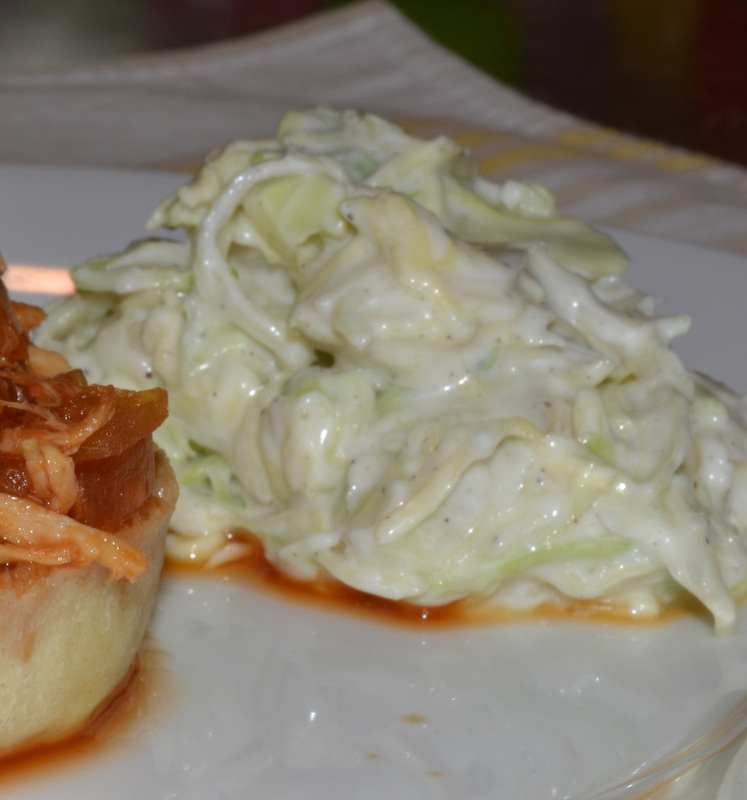
I admit it. Coleslaw is not something I usually enjoy (unless it's served on a Primanti's sandwich, but that's another kind of blog!) I usually pass it up at picnics and push it to the side of my plate when it arrives unannounced at a restaurant. I was reluctant to try this recipe but I needed a side dish for the Pulled BBQ Chicken Sandwiches and this looked easy and had mostly ingredients I already had on-hand. I'm so glad we tried this! It's tangy and refreshing - it tastes healthy and sinful at the same time. It's the perfect complement to the chicken sandwiches and I think it would go wonderfully with any summer picnic dish! Lightened-Up Classic Coleslaw Serves 6 1 5.3-ounce container nonfat Greek yogurt (or 1/2 cup) 1/4 cup mayonnaise (reduced fat is fine) 1/4 cup cider vinegar 1 tbsp honey 1/2 tsp kosher salt 1/4 tsp black pepper 1 16-ounce bag pre-shredded coleslaw mix 2 tsp caraway seeds (optional) In a large bowl, whisk together yogurt, mayonnaise, vinegar, honey, salt and pepper. Add the coleslaw mix and the caraway seeds, if using. Toss to coat. Serve immediately or cover and refrigerate up to an hour.
Source Very slightly adapted from So Easy, by Ellie Krieger 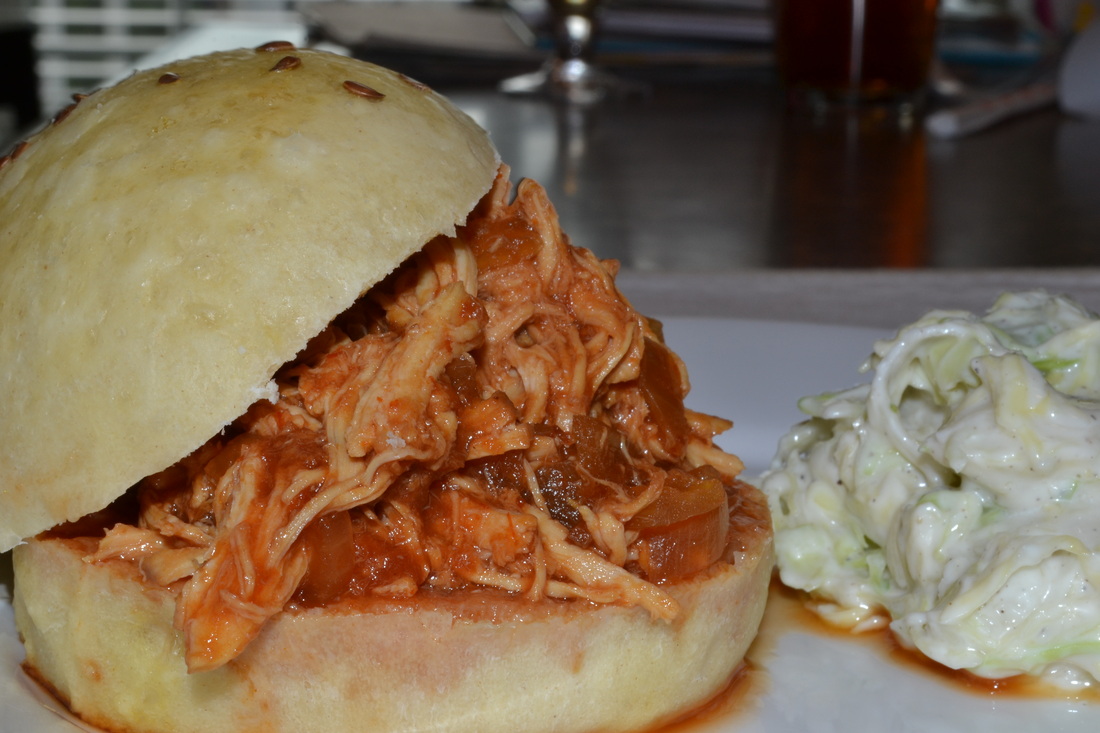
Today I want to share with you a newly discovered recipe from a cookbook I've had for a while. This recipe is a take on tasty, comforting pulled pork sandwiches, but it uses chicken instead. The original recipe called for a store-bought rotisserie chicken and a quick stove-top execution. I decided to make some modifications and give this a try in the crock pot using fresh chicken breast. To my excitement the meal came out amazingly tasty with perfectly balanced flavors! An added bonus is that both of my toughest critics (JP & Bean) gobbled up their dinner! We even had enough leftover to make sliders for lunch the next day! This sandwich paired with some lightened up coleslaw just screams summer to me. I am planning on doubling this recipe and taking it to some picnics this summer along with some homemade hamburger buns (which I swear by these days!) I'll be sharing those recipes with you all soon! 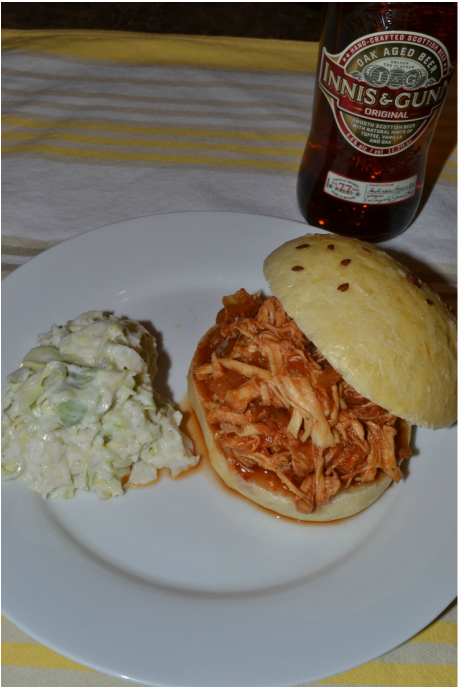
Pulled BBQ Chicken Sandwiches
Makes about 6 regular sized sandwiches or 10-12 sliders 1 lb boneless, skinless chicken breast 1 medium onion, chopped 3 garlic cloves, minced 1 15-ounce can tomato sauce 1/2 cup water 1/3 cup cider vinegar 5 tbsp molasses 1/4 cup tomato paste 1/2 tsp liquid smoke 1/4 tsp black pepper Place all ingredients in a slow cooker set to low. Cook for 5-7 hours. Remove chicken from slow cooker and shred on a plate with two forks. Return shredded chicken to slow cooker and stir to combine. Serve on hamburger buns. Source Adapted from So Easy, by Ellie Krieger 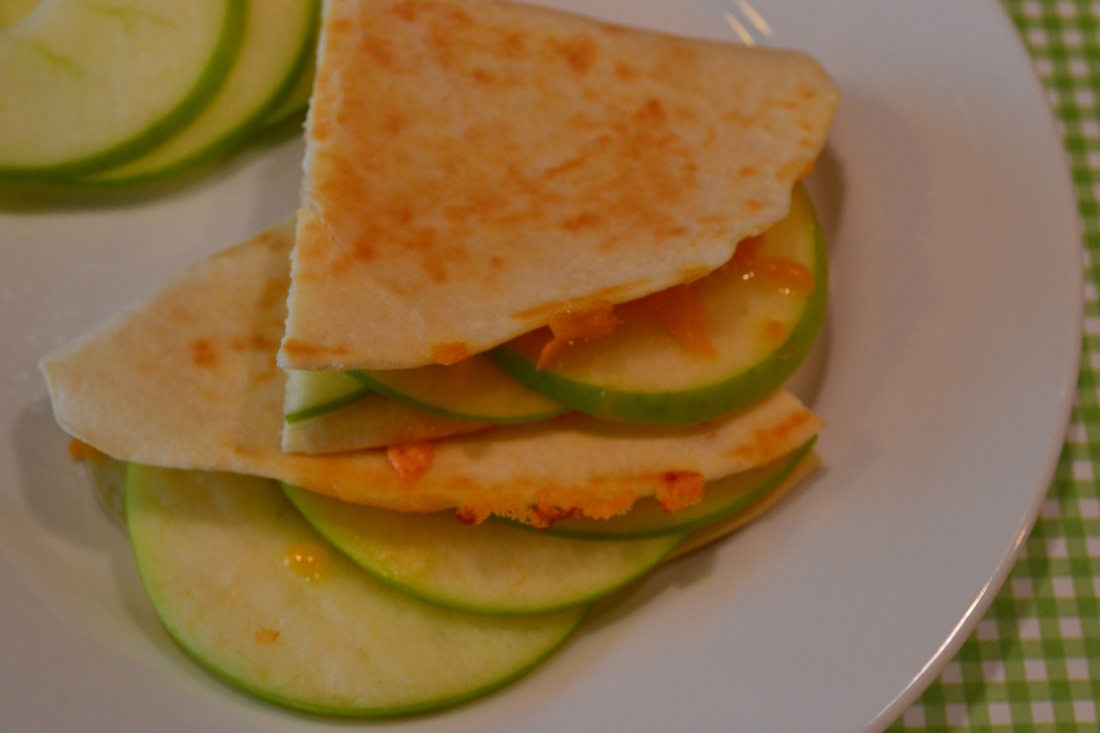 Lately I've been trying to healthy-up my diet a bit. I haven't fully committed to Weight Watchers again (I just can't find the motivation) but I'm trying to add more fruits and veggies into my diet. This recipe is great because you can whip it up in about 5 minutes when you're rushing to get out of the house for work and school The crispy tartness of the apples and the creamy sharpness of the cheddar makes it feel like a very indulgent meal but when you're done eating it you feel really good about what you just ate - no guilt here! So, now that you have those flour tortillas in your fridge, you have no excuse not to enjoy a healthy start to your tomorrow! 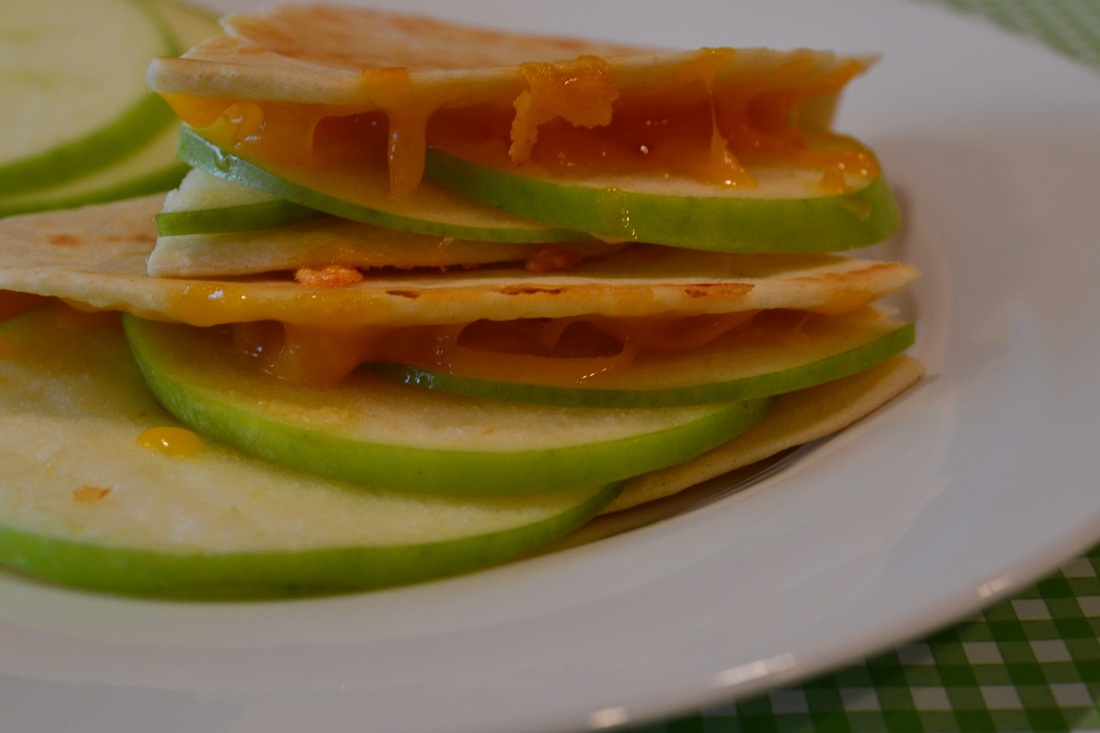 Apple Cheddar Quesadillas
Makes 4 1 Granny Smith apple, cored and thinly sliced 4 small tortillas - about 8-9 inches in diameter 4 ounces sharp cheddar cheese, grated Preheat a nonstick skillet over medium-high heat. Place one tortilla in the pan. Take 1/4 of the apple slices and fan out over one half of the tortilla. Sprinkle 1 ounce of cheese over the apples. Fold the tortilla in half over the cheese and apples. Weigh down the tortilla with a small heavy skillet or an ovenproof plate topped with a heavy can. Cook until the cheese melts and tortilla is golden brown, about 1-2 minutes per side. Repeat with remaining tortillas. Cut in half and serve warm. |
AuthorPittsburgh area mom striving to provide clean, healthy, REAL food for her family! Categories
All
Archives
September 2014
|
 RSS Feed
