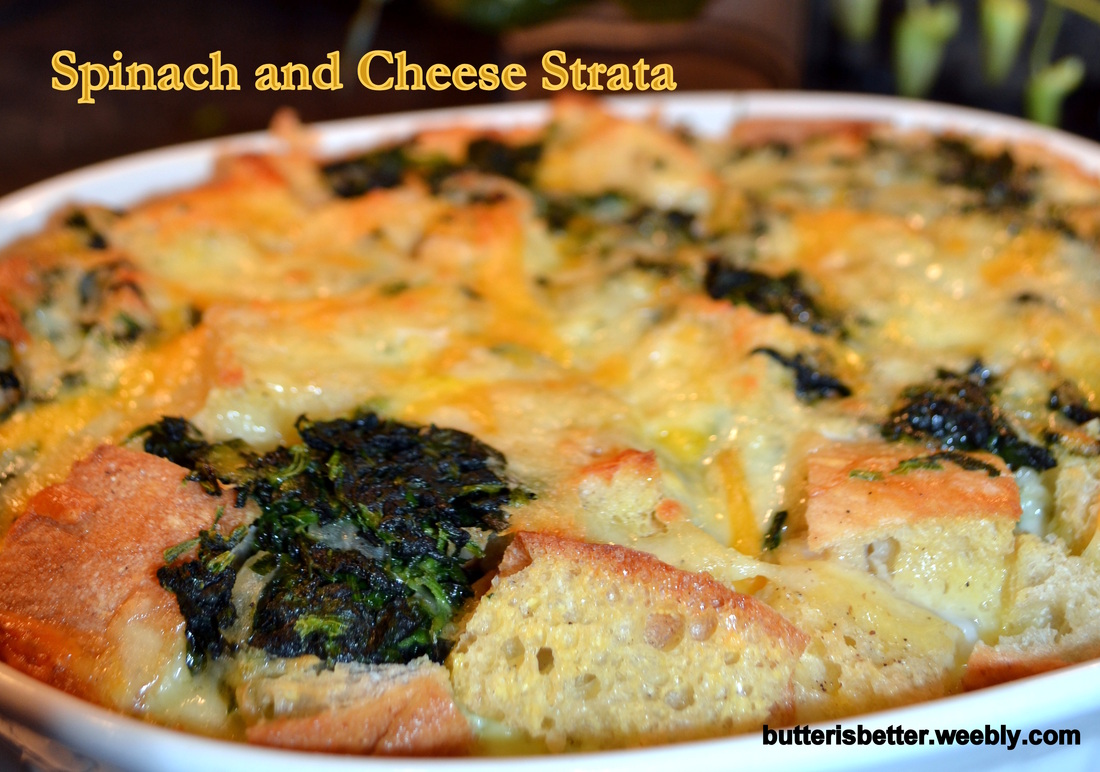
Are you all ready for the upcoming holiday weekend? Based on what I see out my window I would guess said holiday would be Christmas....I would be wrong. Despite the temperatures lingering in the 20s/30s and the daily snowfall, we are actually coming up on Easter weekend. I always associate Easter with the start of Spring, flowers blooming, birds chirping, windows open and kids playing outside. Ahh.....this year I guess we'll all have to wait just a little bit longer. The dish I have for you today doesn't mind the weather. Nope, it's delicious any season for any reason! Carbo-licious, Cheesy-licious, with a teensy bit of healthy. That's how I would describe this dish. I've made this strata a few times over the past year and it's so indulgent that it just has to be saved for holidays around here! Health food this is NOT! This is a perfect dish to make for an Easter brunch because you need to prepare it the day before and bake it the next morning. Just toss it in the oven amid the Easter-morning chaos. It feeds at least 8 and looks quite impressive when brought to the table - which also makes it great for hosting overnight guests! Sometimes I add some roasted red peppers to it, which is great for Christmas morning since it adds an extra layer of flavor while upping the festive look to make it more Christmas-y. I have found that this monster of a casserole needs some extra lovin' time in the oven. We usually let it bake for 1 hour to 1 hour 15 minutes to make sure the eggs are cooked in the middle. Trust me, it's totally worth the wait! 
Spinach and Cheese Strata Serves 8-10 3 tablespoons unsalted butter 1 small onion, chopped 2 garlic cloves, minced 2 10-ounce packages frozen spinach, thawed and drained 1 teaspoon salt, divided 1/2 teaspoon ground black pepper, divided 8 cups ciabatta bread, cut into 1-inch cubes 6 ounces Gruyere cheese, grated 1 cup sharp cheddar cheese, grated 9 large eggs 2 3/4 cups milk Melt the butter in a large saute pan, over medium heat. Add the onions and cook until translucent, about 5 minutes. Add the garlic, 1/2 teaspoon salt and 1/4 teaspoon black pepper and cook for another minute. Add the spinach and cook until heated through, about another 2-3 minutes. Set aside to cool slightly. Combine cheese in a medium bowl. Set aside. Coat a 2 1/2 quart casserole dish with nonstick cooking spray. Place 1/3 of the bread cubes in the bottom of the dish. Top bread cubes with 1/3 of the spinach mixture. Top spinach mixture with 1/3 of the cheese mixture. Repeat the layering 2 more times, finishing with a layer of cheese on top. In a medium bowl place eggs, milk, 1/2 teaspoon salt and 1/4 teaspoon black pepper. Whisk to combine. Pour egg/milk mixture evenly over top of entire casserole. Cover and refrigerate overnight. Preheat oven to 350° F. While the oven is pre-heating, allow the strata to sit at room temperature. Bake uncovered for 60-75 minutes or until strata is no longer runny in the middle. 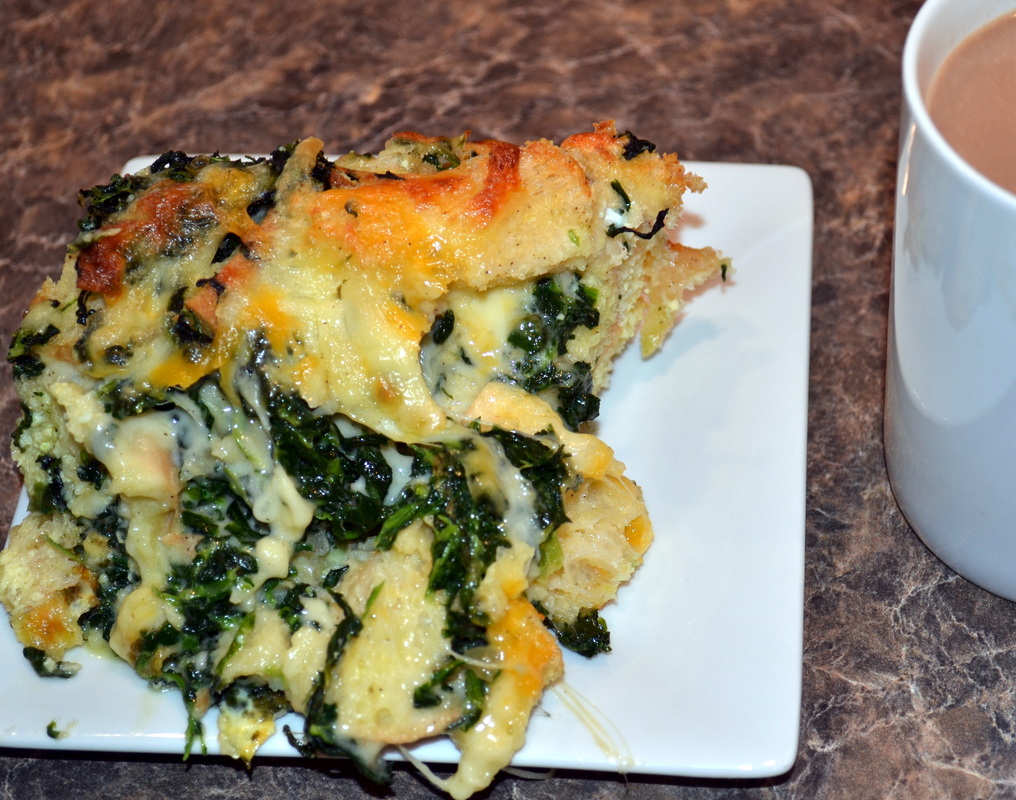
Source:
Adapted from The Curvy Carrot, via Annie's Eats, as seen on Smitten Kitchen, originally from Gourmet, February 2003.
2 Comments

We are continuing today with the Irish-food theme. Again, this is another recipe that is too good to wait a whole year to make again! Are you intimidated by making bread? If you are, this is the perfect recipe for you! Are you always looking for something warm and hearty to dip into your winter (spring) soups and stews? If so, this is the perfect recipe for you! Are you looking for something to whip up last minute while the kids are doing homework and you are tight on time? Again, I have the perfect recipe for you!! I saw many recipes last year for Irish soda bread and had wanted to try one but just never got around to it. This year, as expected, all sorts of Irish soda bread recipes started popping up all over the place. This one, in particular, grabbed my attention because 1) it needed only 4 ingredients and 2) it takes about a half-hour from start to finish. These are ingredients that I usually have on hand too, so it earned some bonus points there too! The bread itself is quite dense and doesn't rise much. It's perfect warm from the oven or at room temperature too. Just slather some butter on it and enjoy with a nice stew or even some chili. If you plan to eat the bread warm, pretty much straight out of the oven, bake it on the longer side (30-ish minutes). If you plan to let it cool completely and eat it an hour or two later, you should be fine with the shorter time (25-ish minutes) since the bread continues baking a bit while it cools. Irish Soda Bread 3 2/3 cups unbleached, all-purpose flour 1 teaspoon kosher salt 1 teaspoon baking soda 1 1/2 cups buttermilk ** **If you don't have buttermilk on hand you can make your own, easy substitute. Simply add 1 1/2 tablespoons of lemon juice to a 2-cup liquid measuring cup. Add milk to the measuring cup, filling to the 1 1/2 cup mark. Let sit 5 minutes. After 5 minutes, stir and use in your recipe. Preheat oven to 425° F. Line a baking sheet with a silicon baking mat or parchment paper. Set aside. Add flour, salt and baking soda to a large mixing bowl. Whisk to combine. Make a well in the center of the dry ingredients and slowing add the buttermilk. Stir with a fork to combine. The dough will be very sticky. If needed, add as much as 1/4 cup extra buttermilk. Knead the dough lightly with your hands while it is still in the bowl to help it come together. Dump the dough onto the prepared baking sheet and form it into an 8-inch circle. Use a sharp knife to cut a cross in the top of the dough. 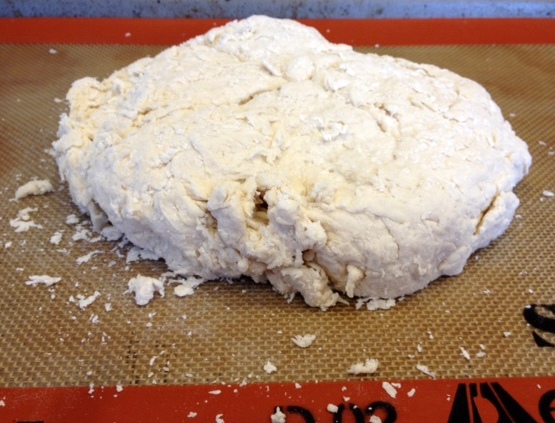
Bake for 25-30 minutes, until golden brown. Transfer to a wire rack to cool slightly before serving.
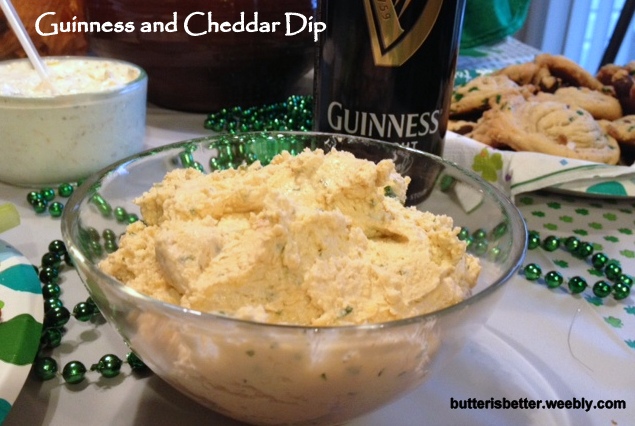
How was your St. Patty’s Day? Did you celebrate with green beer? Or Irish food? Or a local parade? How about all three?? I didn’t indulge in any green beer this year and (sadly) didn’t make it to Pittsburgh’s awesome St. Patty’s Day parade. I DID, however, attend a fun St. Patty’s Day party and enjoyed some good Irish food! My contribution to the party was this Guinness and Cheddar Dip. Come to think of it, I may have brought this exact same dip to last year’s party….hmmm…no one seemed to mind! I’ve actually made this dip several times over the past year and it’s always quite popular! I’ve tweaked the original recipe a little so that the Guinness flavor really stands out. I like to serve it with hearty crackers or some veggies. So, even though the celebrations are over for this year, please don’t wait until 2014 to give this recipe a try!! 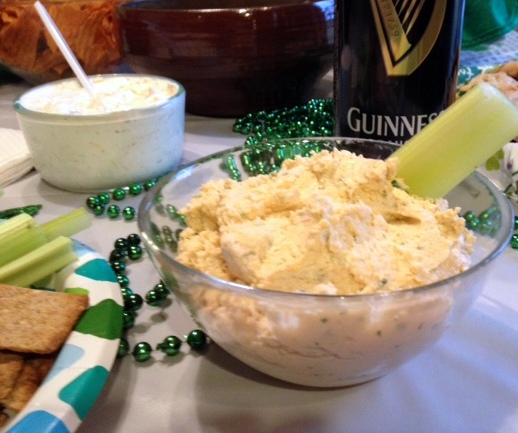
Guinness and Cheddar Dip 8 ounces cream cheese, at room temperature 2 1/2 cups sharp cheddar cheese, grated 1 teaspoon Dijon mustard 2 tablespoons half-and-half 1/4 cup Guinness 1 scallion, greens and whites, chopped 2 tablespoons parsley, chopped Salt and pepper to taste In the bowl of a food processor, combine cream cheese, cheddar cheese, mustard and half-and-half. Blend until smooth. With the food processor running, slowly pour the Guinness through the pour spout and blend until combined. Add the scallions and parsley and pulse a few more times to combine. Adjust flavor by adding salt and pepper to taste. Transfer to a bowl and cover. Chill at least one hour before serving. Serve with crackers, pretzels or veggies. 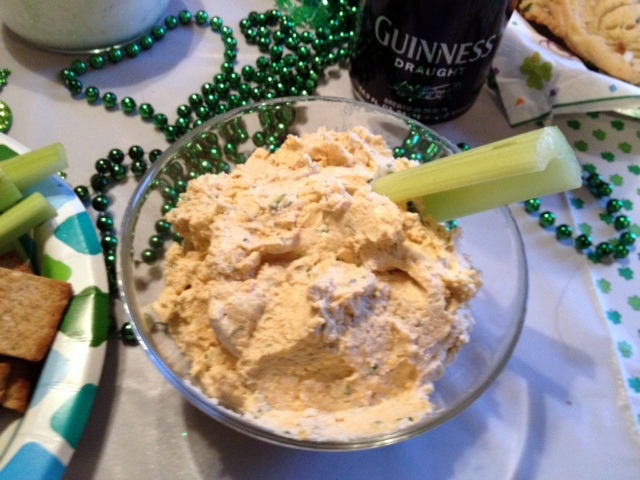
Source:
Adapted from The Curvy Carrot. Originally seen on Wisconsin Cheese Talk via The Parsley Thief 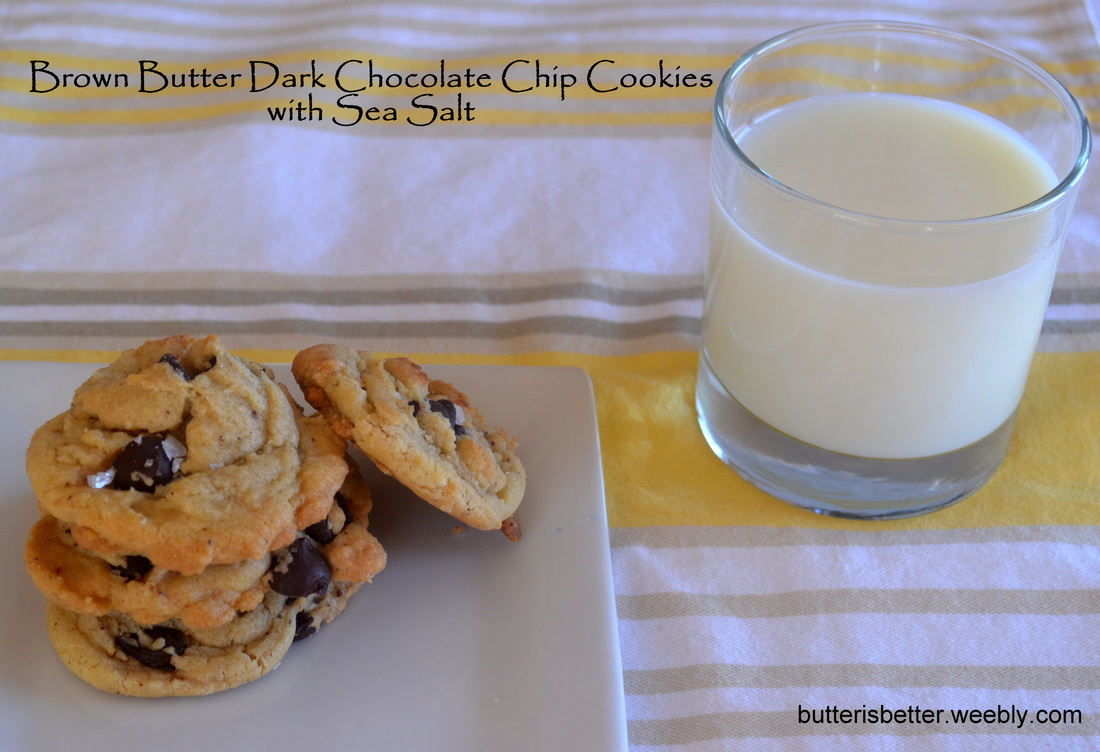
I know, I know. Crazy long title for a little cookie. But I didn't want to leave any one, delicious ingredient out of the name. Brown butter - just like regular butter, but toasty and nutty and filled with awesomeness. Dark chocolate chips - just like regular chocolate chips, but richer and a little bitter and a little better for you, too. Sea salt - my second kitchen love (after butter, of course) that comes in so many unique varieties. They are all important players in the game. What you end up with here is a basic Nestle Toll House cookie that's been dressed up all fancy and treated with extra love. Yeah, that's exactly what you have here. I've been trying to think of ways to take something simple and well-known and really amp it up and make it mine. I had been thinking about fancifying the basic chocolate chip cookie for a while now since seeing all of those brown butter, Nutella-stuffed, sea salt cookies all over Pinterest. I finally had a chance to give this idea a try since we hosted out of town guests this past weekend. The cookies were made Friday night with the intention of taking pictures Saturday afternoon when we had a rare sun-filled PA day. Let me tell you, by Saturday afternoon they were almost gone! Can you say "Success"? I couldn't stop eating them on Saturday - so much for cutting back on sugar. I ran 7-miles on Saturday morning so I sort of gave myself a free pass! Ha! Browning butter is a relatively easy thing to do. You just heat the butter over medium-low heat until it starts to turn brown and smell nutty. Watch it very carefully because no one wants cookies made with burnt butter! Check out this tutorial here. You can use any sea salt you have or kosher salt, but I used this fancy Maldon Sea Salt I bought a while ago. It's so neat looking - almost looks like little pyramids - so cool! I think it really imparts a nice, balance salt flavor to these salty-sweet dishes that are so popular now. 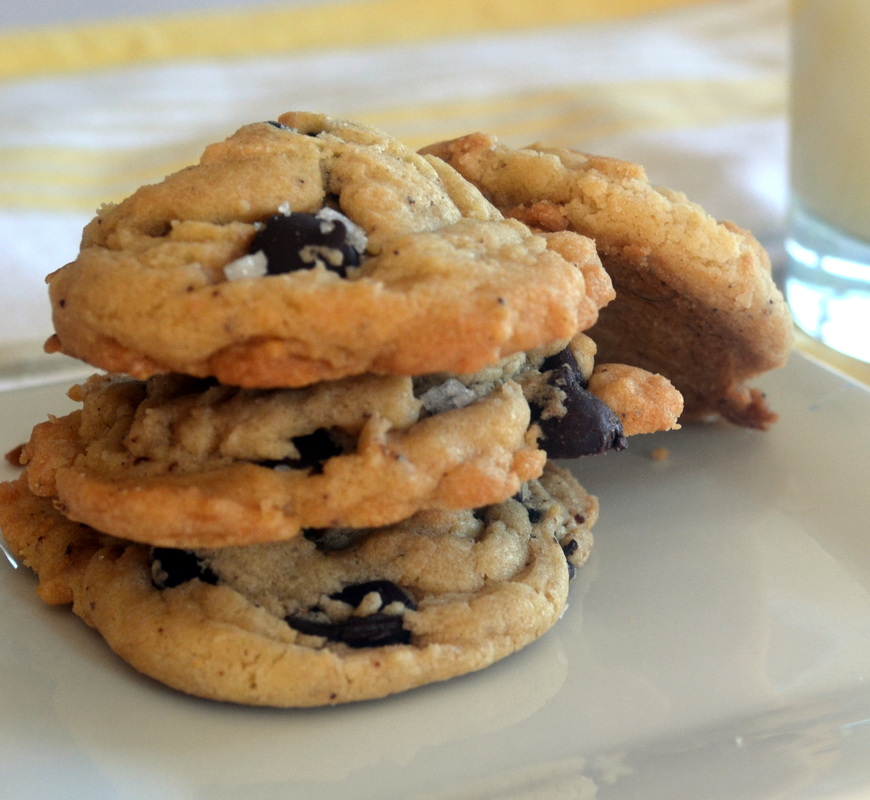
Brown Butter Dark Chocolate Chip Cookies with Sea Salt Makes about 30 cookies 2 1/4 cups all-purpose flour 1 teaspoon baking soda 1 teaspoon flaky sea salt, I used Maldon 2 sticks of unsalted butter, browned (see this link) and slightly cooled 3/4 cup granulated sugar 3/4 cup brown sugar 1 teaspoon vanilla extract 2 large eggs 12 ounces dark chocolate chips Additional sea salt, for topping Preheat oven to 375° F. Line two baking sheets with silicon baking mats. Set aside. In a medium bowl, combine flour, baking soda and salt. Whisk to blend. Set aside. In a large bowl combine brown butter, granulated sugar, brown sugar and vanilla extract. Mix until well-combined. Add in the eggs and mix until blended. In two or three batches, add in the flour mixture and stir until just combined. Fold the chocolate chips into the batter. Drop by heaping tablespoons onto the prepared cookie sheets. Bake for 9-11 minutes or until golden brown. Sprinkle hot cookies with additional sea salt. Allow to cool on the cookie sheets for about 5 minutes before transferring to a wire rack to cool completely. 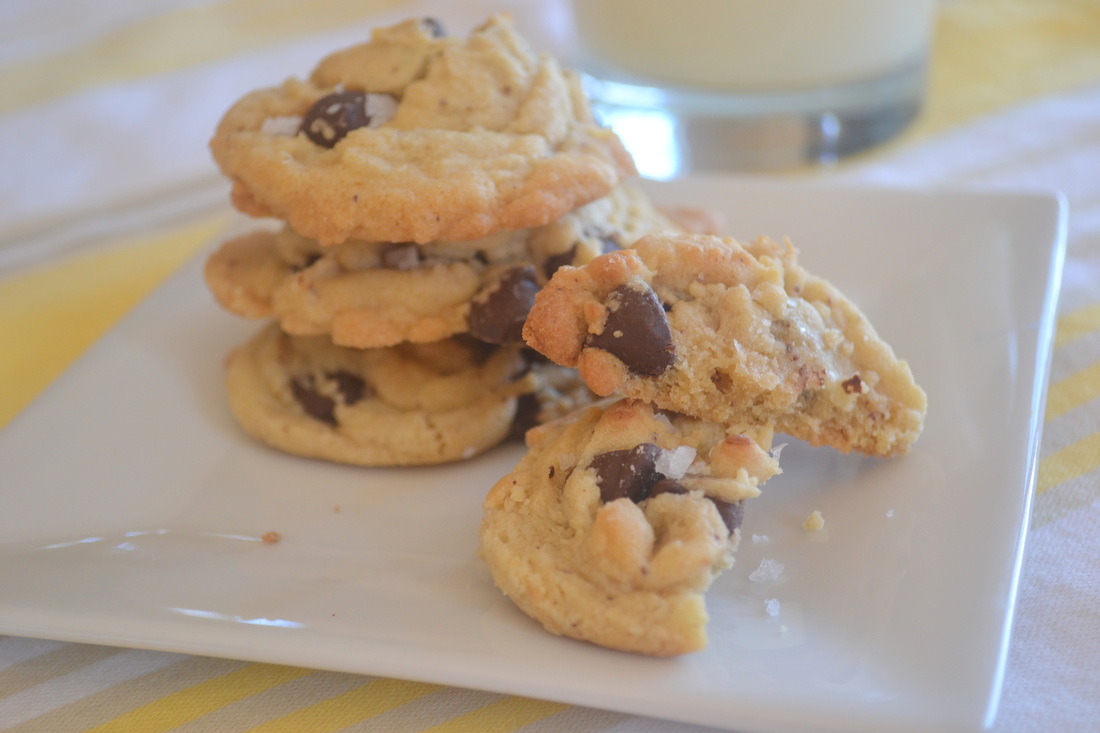
Source:
Adapted from Nestle Toll House 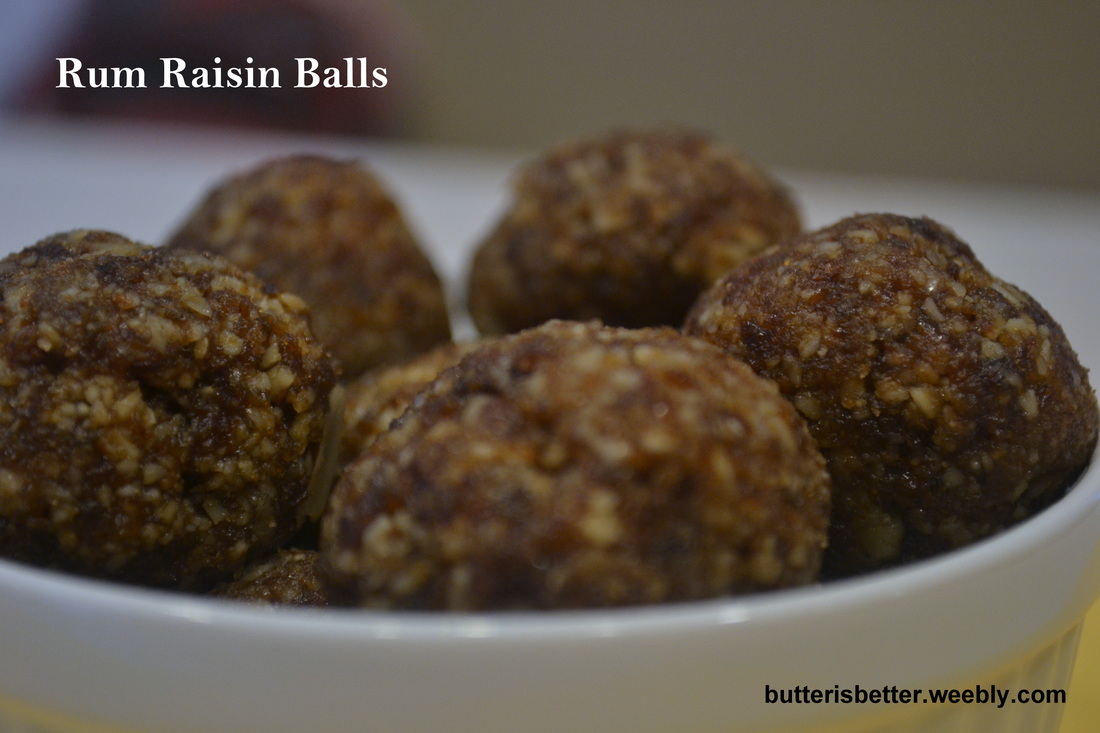
My current food focus these days is healthy, easy and tasty. Portability never hurt, either. I'm also trying to cut back on my consumption of meat, sugar and dairy. I will NEVER cut these things out of my life entirely - I simply love food too much - but I'm doing my best to pick mostly whole foods for most meals and snacks. Last summer I came across these Energy Bites on Pinterest and they were a huge hit! However, they contain chocolate chips and sweetened coconut, which are fine, but in trying to limit my sugar I decided to avoid making them for a little while. So I kept searching. Thank you to all of you bloggers out there who do "Best of" posts at the end of each year! Thanks to Anne at fannetastic food I found these tasty little morsels as well as inspiration for lots more healthy meals in the months to come! This particular recipe is as easy as they get. You will need a food processor to get the best results. You simply combine almonds and raisins together in the food processor to form a paste, then flavor the paste and form into balls or bars. That's it! Anne's original recipe flavored the balls with ground cinnamon but I used a little imitation rum extract for the rum raisin flavor I was looking for. Anne's recipe is gluten-free and vegan. To the best of my knowledge I believe the addition of the imitation rum extract does not change this fact. If anyone out there knows otherwise, I would love some education on the matter! As you can imagine, these are highly customizable. You could use vanilla extract in place of the rum extract or you could swap out the nut/fruit combo. I plan to try an cashew/date version soon to simulate my favorite LARABAR! 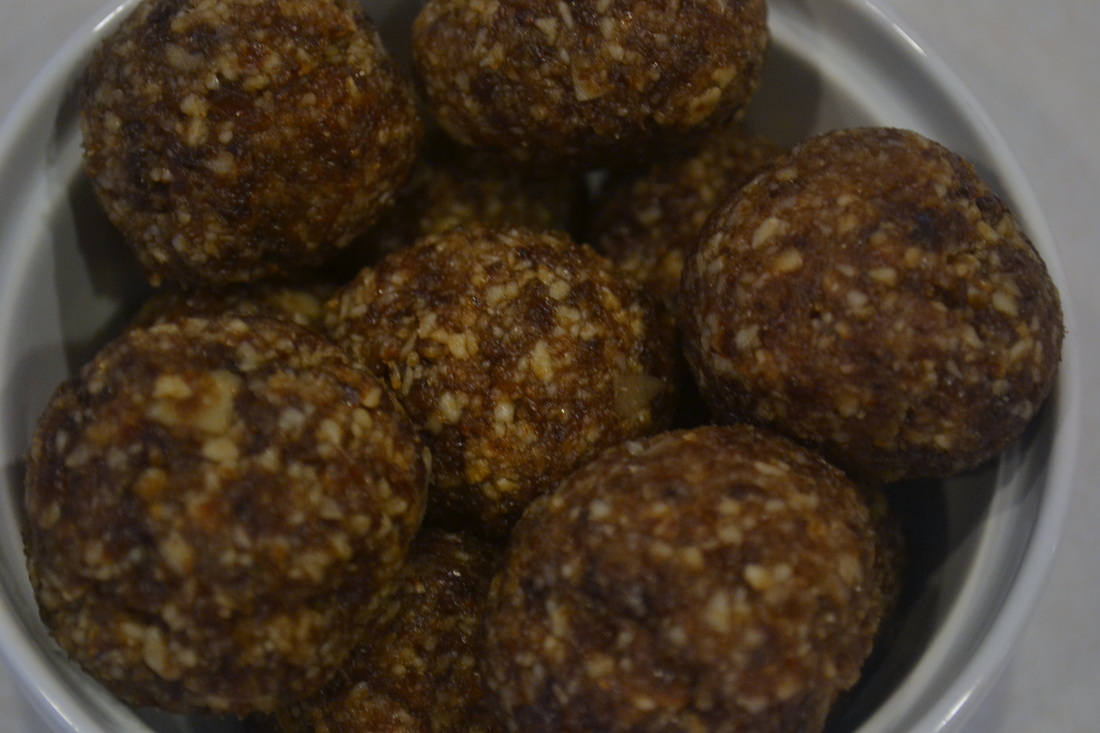
Rum Raisin Balls Makes 12 balls or 6 bars 1 cup slivered almonds 1 cup raisins 1/2 teaspoon rum extract 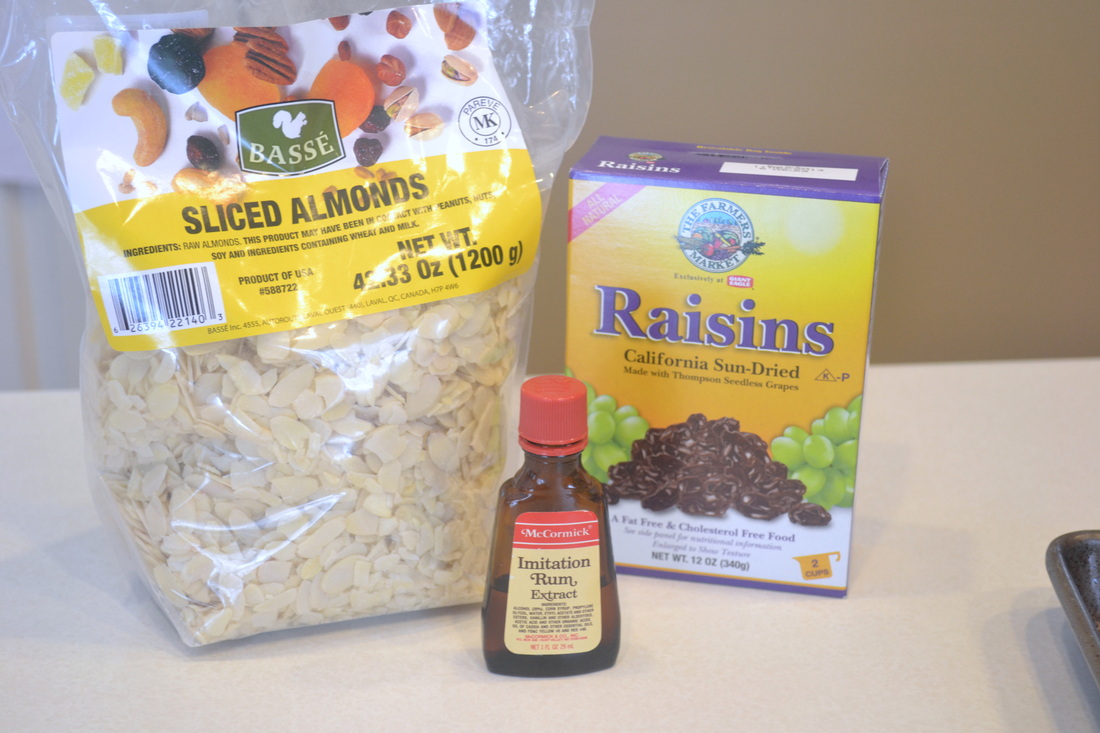
Put almonds and raisins in a colander and rinse with water. Drain. Place wet almonds and raisins in the bowl of a food processor. Blend until a thick paste has formed, about 30 seconds. 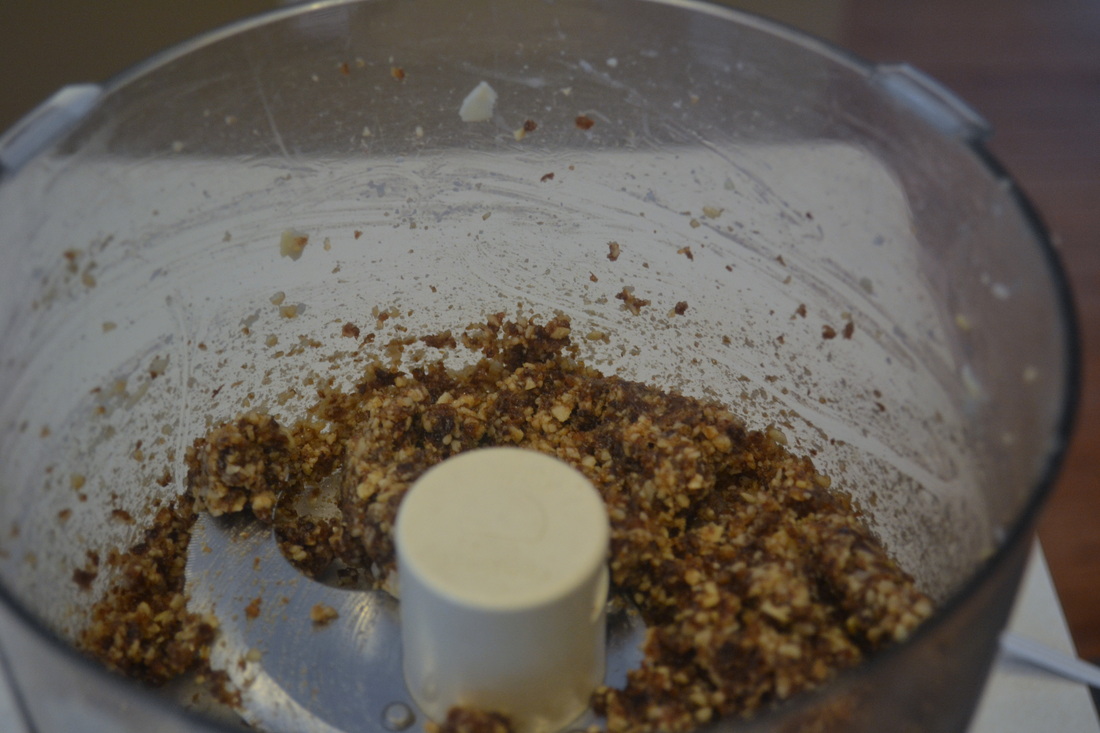
Form into 12 balls or 6 bars. Store in an airtight container in the refrigerator. 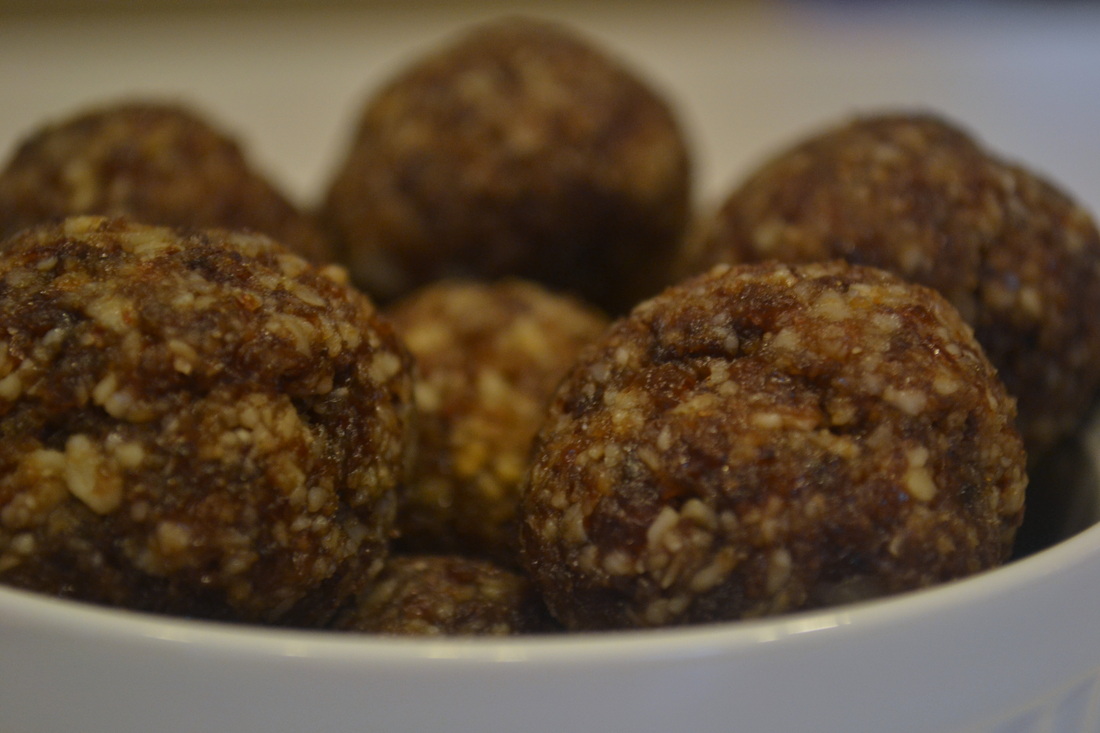
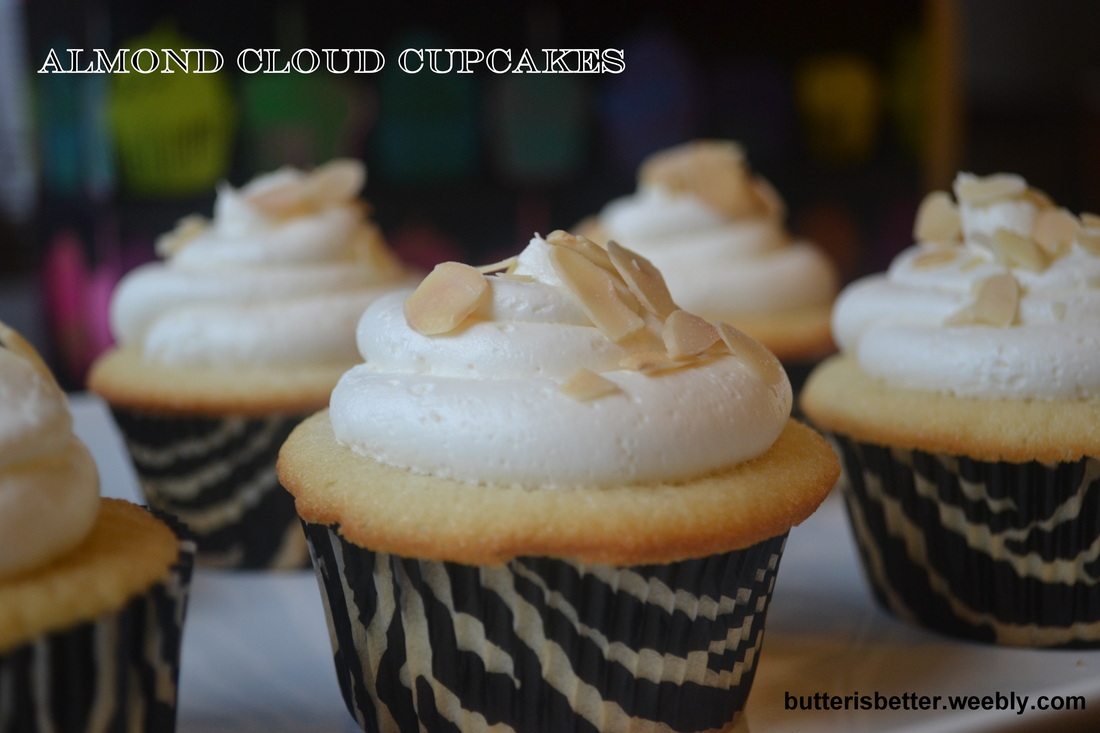
This past weekend I celebrated my 39th birthday. 39....a number that doesn't scare me or depress me, but rather baffles me. How? When? Wasn't I just 26 yesterday? I wonder where all the years have gone and think back to when my parents were 39 - I remember that time vividly. Am I really as grown-up now as they were then? Wow...I guess so? I have a home, a family and responsibilities so I guess that means I've been a grown-up for some time now. But...39? I guess the best part about turning 39 is not feeling 39! I feel happier and healthier than I ever have in my life before! Part of that is due to me trying to find inner peace and life and in parenting (that's a biggie). I attribute the other part to my dedication to fitness and exercise. I've always enjoyed exercising, but in my younger days I felt like it was a chore...something to check off of my To Do list. The last few years I've embraced exercise (especially running) as a way to have some time to myself or time with friends. A time to really push my body to its limits and a little bit farther. A time to work on achieving goals I could only dream about a decade ago. With all that being said, I'm working on a Birthday Resolution of sorts - I'm trying to stop worrying about the number on my scale and start paying attention to how good and strong my body feels when I treat it right! I plan to hit 40 happier and healthier than I hit 39!! BUT, before we do all that....LET'S EAT SOME CUPCAKES!! I, unapologetically, decided to bake myself cupcakes for my birthday again this year since I enjoyed last year's cupcakes so much. I had no plans on a party or a small gathering, I just wanted to enjoy baking my own birthday (cup)cake and eating more cupcakes than I want or need. I looked through lots of blogs and cookbooks trying to find this year's perfect cupcake. I ended up settling on this Almond Cloud Cupcake I had at a cooking class I took many years ago at Crate Cooking School. This was the perfect choice because it is a rather simple recipe - ie, I had most of the ingredients on hand and would be enjoying cupcake satisfaction in a very short amount of time. The cake itself is light and airy with a hint of almond flavor - the almond flavor really comes through in the icing. I decided to top it off with some toasted, slivered almonds which gives the perfect amount of crunch. 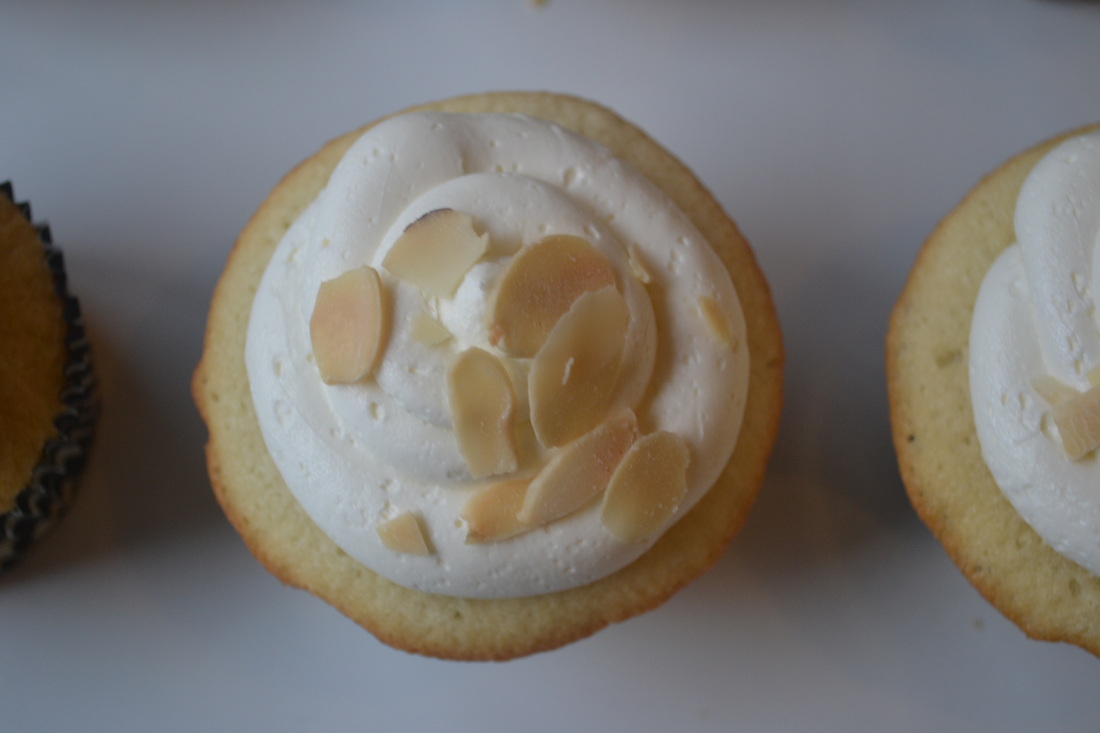
Almond Cloud Cupcakes Makes about 24 cupcakes For the cupcakes 2 1/4 cups all-purpose flour 1 2/3 cups granulated sugar 3 1/2 teaspoons baking powder 1 teaspoon salt 1 1/4 cups 2% milk 2/3 cup unsalted butter, at room temperature 1 teaspoon almond extract 5 egg whites Preheat the oven to 350° F. Line 2 standard cupcake pans with liners. Set aside. In the bowl of a stand mixer fitted with a paddle attachment add flour, sugar, baking powder, salt, milk, butter and almond extract. Beat on low sped for about 30 seconds to combine. Adjust the speed to medium-high and beat another 2 minutes, scraping the bowl as necessary. Add egg whites and beat on medium-high for another 2 minutes. Scoop the batter into the prepared liners, filling about 2/3 full. Bake for 18-22 minutes until a toothpick inserted in the center comes out clean. Allow cupcakes to cool in pans for about 5 minutes before transferring to a wire rack to cool completely. For the Almond Buttercream 16 tablespoons unsalted butter, at room temperature (I prefer Plugra, European butter) 4 cups confectioners' sugar, sifted 1 teaspoon almond extract 2 1/2 tablespoons cold water Place the butter in the bowl of a stand mixer fitted with a paddle attachment. Cream the butter for 1-2 minutes. Add 2 cups of confectioner's sugar and mix on low until well combined. Add almond extract and water, mixing for about 30 seconds. Add the remaining 2 cups of confectioner's sugar and mix until just incorporated. Increase mixer speed to medium-high and beat until light and fluffy, about 5-7 minutes. Transfer buttercream to a pastry bag fitted with a wide tip and frost cupcakes. Top with toasted, slivered almonds, if desired. 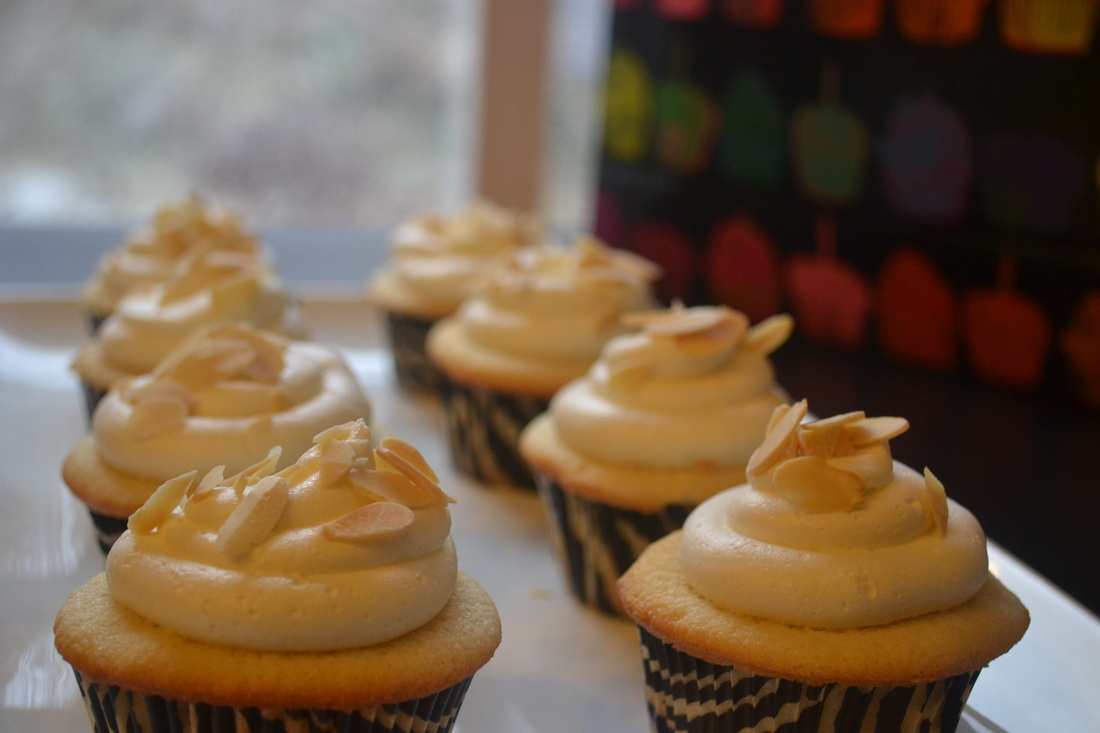
|
AuthorPittsburgh area mom striving to provide clean, healthy, REAL food for her family! Categories
All
Archives
September 2014
|
 RSS Feed
